
Making changes to your WordPress site all happens from one place: the dashboard. Think of it as your website's command center. From here, you can handle everything from publishing a new blog post to completely changing your site's design.
Most of your day-to-day edits will happen in a few key areas. You'll be working with Posts for your blog content, Pages for static content like your "About Us" or "Contact" pages, and the Appearance menu for any visual tweaks. Let's get you comfortable with the layout.
Your First Look at the WordPress Dashboard
Logging into WordPress for the first time can feel like stepping into the cockpit of an airplane—there are buttons and menus everywhere. But don't worry. You only need to know a handful of them to get started.
Everything you need is in the main navigation menu running down the left-hand side of the screen. We'll ignore most of it for now and just focus on the essentials you’ll be using all the time.
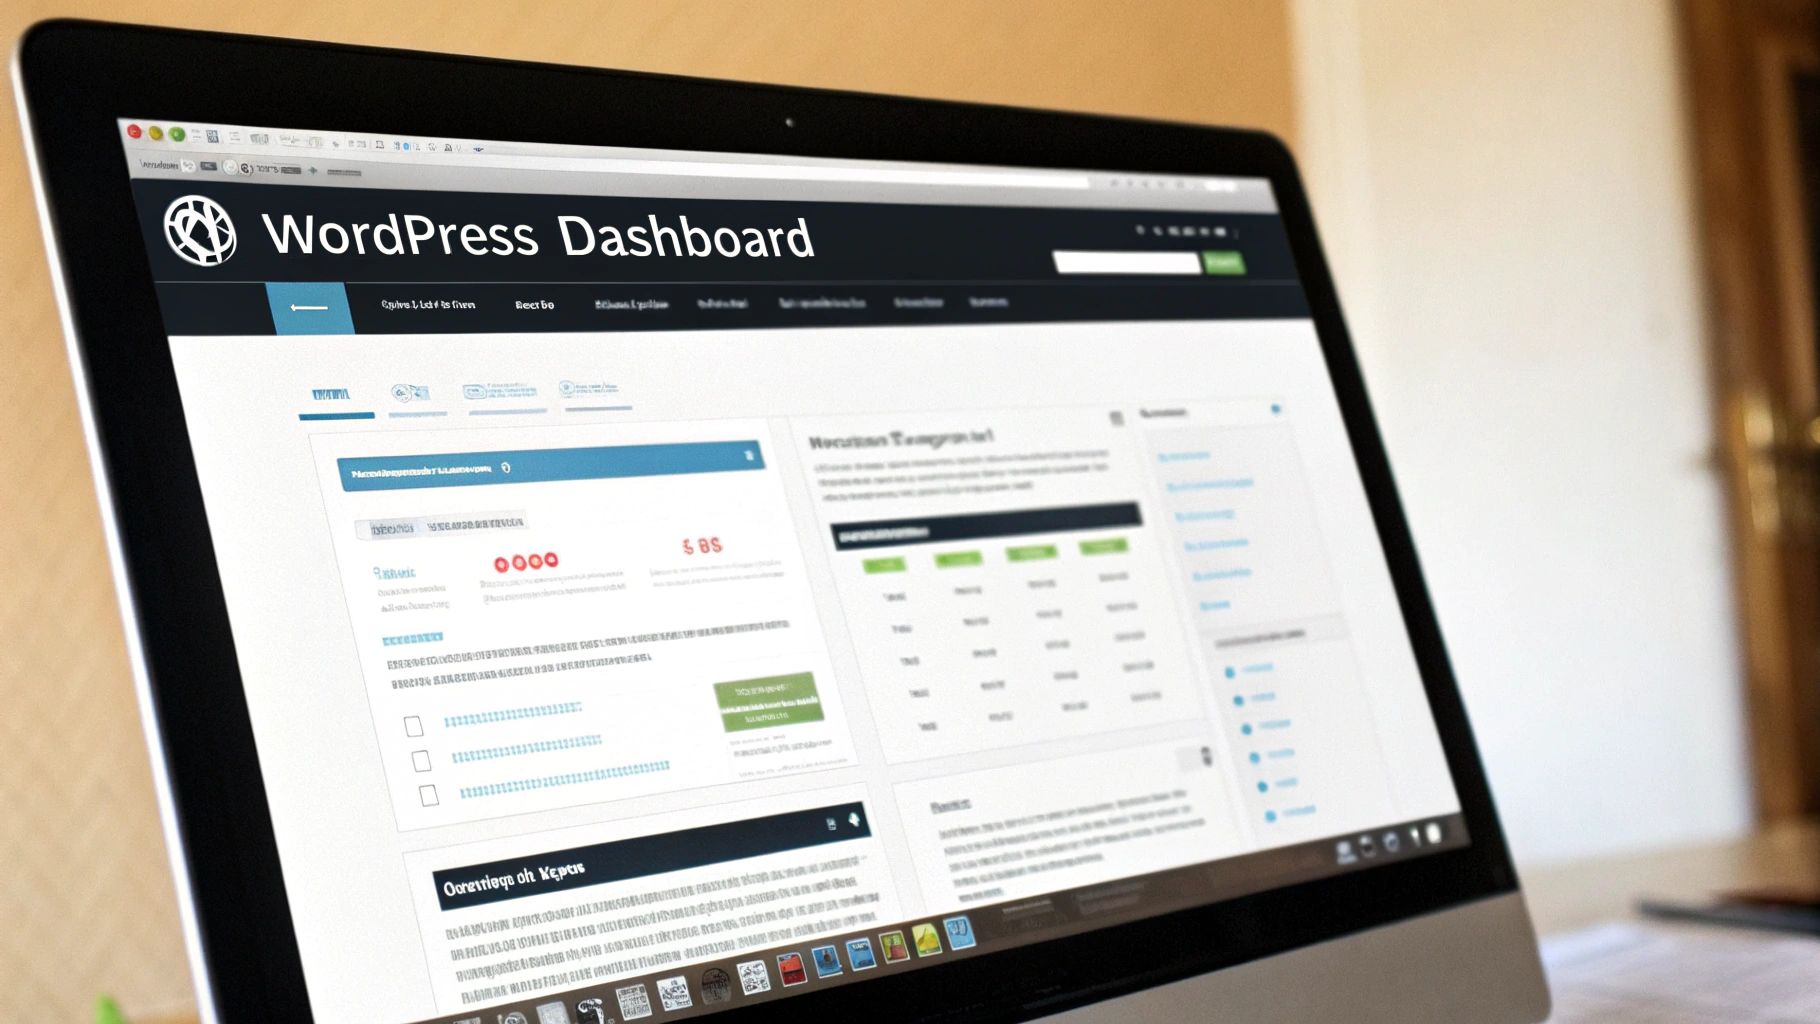
This is a pretty standard view of the dashboard. It gives you a quick snapshot of your site's activity and provides shortcuts for creating new content.
Core Navigation for Site Editing
Once you understand what the main sections do, navigating the dashboard becomes second nature.
Here’s a quick rundown of the most important spots:
- Posts: This is your blog. You'll come here to write, edit, and publish all of your articles.
- Pages: This section is for your site's core, static content. Think of pages that don't change very often, like your homepage, services page, or privacy policy. A common stumbling block for beginners is knowing whether to create a Post or a Page. Just remember: if it’s a timely update (like news), it’s a Post. If it's a foundational part of your site's structure, it’s a Page.
- Appearance: This is where you control how your site looks. You can change themes, customize fonts and colors, and manage your widgets (like the blocks in your sidebar or footer).
- Plugins: Think of plugins as apps for your website. This is where you’ll go to add new functionality, like a contact form, an e-commerce store, or an SEO tool.
- Settings: This area contains all the site-wide configurations. You can change your site's title and tagline, set your time zone, and define how your URLs are structured.
To make it even simpler, here's a quick reference table for the key areas you'll be using.
Key Dashboard Areas for Editing Your Site
| Dashboard Section | Primary Use for Editing |
|---|---|
| Posts | Creating and managing blog articles and news updates. |
| Pages | Building and editing static, core site content (e.g., About). |
| Appearance | Customizing your site's visual design, theme, and widgets. |
| Plugins | Adding or removing features and functionality. |
| Settings | Configuring global site options like title and permalinks. |
Getting a feel for these sections will make your life much easier when you need to make quick updates.
Why This Matters for You
Knowing your way around the dashboard is liberating. When a colleague asks you to update the company’s phone number, you’ll know instantly to head to the "Contact Us" Page, not get lost looking through Posts.
The real power of WordPress comes from its logical organization. Once you understand the role of each dashboard section, you can edit your site efficiently and avoid common mistakes that frustrate newcomers.
There’s a reason this platform is so dominant. WordPress powers over 43% of all websites and holds a massive 64.3% share of the content management system market. According to research from MobiLoud on WordPress's market share, its growth is a direct result of this user-friendly structure. You're using the industry standard, so feel confident and dive in.
Editing Content with the Block Editor
If you're going to be updating your WordPress site, you'll get very familiar with the Block Editor, which most people still call Gutenberg. It completely changed the game for content creation. Instead of one big text box, you now build your pages with modular "blocks."
Every single piece of your content—a paragraph, an image, a video, a headline—is its own block. This gives you an incredible amount of control. You can add, move, and tweak individual elements without messing up the rest of the page. It's a lot like building with LEGOs, where each piece has a purpose and can be snapped into place wherever you want. This modular design is a huge part of what makes WordPress so flexible and popular worldwide.
The editor is surprisingly intuitive, which makes sense when you consider the platform's global reach. Since its launch in 2003, WordPress has grown to support over 70 languages. In fact, non-English downloads of WordPress overtook English ones for the first time way back in 2014. This wouldn't be possible without user-friendly tools like the Block Editor. You can get a sense of its dominance by checking out WordPress's impressive market share.
Mastering the Essential Blocks
When you're ready to edit a page or post, just click the little “+” icon to pull up the block library. You’ll see a ton of options, but honestly, you'll probably use the same handful over and over again.
These are the core blocks you’ll rely on daily:
- Paragraph Block: This is your workhorse for any standard text. It's the default block, and you can easily make text bold, add italics, create links, and change the alignment.
- Heading Block: Absolutely essential for organizing your content. Using headings (from H1 to H6) creates a clear structure that's good for both human readers and search engines.
- Image Block: Getting visuals onto your page is a breeze. Just drag an image from your desktop or pick one from your Media Library. From there, you can resize it, pop in a caption, or even give it rounded corners. Just remember that image file size is critical for site speed. We have a whole guide on how to optimize website images that you should definitely check out: https://onenine.com/how-to-optimize-website-images/
- Button Block: When you need a clear call-to-action, this is the block to use. You can easily change the button's text, link, colors, and overall style to draw visitors' attention where you want it.
Building More Complex Layouts
The true magic of the Block Editor really shines when you start combining blocks to create custom layouts, all without having to write a single line of code.
Let's say you want to display your services in a few side-by-side sections. In the old days, this was a real pain. Now, you just add the Columns Block. It lets you instantly create a two, three, or even four-column layout. After that, you can simply drag any other block you need—like an image, a heading, and some text—right into each column.
Pro Tip: Look for the "List View" icon (it looks like three stacked horizontal lines) at the top of the editor. Clicking it gives you a complete outline of every block on your page. This makes it super easy to select, drag, and reorder things, especially on pages with complicated layouts.
Need to embed a video testimonial? Grab the YouTube Block, paste in the video link, and WordPress handles the rest, embedding it perfectly. Once your content is all set, the next step is making sure people can find it. That's where optimizing your content for SEO comes in, helping your newly polished pages reach the right audience.
Changing Your Site's Overall Design
If the Block Editor is for the content inside your pages, think of the WordPress Customizer as the tool for everything around it. This is where you control the big-picture design elements—the look and feel that ties your entire site together into a cohesive brand experience. It’s less about decorating one room and more about setting the architectural style for the whole house.
You can get there by heading to Appearance > Customize in your dashboard. This will launch a special interface where you see a live preview of your website on the right and a panel of controls on the left. The best part? You can play around with settings as much as you want. Any changes you make are only visible to you until you hit that blue "Publish" button. It’s a completely risk-free way to experiment.
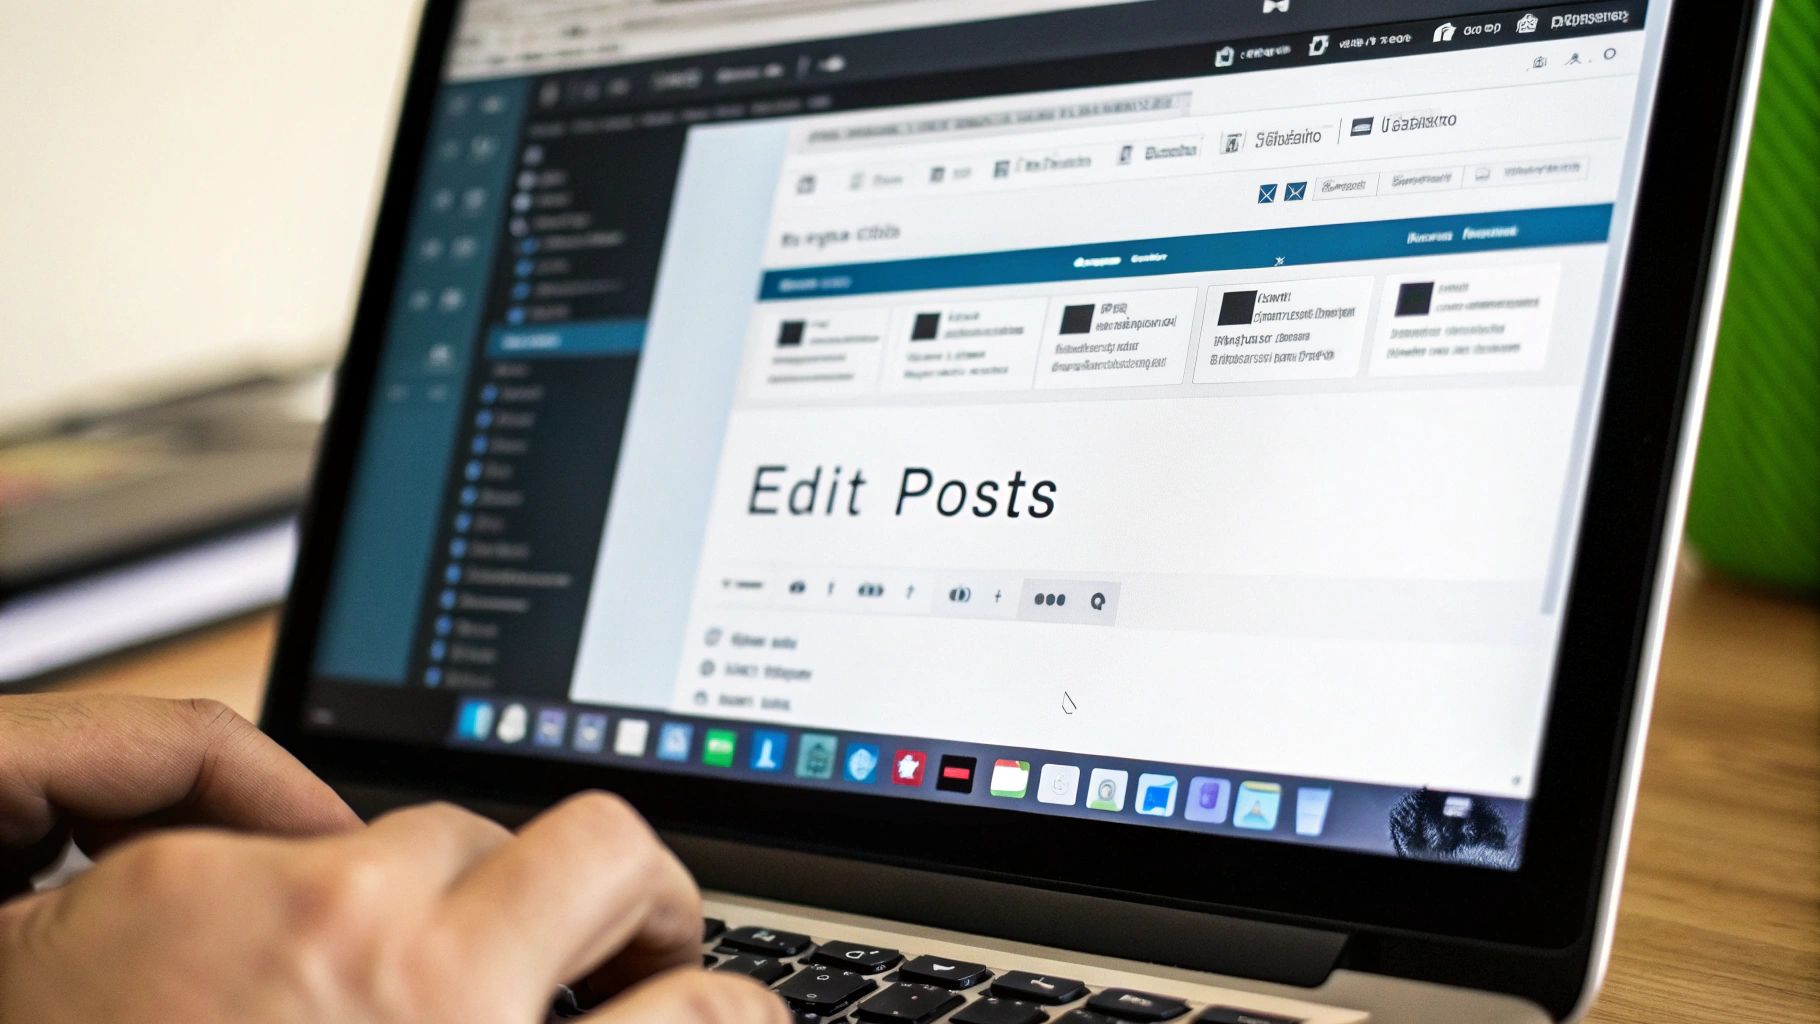
This is your mission control for making that crucial first impression.
Mastering Global Design Elements
What you can change in the Customizer really depends on your theme. Some themes offer a ton of options, while others are more basic. Regardless, you'll almost always find a core set of controls for branding and navigation.
Here are the most common things you’ll be tweaking:
- Site Identity: This is usually the first stop. Here you can upload your logo and set the Site Title and Tagline. These are the elements that typically show up in your site's header, so getting them right is key for brand recognition.
- Colors & Fonts: Look for menu items like "Colors" or "Typography." This is where you'll set your primary brand colors for links, buttons, and headlines. You can also swap out the default fonts to find ones that better reflect your brand’s personality.
- Menus: Your main navigation is a visitor's roadmap. The "Menus" section lets you build new menus, add pages to them, and reorder items just by dragging and dropping them into place.
These foundational settings are incredibly important. If you want to learn more about what makes a design truly click with users, we've put together a guide on the essential website design best practices for success.
Adding Functionality with Widgets
Beyond just looks, the Customizer is also where you manage widgets. These are small, independent blocks of content that you can place in designated areas of your theme, like the sidebar or footer.
Widgets are like handy accessories for your site. They add useful features without getting in the way of your main content. For instance, a "Recent Posts" widget in your blog's sidebar is a great way to keep people on your site longer.
You can use widgets for all sorts of things, such as:
- A Search Bar to help visitors find what they need.
- A Recent Posts list to showcase your latest content.
- Social Media Icons that link out to your profiles.
- A Custom HTML block for embedding things like an email newsletter form.
By getting comfortable with both the global settings and the widgets in the Customizer, you gain powerful control over your site's entire design and the experience you create for your visitors.
Using Plugins to Add New Features
If the Block Editor is for your content and the Customizer is for your look, then plugins are how you give your website superpowers. Seriously. They're like apps for your site.
Want to add a contact form? There's a plugin for that. Need to build an online store? Yep, there’s a plugin for that, too. Plugins are what take a simple WordPress site and turn it into a full-fledged business machine, an e-commerce giant, or a bustling online community.
To get started, just head to Plugins > Add New in your dashboard. This opens up the official WordPress repository, a massive library with thousands of free options ready to go.
Installing and Setting Up a Plugin
Let's try a real-world example. Say you want to improve your site's Google rankings. One of the best tools for the job is Yoast SEO. In the "Add New" screen, you'd search for "Yoast SEO," click "Install Now," and then "Activate." That's it—the plugin is now part of your site.
For a more detailed breakdown of this process, our guide on how to install a plugin in WordPress covers everything you need to know: https://onenine.com/how-to-install-a-plugin-in-wordpress/
Once a plugin is active, you'll need to find its settings to configure it. They usually show up in one of three places:
- A new top-level menu item: Many larger plugins, like Yoast SEO, add their own section to the main dashboard menu.
- Under an existing menu: Check the Settings or Tools tabs for a new submenu.
- Inside an editor: Some plugins add their controls directly into the page or post editor.
For our Yoast example, you'd follow its setup wizard, plugging in details like your site's name and what your business does. This helps the plugin tailor its SEO recommendations just for you.
A Quick Word of Warning: Only install plugins from the official WordPress.org repository or from well-known, trusted developers. A poorly written or outdated plugin isn't just a performance drag; it's one of the biggest security holes a WordPress site can have.
Don't Forget Plugin Maintenance
Your work isn't over once a plugin is installed. Keeping your plugins updated is non-negotiable for site security and performance. Developers constantly release updates to fix bugs, patch security vulnerabilities, and roll out new features. Letting them fall behind is asking for trouble.
This fast-paced evolution is actually one of WordPress’s greatest strengths. For example, when a major new version of WordPress was released, 58.3% of users updated within the first two months. It shows how engaged the community is in keeping the platform modern and secure. You can find more stats on WordPress's rapid update cycle over at sqmagazine.co.uk.
And if an update ever breaks something? No panic necessary. You can almost always head to the Plugins screen and temporarily deactivate the troublesome plugin while you figure out a fix. This power to add, configure, and safely manage plugins is what gives you the freedom to edit and expand your WordPress site in any direction you can imagine.
When the visual editors just aren't cutting it and you need more precise control, it’s time to look under the hood. Moving beyond the drag-and-drop world can give you pinpoint accuracy over almost any element on your site. For this, we turn to two powerful built-in tools: the "Additional CSS" panel and the Theme File Editor.
These tools are the perfect middle ground between the simple settings panels and diving headfirst into your site’s code. They let you make specific tweaks that your theme’s options probably don’t cover.
Quick Tweaks With Additional CSS
The safest way to start experimenting with code is through the Additional CSS panel. You’ll find this tucked away inside the Theme Customizer (Appearance > Customize > Additional CSS). It's essentially a dedicated text box where you can add small CSS snippets to override your theme's default styling.
This is my go-to for small, specific changes. Let's say you want every link on your site to be a particular shade of blue that isn't in your theme's color palette. Or maybe you want to bump the main heading on your homepage up a few pixels. A simple line or two of CSS in this panel can make it happen, all without touching your site's core files.
Think of Additional CSS as a safe sandbox. The code you add here is layered on top of your theme's existing styles. If you mess something up, just delete the code, and everything snaps back to normal. No harm, no foul.
Before you start making deeper edits, it helps to understand how different parts of a WordPress site are managed. The image below gives a great high-level view of what a well-maintained site looks like.
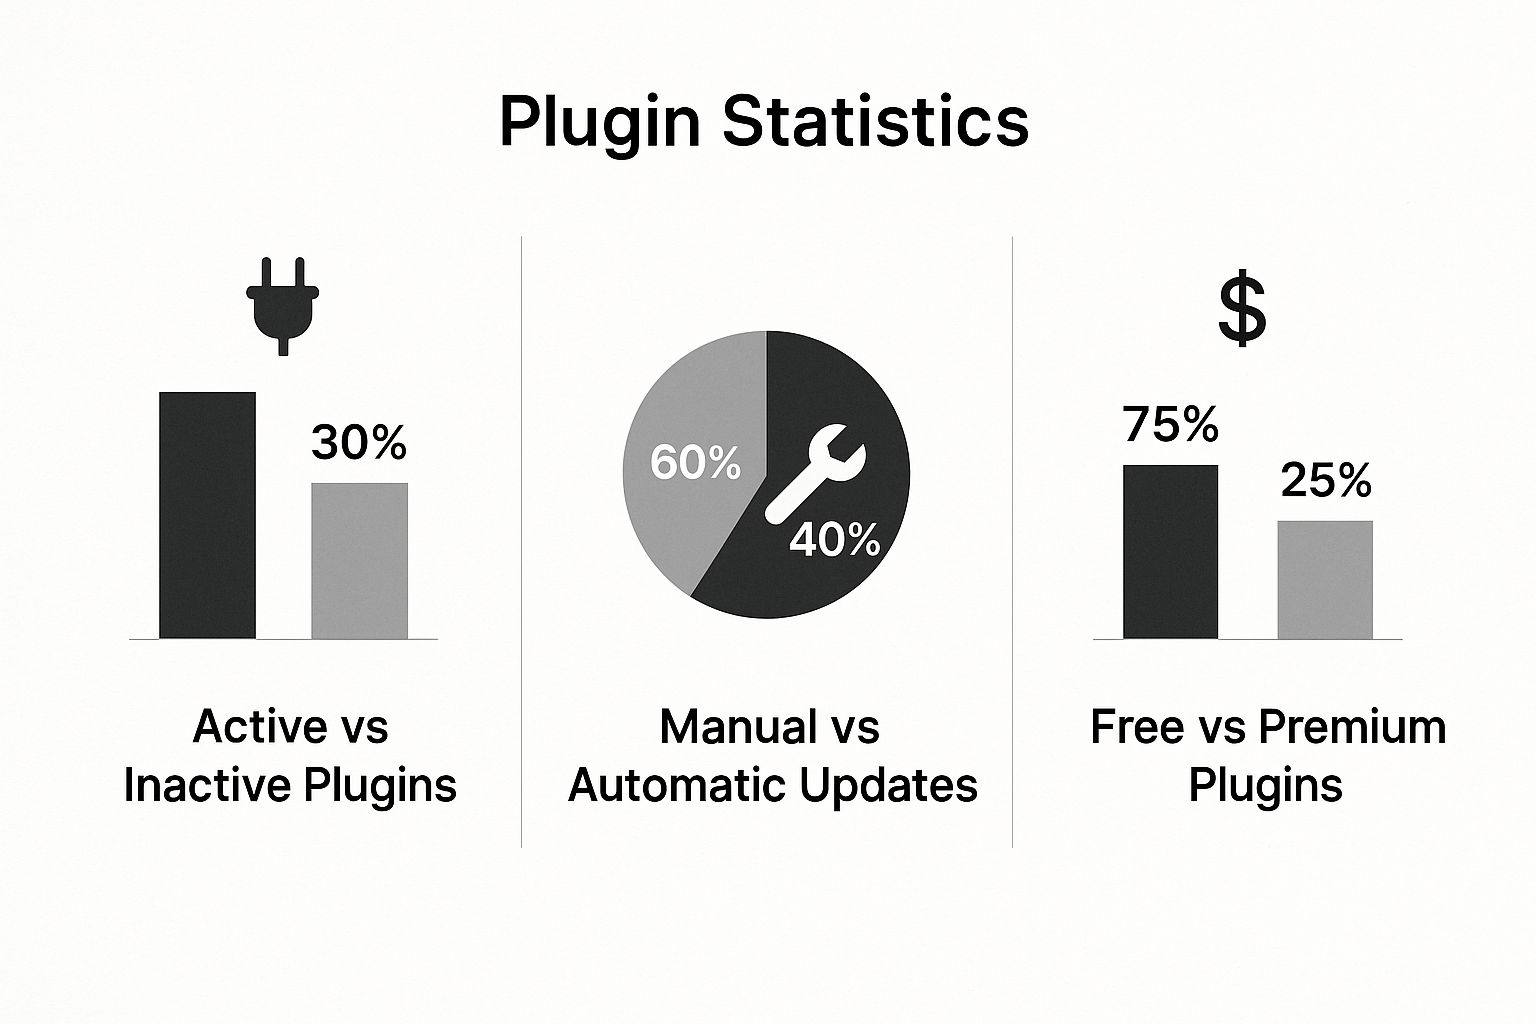
The data clearly shows that the WordPress community values performance and security, with a strong preference for active plugins, automatic updates, and premium tools. Keep these principles in mind as you start making more advanced changes to your own site.
A Comparison of WordPress Editing Methods
Before we go any deeper, it's helpful to see how these different editing methods stack up. This table breaks down what each tool is best for, the skill level required, and how risky it is to use.
| Editing Method | Best For | Required Skill Level | Risk Level |
|---|---|---|---|
| Theme Customizer | Basic visual changes like colors, fonts, and layouts. | Beginner | Low |
| Additional CSS | Minor stylistic tweaks and overriding default styles. | Beginner-Intermediate | Low |
| Theme File Editor | Significant structural or functional changes to your theme. | Advanced | High |
Understanding these differences will help you choose the right tool for the job and avoid making a change that could bring your site down.
Editing Theme Files Directly
For major surgery, there's the Theme File Editor (Appearance > Theme File Editor). This tool gives you direct access to your theme's core files, like style.css for styles and functions.php for custom functionality. It's incredibly powerful, but it's also where things can go very, very wrong.
I cannot stress this enough: before you even think about touching this editor, you absolutely must do two things:
- Create a Full Site Backup: If you make a mistake here—a misplaced comma or a typo—you could crash your entire site. A recent backup is your only safety net.
- Use a Child Theme: Never, ever edit your main (parent) theme's files directly. The moment that theme gets an update, all of your hard work will be completely wiped out. A child theme lets you safely store your modifications in separate files that won't be overwritten.
A real-world example of using the Theme File Editor would be adding a Google Analytics tracking script to your site's header (header.php). This ensures the script loads on every single page. When you start making changes this significant, it's also wise to follow some software versioning best practice tips to keep your work organized and stable.
While the Theme File Editor offers the ultimate level of control, it should always be approached with extreme caution. For most everyday tweaks, the Additional CSS panel gives you plenty of power without any of the risk.
Common Questions About Editing WordPress
https://www.youtube.com/embed/mPF_pLg70zw
As you start to get the hang of WordPress, you’ll inevitably run into a few common questions. Getting these answers sorted out early on can save you a ton of frustration and give you the confidence to make changes without worrying about breaking things.
Let's dive into some of the questions I hear most often from people learning to edit their own sites.
Can I Edit My Site Without Coding?
Yes, you absolutely can. For 95% of the edits most people will ever need to make, you won’t have to look at a single line of code. WordPress was built from the ground up to be accessible for everyone, not just developers.
Almost everything you'll want to do has a visual, user-friendly tool:
- Editing Content: The Block Editor is your go-to for all text, image, and layout changes on your pages and posts.
- Changing Your Design: The Theme Customizer handles your site's overall appearance, letting you tweak colors, fonts, and logos with a live preview.
- Adding New Features: Need a contact form or an image gallery? That’s what plugins are for. You just install and configure them.
You’ll only need to dip into code for highly specific, advanced customizations that your theme or plugins don’t already offer.
What Is the Safest Way to Make Big Changes?
When you’re planning a major overhaul of your site's design or functionality, the one non-negotiable rule is to use a child theme. This is the standard, professional-grade method for safely modifying your site.
Think of it this way: your main theme is the "parent." A child theme acts as a separate layer that inherits all the parent's style and functionality but keeps your custom changes isolated.
This is so important because when you update your parent theme (which you must do for security), your customizations won't be overwritten and lost. Directly editing the parent theme's files is a rookie mistake that almost always ends in lost work.
How Can I Undo a Mistake While Editing?
WordPress has your back. A small slip-up is rarely a catastrophe, thanks to a few built-in safety nets. How you recover just depends on what you were working on.
If you’re editing content in a post or page, the Revisions feature is your best friend. WordPress automatically saves past versions of your work, so you can easily browse through the history and restore an older draft with a single click.
Making design tweaks in the Theme Customizer? Nothing is final until you hit that "Publish" button. If you don't like what you see, just exit without saving. For any bigger "oops" moments, your ultimate safety net is a recent website backup. Good hosting providers include this, but a dedicated backup plugin also provides fantastic peace of mind.
At OneNine, we simplify the entire process of website management. If you want a partner who can handle the technical details so you can focus on your business, learn more about our services.


