
Adding a new feature to your WordPress site is surprisingly easy. In most cases, it's a simple matter of heading to your dashboard, clicking Plugins > Add New, finding what you need, and hitting Install Now and Activate. Just like that, you can add new capabilities to your site in minutes, no coding required.
Why WordPress Plugins Are the Key to a Better Website
Think of plugins as apps for your website. They're the secret sauce that lets you add powerful features—like a sleek contact form, an online store, or a beautiful photo gallery—without ever having to touch a line of code.
Essentially, they transform what your website can do. If you're new to the concept, you can learn more about what a plugin is in our detailed guide.
For most people, the go-to source is the official WordPress plugin directory. It's a massive library of free, pre-vetted tools you can trust.
With over 59,000 free options available, you can find a plugin for just about anything you can imagine, from boosting your SEO to building a full-blown e-commerce empire. It’s no wonder this is the most popular method—it’s built right into your WordPress dashboard, making it both safe and incredibly convenient.
The Quickest Way to Install Plugins from Your Dashboard
Honestly, for most folks, this is the only method you’ll ever need. It's built right into your WordPress dashboard, making it incredibly simple and safe. This approach taps you directly into the official WordPress.org plugin directory, giving you access to over 59,000 free plugins.
Getting started is a breeze. Just head over to Plugins > Add New in the left-hand menu of your admin area.
The screenshot below points you exactly where to go. It's that "Add New" button right under the main "Plugins" menu item.
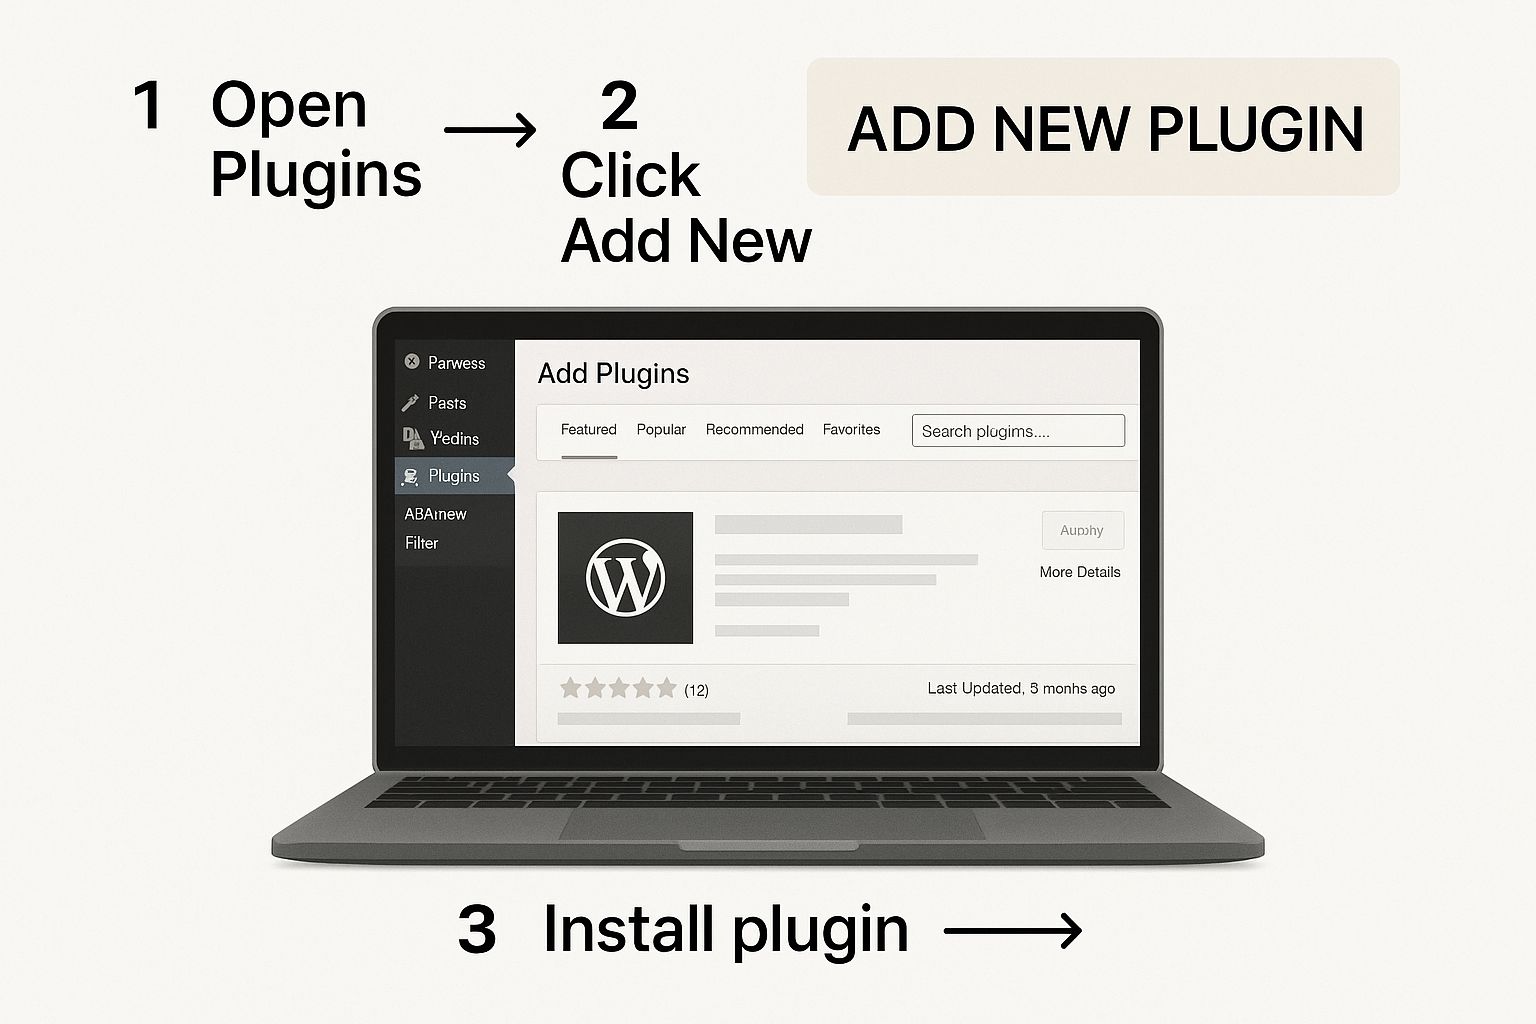
This screen is your command center for adding new features to your site. You can browse popular plugins or, more likely, use the search bar on the right to find exactly what you're looking for. Once you've found your plugin, just click 'Install Now' and then, once it's done, be sure to hit 'Activate'. A plugin isn't actually "on" until you activate it
Installing a Plugin From a .zip File
Sometimes you won't find the plugin you need in the official WordPress directory. This is common for premium plugins you buy from a developer's site or a marketplace like CodeCanyon. When you buy one of these, you'll get a .zip file to download.
Thankfully, you can install it right from your dashboard.
Head over to your WordPress admin area and find Plugins > Add New. At the very top of the screen, you'll see an Upload Plugin button. Click that, and you'll get a simple file uploader.
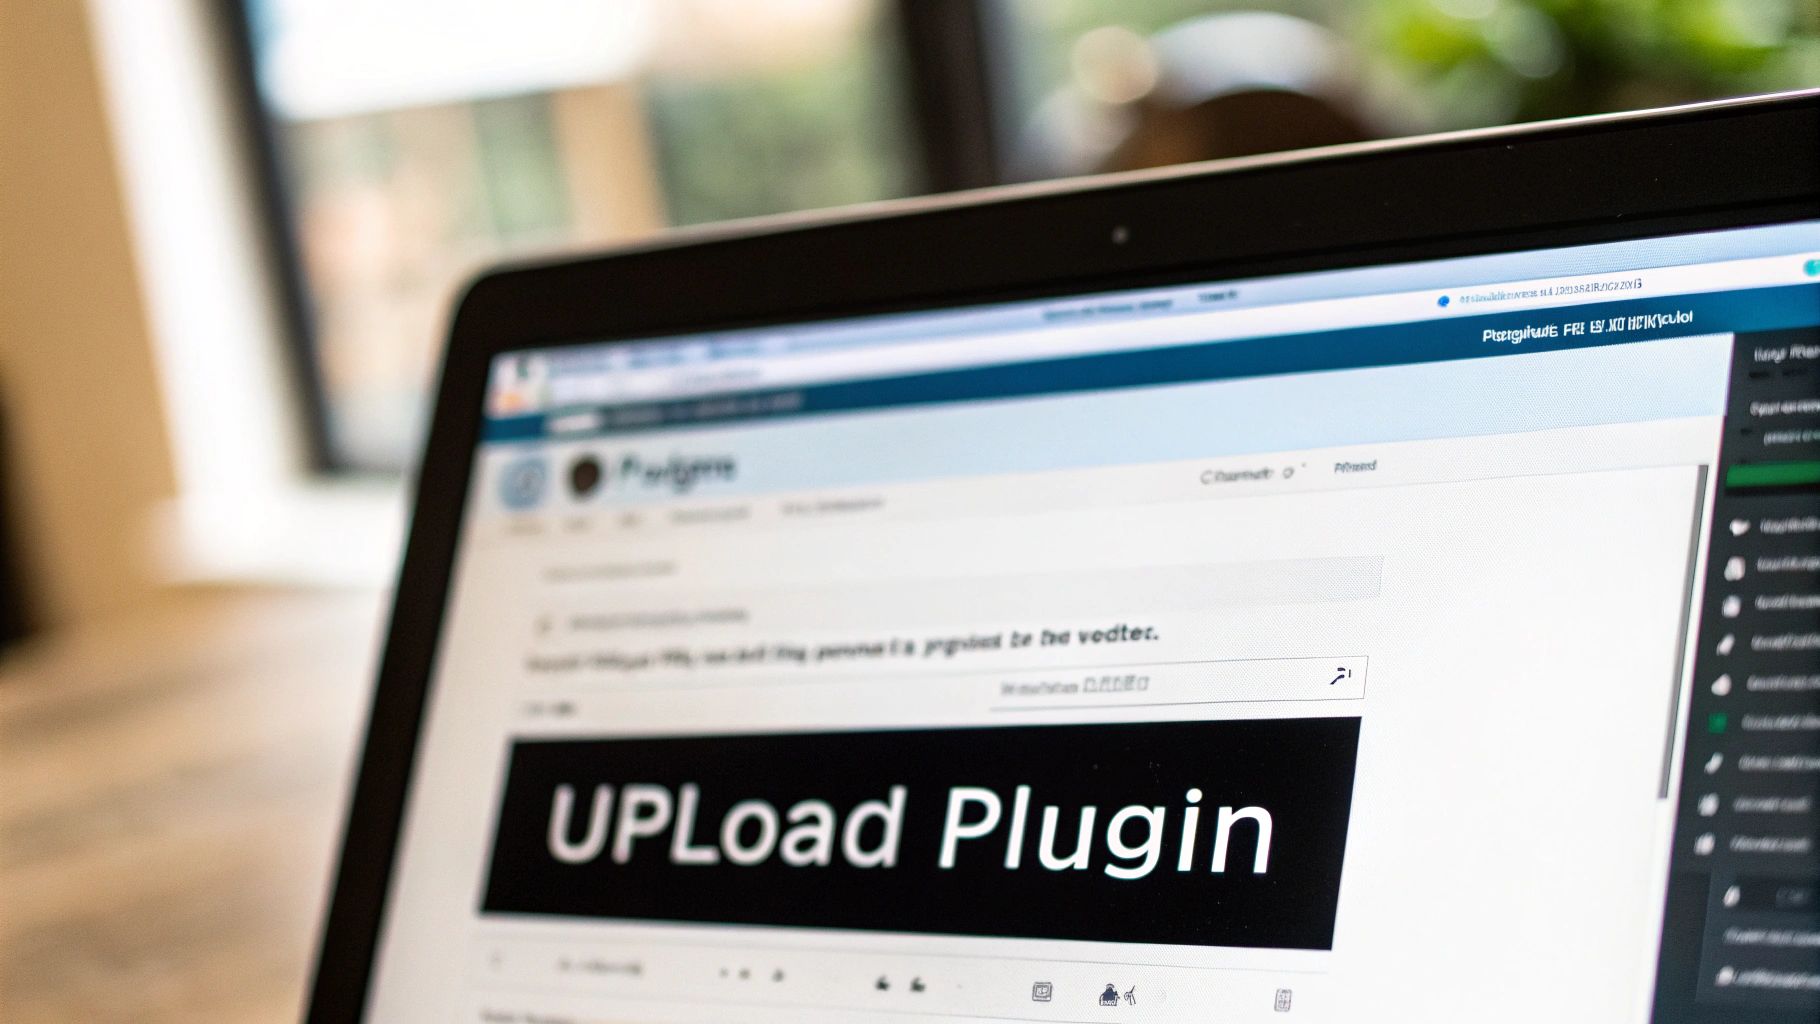
This uploader feels standard now, but it was a massive improvement when it was introduced. Before 2008, every single plugin installation required firing up an FTP client, which was a real pain for anyone who wasn't a developer. It's a great example of how much more user-friendly the platform has become over the years. You can read more about WordPress's evolution on diviflash.com.
Pro Tip: I see this all the time—people unzip the file on their computer first. Don't do that! WordPress needs the original, compressed .zip file to handle the installation correctly. Just upload the file exactly as you downloaded it.
When You Need to Install a Plugin Using FTP
https://www.youtube.com/embed/euEjc2QSGok
So, what happens when your WordPress dashboard is completely out of reach? Or maybe a quirky server setting is blocking you from uploading anything? This is where installing a plugin manually via File Transfer Protocol (FTP) becomes your lifeline.
Think of it as the backdoor into your site's files. It’s definitely a more advanced method, and you'll need an FTP client—most people use the free tool FileZilla—to connect directly to your server.
First things first, you'll need to unzip the plugin file on your own computer. This is a key difference from the dashboard method. Once you've connected to your site with your FTP client, you'll need to find your way to the wp-content/plugins folder. This is where you'll upload the unzipped plugin folder.
This exact process is a lifesaver if a bad plugin has crashed your site and locked you out. Being able to go in through FTP and simply delete that plugin’s folder is often the quickest way to get your site back online. Just remember to have a recent backup on hand before you start deleting files. If you're not sure how, check out our guide on how to restore WordPress sites to stay safe.
Choosing and Managing Plugins Like a Pro
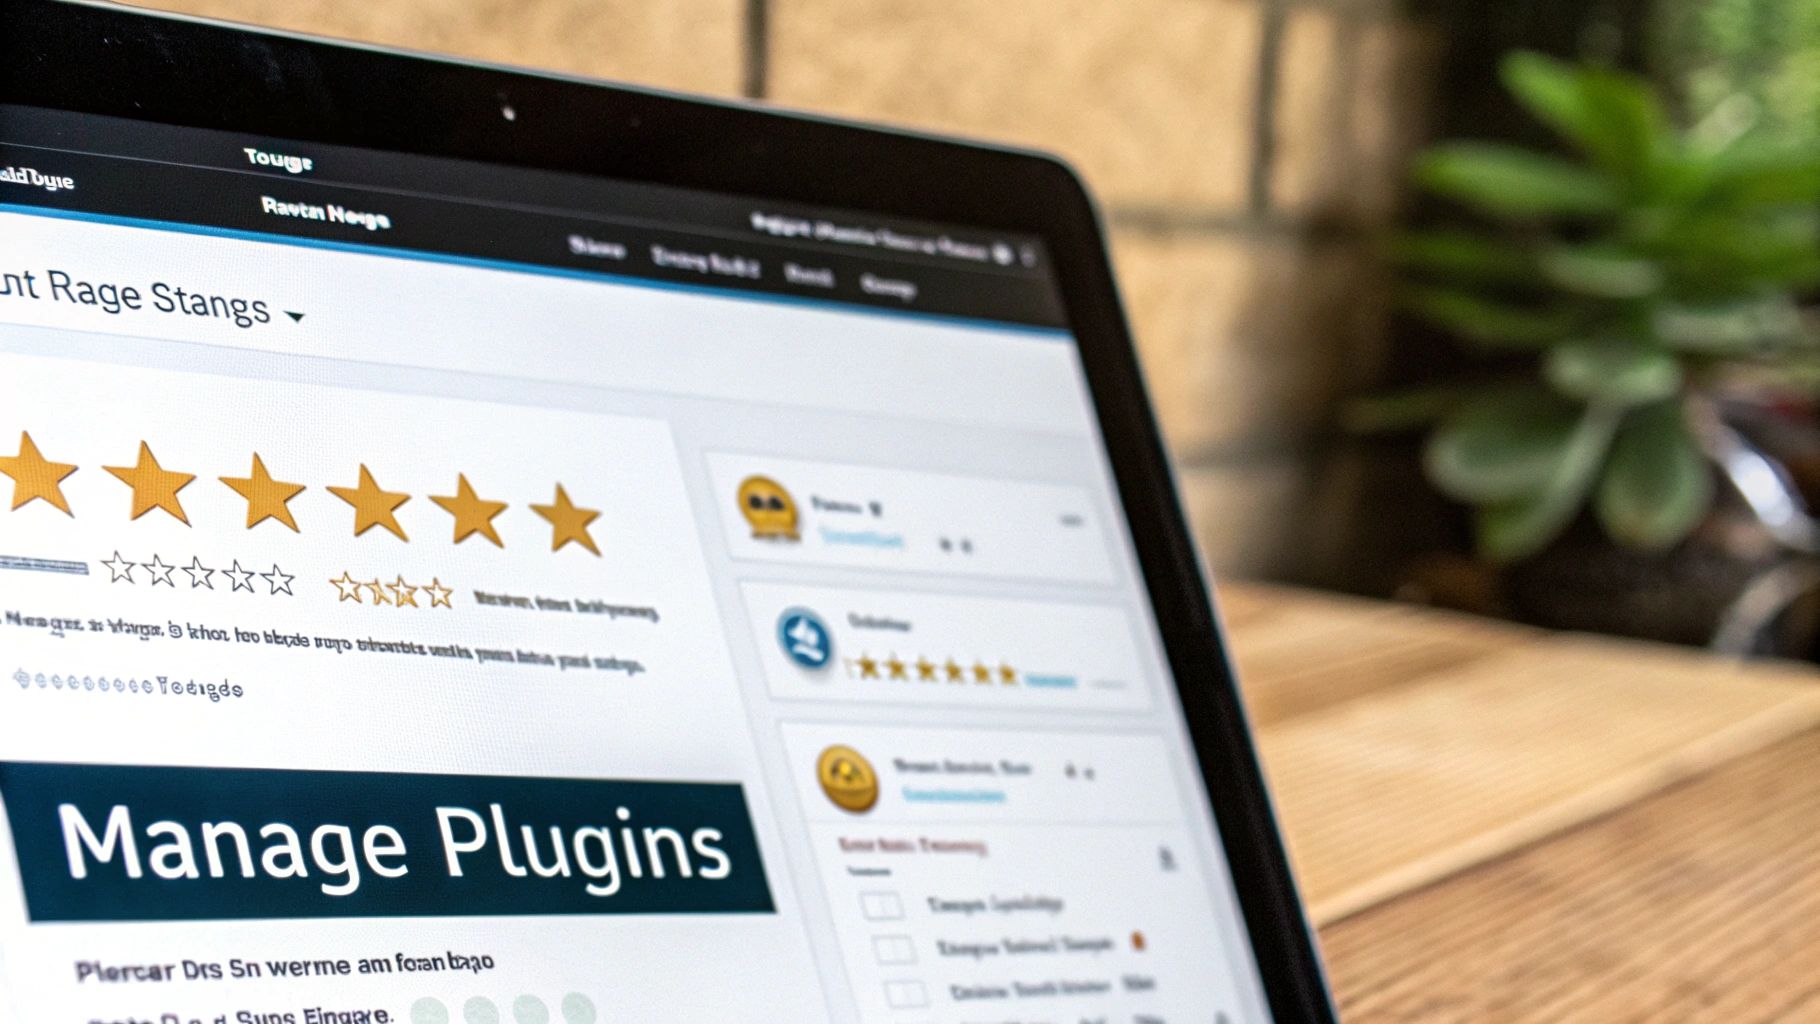
Knowing how to install a WordPress plugin is just the beginning. The real expertise comes from picking the right ones and managing them effectively to keep your site running smoothly, securely, and quickly. It's a balancing act that every experienced site owner has to master.
Think of it like this: your WordPress site is a high-performance machine, and each plugin is an after-market part. Some are essential, but adding too many—or the wrong ones—can slow things down and open up security holes.
How to Spot a High-Quality Plugin
Before you even think about hitting that "Install Now" button, take a moment to play detective. A few minutes of vetting can save you hours of headaches down the road. It’s a simple process, but one that’s often overlooked.
A good plugin should fit into your broader goals. For instance, if you're building an affiliate site, you'll need specific tools for that job. Understanding how they all work together is crucial, and you can learn more from resources like A Practical Guide to Affiliate Marketing on WordPress to see the bigger picture.
Here's a sobering thought: the average WordPress site has 12 to 15 plugins. Meanwhile, outdated plugins are the cause of an estimated 95% of all reported security vulnerabilities. Careful management isn't just a good idea—it's essential.
To help you out, here’s a quick checklist I run through before installing anything new on my sites.
Plugin Quality Checklist Before You Install
| Checklist Item | What to Look For | Why It Matters |
|---|---|---|
| Active Installations | A high number (thousands or millions) | This shows the plugin is popular, trusted, and widely used by the community. |
| User Ratings | 4-star or higher with a good number of reviews | Social proof is powerful. It tells you that other users have had a positive experience. |
| Last Updated Date | Recently updated (ideally within the last few months) | Frequent updates mean the developer is actively maintaining it and patching security issues. |
| Compatibility Info | "Tested with" your current WordPress version | This confirms the plugin won’t cause conflicts or break your site after a WordPress core update. |
| Support & Documentation | Active support forums and clear documentation | Good support shows the developer is responsive and willing to help if you run into trouble. |
By making this checklist a habit, you'll dramatically reduce the risk of adding a problematic plugin to your site. It’s all about being selective and prioritizing quality over quantity.
Got Questions About WordPress Plugins? We Have Answers
Even seasoned WordPress users run into questions now and then when dealing with plugins. It's just part of the process.
Here, we'll tackle some of the most common things people ask about: what to do when a plugin installation goes wrong, the age-old question of how many plugins are too many, and the real risks of leaving old plugins sitting on your site.
And if you ever find two plugins just aren't playing nice together, we've got you covered. You can learn exactly how to fix plugin conflicts on your site.


