
Installing a WordPress plugin is a rite of passage for any site owner. It’s also surprisingly straightforward. You can grab free plugins right from your dashboard, upload a premium one you've purchased, or even get your hands dirty with a manual FTP install. In just a few minutes, you can unlock some serious new capabilities for your website.
Why WordPress Plugins Are Your Website’s Secret Weapon
Before we get into the nitty-gritty of installation, let’s quickly touch on why plugins are so essential. The best way to think about them is as apps for your website. They're how you add cool features—like a full-blown online store with WooCommerce or an SEO coach with Yoast SEO—without having to write a single line of code.
This incredible flexibility is the main reason WordPress has become so dominant. In 2025, it powers over 43% of all websites on the internet. That’s a staggering number, and it’s largely thanks to the massive ecosystem of plugins available. The official directory alone has over 59,000 free plugins ready for you to install.
So, what can a plugin actually do for your site? A whole lot.
- Add New Features: Want a contact form, a slick photo gallery, or live social media feeds? There’s a plugin for that.
- Boost Your SEO: Get expert help optimizing your content so you can rank higher in search results and attract more visitors.
- Beef Up Security: Add a digital bodyguard to your site to fend off spam, hackers, and other nasty threats.
- Drive Sales: Easily integrate e-commerce tools to sell products, services, or digital downloads directly from your site.
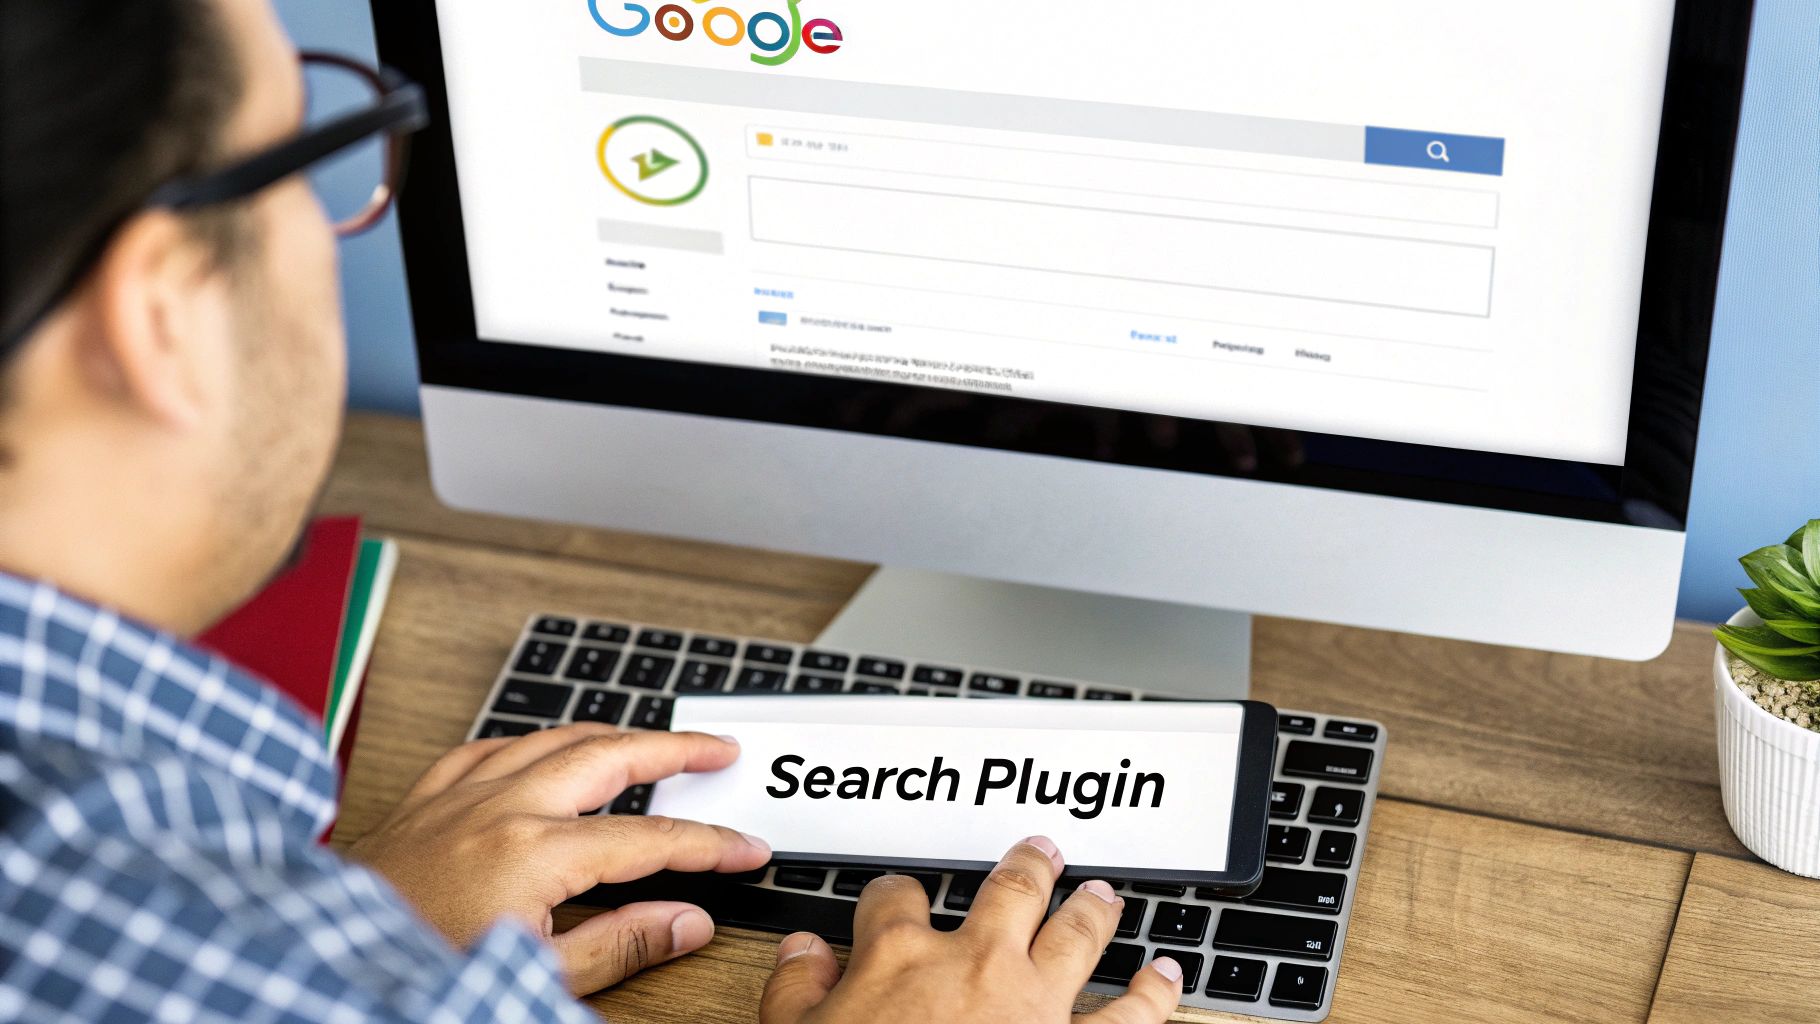
The official WordPress plugin directory is your first stop for finding these game-changing tools.

As you can see, the directory gives you a ton of information at a glance, like user ratings and the number of active installations, which are great indicators of a plugin's quality and popularity.
Unlocking Your Site's True Potential
Learning how to install a plugin is one of the most empowering skills you can develop as a WordPress user. Every plugin you add is another step toward creating a website that's perfectly suited to what you want to achieve. For a deeper dive, you can explore our guide on what is plugin in website.
The possibilities are almost endless. For instance, if you're building an e-commerce site, you might want to find the best plugin for accepting crypto payments to give your customers more ways to pay. That’s the real magic of plugins—they give you the power to adapt, innovate, and grow your site on your own terms.
Using the WordPress Dashboard for Easy Plugin Installs
For most folks, the easiest way to add a plugin is right from the WordPress dashboard. It's the most straightforward path because it connects you directly to the official WordPress.org plugin directory, which is packed with over 59,000 free plugins. You don’t need to touch a line of code—it’s all done with a few simple clicks.
First, log in to your WordPress admin area. Look at the menu on the left side of your screen, find Plugins, and then click on Add New Plugin. This will take you right to the plugin marketplace.
Think of this screen as your mission control for adding new features. The search bar on the right is your best friend here.
Finding and Evaluating the Right Plugin
Once you're on the "Add New Plugin" page, you can start searching. Let's say you type in "contact form." WordPress will show you a bunch of options, like the ever-popular WPForms or Contact Form 7. Before you jump on the first one you see, take a minute to do a little vetting.
Each plugin listing gives you some vital stats. These are your best clues for picking a winner.
- Active Installations: How many other websites are using this plugin? A high number is a good sign—it usually means the plugin is well-regarded and reliable.
- User Ratings: The star rating is a quick gut check. You want to see lots of positive reviews from other users like you.
- Last Updated: This one is huge. A plugin that was updated recently is far more likely to be secure and compatible with the current version of WordPress.
These details are like a quick health report. You're much better off choosing a plugin with a million installations and an update from last week than one that’s been collecting dust for two years.
My personal rule of thumb is to steer clear of any plugin that hasn't been updated in the last six months. Outdated code is a huge security risk, and it’s just not worth the potential headache.
Installing and Activating Your New Plugin
Okay, so you've found the perfect plugin. Now for the easy part.
Click the Install Now button. WordPress does all the heavy lifting in the background, downloading the plugin files to your site. This usually just takes a moment.
When it’s done, that button will change to Activate. This is the final, crucial step. A plugin might be installed, but it won't do anything until it's activated. Go ahead and click it to switch it on.
That's all there is to it! The plugin is now live. You can typically find its settings in the left-hand sidebar or under the main Settings menu to start customizing it.
A Guide to Manually Installing a WordPress Plugin
Sometimes the best plugins aren't in the official WordPress directory. When you invest in a premium plugin from a developer or find a niche tool on a marketplace like CodeCanyon, you'll need to install it manually. It might sound a bit technical, but it's actually a pretty simple process that unlocks a whole new world of functionality.
Most of the time, you'll be dealing with a .zip file. The easiest way to get that file onto your site is by using the built-in uploader right inside your WordPress dashboard. It's the go-to method for most people.
But every so often, you might run into a roadblock, like a file size restriction from your hosting provider. In those moments, knowing how to use an FTP client is a lifesaver.
Choosing Your Installation Method
To help you decide which path to take, here's a quick breakdown of the two manual installation methods.
| Method | Best For | Difficulty | Key Consideration |
|---|---|---|---|
| WordPress Uploader | Nearly all .zip plugin files, especially for beginners. |
Easy | Some web hosts limit the maximum upload size, which can cause errors with larger plugins. |
| FTP Client | Large plugins, troubleshooting failed uploads, or when you need direct server access. | Intermediate | Requires FTP login details from your host and an external app like FileZilla. |
Most of the time, the dashboard uploader will do the trick. But it's always good to have a backup plan.
Option 1: Using the WordPress Plugin Uploader
This is your express lane. All you need is the .zip file you downloaded from the plugin developer.
Once you have it, log into your WordPress admin area and head over to Plugins > Add New. Instead of searching for a plugin, look for the Upload Plugin button right at the top of the screen.
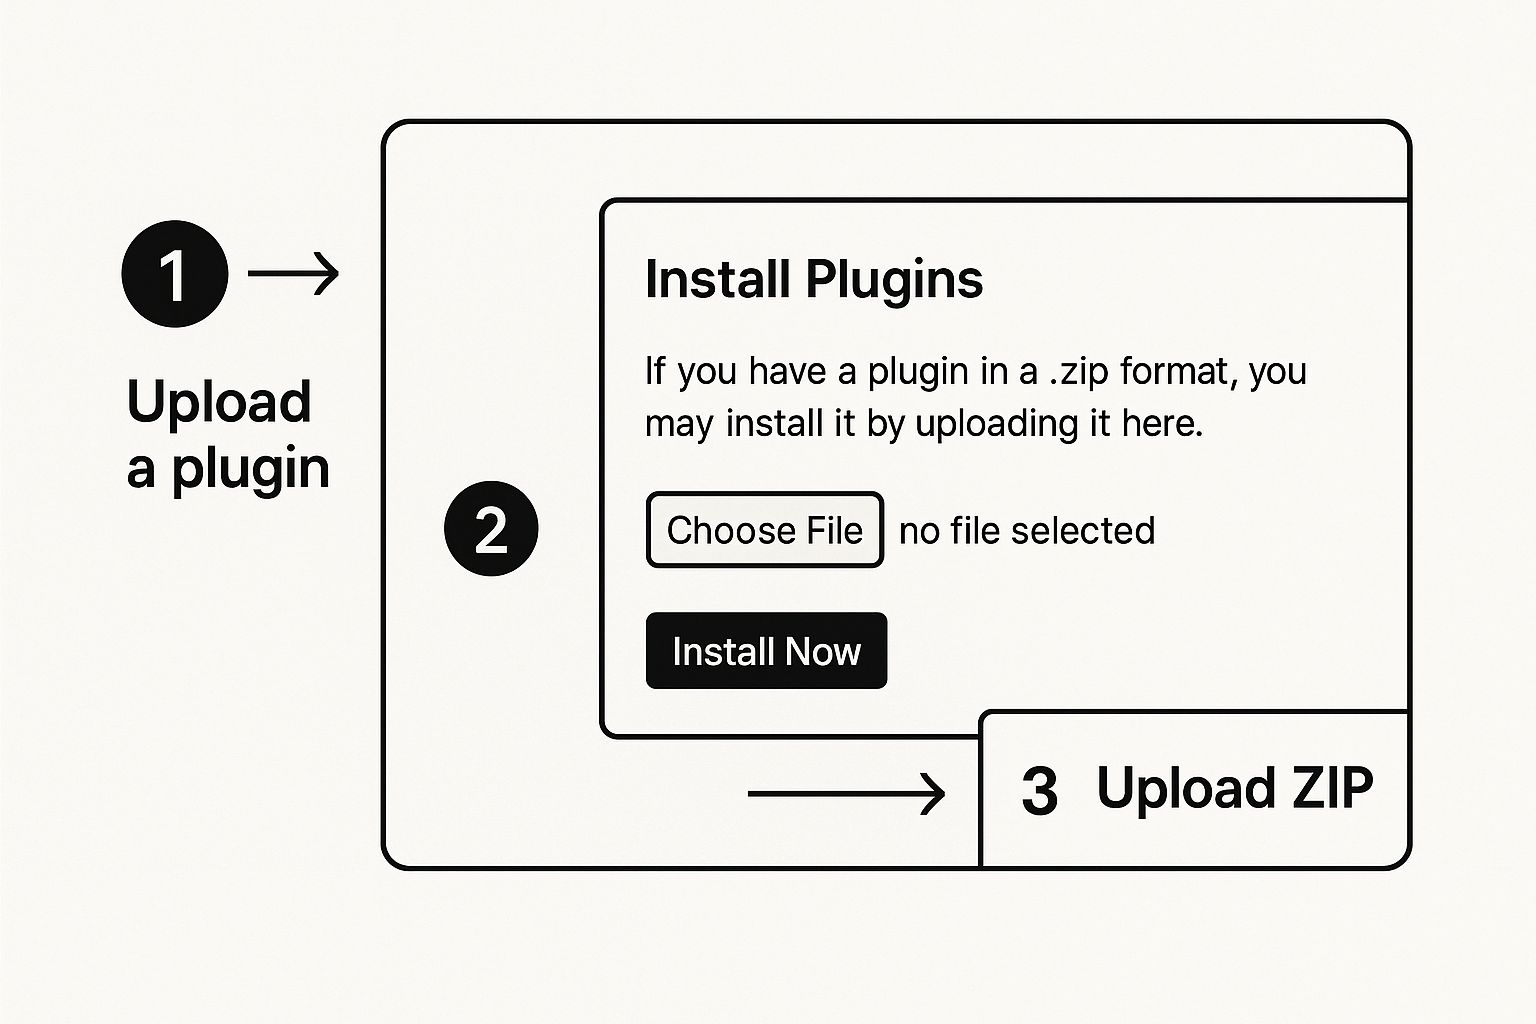
Click that button, and a simple upload form will appear.
- Click Choose File and find the plugin's .zip file on your computer.
- After selecting it, hit Install Now.
WordPress takes over from there. It will upload the package, unpack it, and put all the files in the right place on your server. Once the installation is finished, the final step is to click the blue Activate button to turn the plugin on. That's it!
A Quick Security Tip: Only download plugins directly from the developer's official site or a reputable marketplace. It’s the single best way to protect yourself from sketchy code or malware that can be bundled into files from untrusted sources.
Option 2: When You Need to Use FTP
What if the uploader fails? This usually happens because the plugin file is too large for your server's configured upload limit. Or maybe you just prefer the control of directly managing your site's files. In these cases, using an FTP (File Transfer Protocol) client is the solution.
FTP gives you a direct connection to your website’s server. You’ll need a free client like FileZilla and your FTP credentials, which you can get from your hosting provider’s dashboard.
Once you’re connected to your server, you need to find the plugins folder. The path is almost always the same: public_html/wp-content/plugins/.
Here’s the most important difference: before you upload, you must unzip the plugin file on your own computer. Unlike the dashboard method, FTP requires you to upload the extracted folder, not the .zip file.
Simply drag that unzipped folder from your desktop into the /plugins/ directory in your FTP client. After the file transfer is complete, go back to the Plugins page in your WordPress dashboard. You'll see your new plugin sitting in the list, waiting for you to click Activate.
What to Do After You Install a New Plugin
So you've hit "Activate." Now what? Don't make the mistake of thinking you're done—that's just the beginning. A new plugin is like a powerful tool you’ve just added to your toolbox; you still need to dial in the settings to make it work for you.
The first thing you’ll want to do is find where its settings live. Most developers will add a new menu item directly to your WordPress dashboard sidebar. If you don't spot it right away, poke around under the main Settings or Tools menus.
Configure Your Plugin and Check for Conflicts
Once you've located the settings page, spend a few minutes going through all the options. Most plugins come with default settings that are a decent starting point, but they’re rarely optimized for every website. For instance, a new caching plugin might need specific rules to play nicely with your theme, while an SEO plugin is useless until you fill in your site's details.
This is also your first, best chance to spot any trouble. A new plugin can sometimes clash with your theme or another plugin you're already using. Click through the most important pages on your live site—your homepage, contact page, and a blog post or two—to make sure everything still looks and works as it should.
Pro Tip: Get into the habit of taking a full backup of your site before you install anything new. It’s a simple step that can save you from a world of hurt if a plugin conflict breaks something. For more on this, check out our guide on the importance of website backups.
The Importance of Regular Updates
Here’s the part you can’t afford to skip: keeping your plugins updated. While the average WordPress site runs 12 to 15 plugins to get the right mix of features and speed, the real value comes from ongoing maintenance.
Think about this for a second: outdated plugins are the source of a staggering 95% of WordPress vulnerability reports. That single statistic from a Hostinger.com report on WordPress usage shows just how critical updates are for your site's security.
Ignoring an update is like leaving your digital front door wide open. Every patch doesn't just add new features; it closes security gaps that hackers are actively looking to exploit. Make checking for updates a non-negotiable part of your weekly website routine.
Troubleshooting Common Plugin Installation Issues
So, you followed the steps, but your plugin installation went sideways. It happens to everyone, even seasoned pros. A failed install can be a real headache, but don't worry—most of the common problems are surprisingly simple to sort out once you know where to look.
Let's dive into the most frequent hiccups you might encounter.
What to Do When a Plugin Crashes Your Site
The most terrifying problem is easily the "white screen of death" (WSOD). One minute your site is fine, the next it’s just a blank white page. It looks catastrophic, but it’s usually just a plugin causing a fatal error.
The fix requires getting your hands a little dirty with an FTP client, like FileZilla.
Once you connect to your server, you'll need to navigate to the wp-content/plugins/ directory. This is where all your plugin files live. Find the folder for the plugin you just tried to install—that’s almost certainly the culprit.
To get your site back, just rename that plugin's folder. For instance, change awesome-new-plugin to awesome-new-plugin-disabled. This breaks the connection, forcing WordPress to deactivate it. Your site should pop right back up.
Decoding Error Messages
Sometimes, instead of a white screen, you’ll get a cryptic error message like "parse error" or "syntax error."
This sounds like a coding problem, and while it can be, it often points to an incompatibility. More often than not, the real issue is an outdated PHP version on your web server.
A parse error is basically your server saying, “I don’t understand the code in this plugin.” Modern plugins often need a newer version of PHP to run. The easiest solution is to contact your web host and ask them to upgrade you to the latest stable PHP version.
These errors can also signal a conflict between two plugins fighting over the same resources. If you think that might be the case, our guide on how to fix plugin conflicts in 7 steps will walk you through how to diagnose the issue step-by-step.
Learning these quick fixes can turn a moment of sheer panic into a valuable learning experience.
Got Questions About Installing Plugins?
As you get the hang of adding plugins to your WordPress site, you’ll probably run into a few common questions. I see them pop up all the time. Getting these cleared up will make you feel much more confident managing your site and help you sidestep some common pitfalls.
How Many Plugins Is Too Many?
This is easily the question I hear most often. But honestly, there's no single right answer. It’s all about quality over quantity.
I've seen sites with 30 well-built, efficient plugins run faster than sites with just five clunky, poorly coded ones. The real goal is to install only what you absolutely need and to get them from developers you trust.
Installed vs. Activated: What's the Difference?
Another point of confusion is the difference between installing and activating a plugin. It's a simple but crucial distinction.
- Installing a plugin is like downloading an app onto your phone. The files are now on your website's server, but they aren't actually doing anything yet.
- Activating the plugin is like opening that app for the first time. This is the moment WordPress integrates the plugin's code and its features officially go live on your site.
A classic rookie mistake is installing a plugin and then wondering why nothing changed. You have to hit that "Activate" button for the magic to happen. Always double-check!
Are Plugins from Outside the WordPress Directory Safe?
Finally, what about plugins that aren't in the official WordPress.org directory? Can you trust them? The answer is a cautious "yes," but you have to be smart about it.
It's generally safe if you're getting it from a reputable source, like buying a premium plugin directly from the developer's official website. On the other hand, downloading a "nulled" or "free" version of a paid plugin from some random site is a massive security risk. You're practically inviting malware onto your website. Stick to trusted vendors, always.
At OneNine, we take the guesswork out of website management, whether it's handling plugin installations or diving into custom development. If you're looking for a partner to keep your site optimized, secure, and running like a well-oiled machine, we’ve got your back. Find out more at https://onenine.com.


