

Giving your WordPress site a fresh look can be as simple as changing the font. It's one of the quickest ways to update your brand's style. The easiest ways to do this are right inside your WordPress dashboard, using either your theme's built-in Customizer or a dedicated font plugin. For those who want total control, adding custom CSS is always an option. This guide will walk you through all of them so you can find the perfect method for you.
Your Guide to WordPress Typography
Typography is so much more than just the words on the page. It's a huge piece of your site's design and plays a massive role in the user experience. The right font can make your content a joy to read, reinforce your brand's personality, and give your entire website a professional, polished feel. On the flip side, a poor choice can make your text a chore to get through, often sending visitors heading for the back button.
Learning how to change fonts in WordPress puts you in the driver's seat of that user perception. We’ll cover the most common techniques, from simple point-and-click tools to the more advanced methods that give you complete creative freedom.
Finding the Right Method for You
There’s more than one way to tackle this, and each approach has its own pros and cons. Some are built for beginners looking for a quick and easy update, while others are geared toward developers who need pixel-perfect control over every detail.
- Theme Customizer: This is your safest and simplest bet. It's perfect for making quick adjustments without any risk of accidentally breaking something.
- Plugins: These tools open up a whole world of new fonts (like the massive Google Fonts library) and often add more detailed controls. It's a great choice for non-coders who want more options than their theme offers.
- Page Builders: If you use a tool like Elementor, you already have powerful, built-in typography settings at your fingertips. These are fantastic for setting site-wide styles and tweaking individual elements.
- Custom Code: For ultimate flexibility, nothing beats code. This method lets you add any custom or licensed font you have, but it does require getting your hands dirty with a bit of CSS and maybe a child theme.
To really get the most out of your site's design, it helps to understand the thinking behind font selection. Getting familiar with the different types of typefaces for stunning designs is a great place to start.
The decision tree below can help you visualize which path makes the most sense for your skills and what you're trying to accomplish.
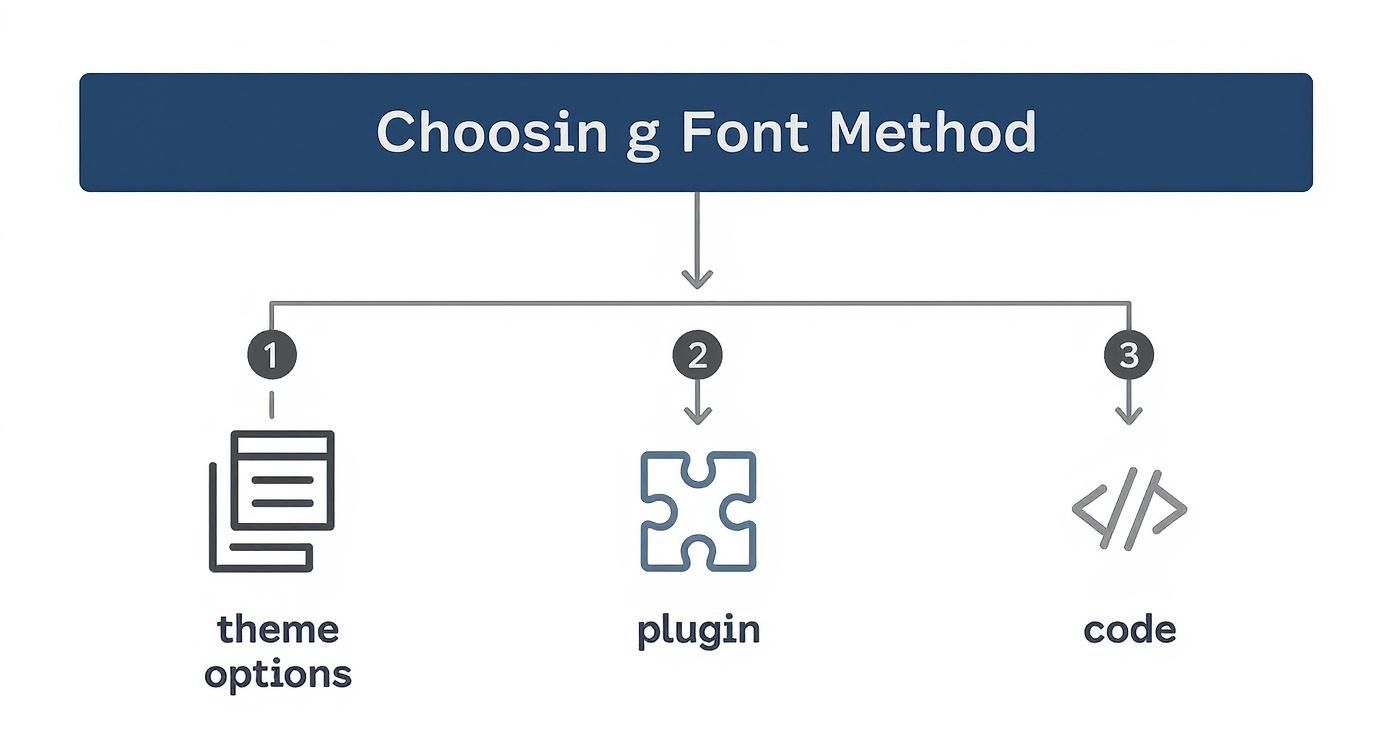
As you can see, your theme's built-in options are almost always the best place to begin. After you've picked a font, it's crucial to see how it looks on different devices. For more on that, check out our guide on how to use responsive typography for mobile websites.
Choosing Your Font Customization Method
Not sure which path to take? This table breaks down the most common methods to help you decide at a glance.
| Method | Best For | Difficulty Level |
|---|---|---|
| Theme Customizer | Beginners or anyone needing a quick, simple font swap using pre-approved theme options. | Easy |
| Block Editor (theme.json) | Users with modern block themes who want to define site-wide typography rules natively. | Easy to Intermediate |
| Plugins | Non-coders who want access to a large library (like Google Fonts) with more control than the Customizer. | Easy |
| Page Builders (Elementor, etc.) | Anyone already using a page builder to maintain consistent typography across their custom layouts. | Easy |
| Custom CSS (@font-face) | Developers and advanced users who need to add custom, self-hosted fonts for performance and control. | Advanced |
Each of these methods is powerful in its own right. The "best" one really just depends on your theme, your technical comfort level, and how specific your design goals are.
Using Your Theme's Built-In Font Options
Before you even think about installing plugins or digging into code, your first port of call should always be your theme's own settings. It's hands-down the easiest and safest way to change your fonts, since these options were built by the theme developer to work seamlessly with your site's design.
Start by heading to Appearance > Customize in your WordPress dashboard. This will launch the WordPress Customizer, which is fantastic because it gives you a live preview of your site as you tweak things. From there, keep an eye out for a panel named something like 'Typography,' 'Fonts,' or maybe 'Global Styles.'
Navigating the WordPress Customizer
Once you find the typography section, you'll likely see a set of dropdown menus. These let you pick and choose fonts for all the key areas of your website.
Usually, you can control the typography for:
- Body Text: This covers all your main paragraph content.
- Headings: Often, you can set a single font for all headings (H1, H2, H3) or get more granular and style each level differently.
- Menus: Your site's navigation can have its own distinct look.
- Buttons: Make your calls-to-action pop with a font that grabs attention.
Take a look at the editor for the popular Twenty Twenty-Four theme. It gives you straightforward controls to adjust your site's core typography right out of the box.
The best part is the live preview on the right. You can play around with different combinations and see exactly how they look before you hit that 'Publish' button.
Popular Themes and Their Font Options
Most well-built themes come with these settings baked in. The default WordPress themes, like Twenty Twenty-Four, are a perfect example. In fact, the Twenty Twenty-Three theme is used by over 3.4 million Hostinger clients, and it provides a great range of font settings that require zero code. This just goes to show how powerful this simple method can be. If you're curious, you can find more WordPress statistics over at Hostinger's website.
The biggest win of using the Customizer is compatibility. The theme developer built these options, so you can be confident your new fonts won't break your layout or vanish the next time you update your theme.
Of course, there's a trade-off: choice. Some themes give you access to the entire Google Fonts library, while others might only offer a small, curated list. If the built-in options feel too limiting for your brand, you’ll need to move on to one of the other methods in this guide.
But for a quick, reliable font update, the Customizer is your best starting point. It’s a powerful and user-friendly tool for anyone figuring out how to change fonts in WordPress without diving into the technical weeds.
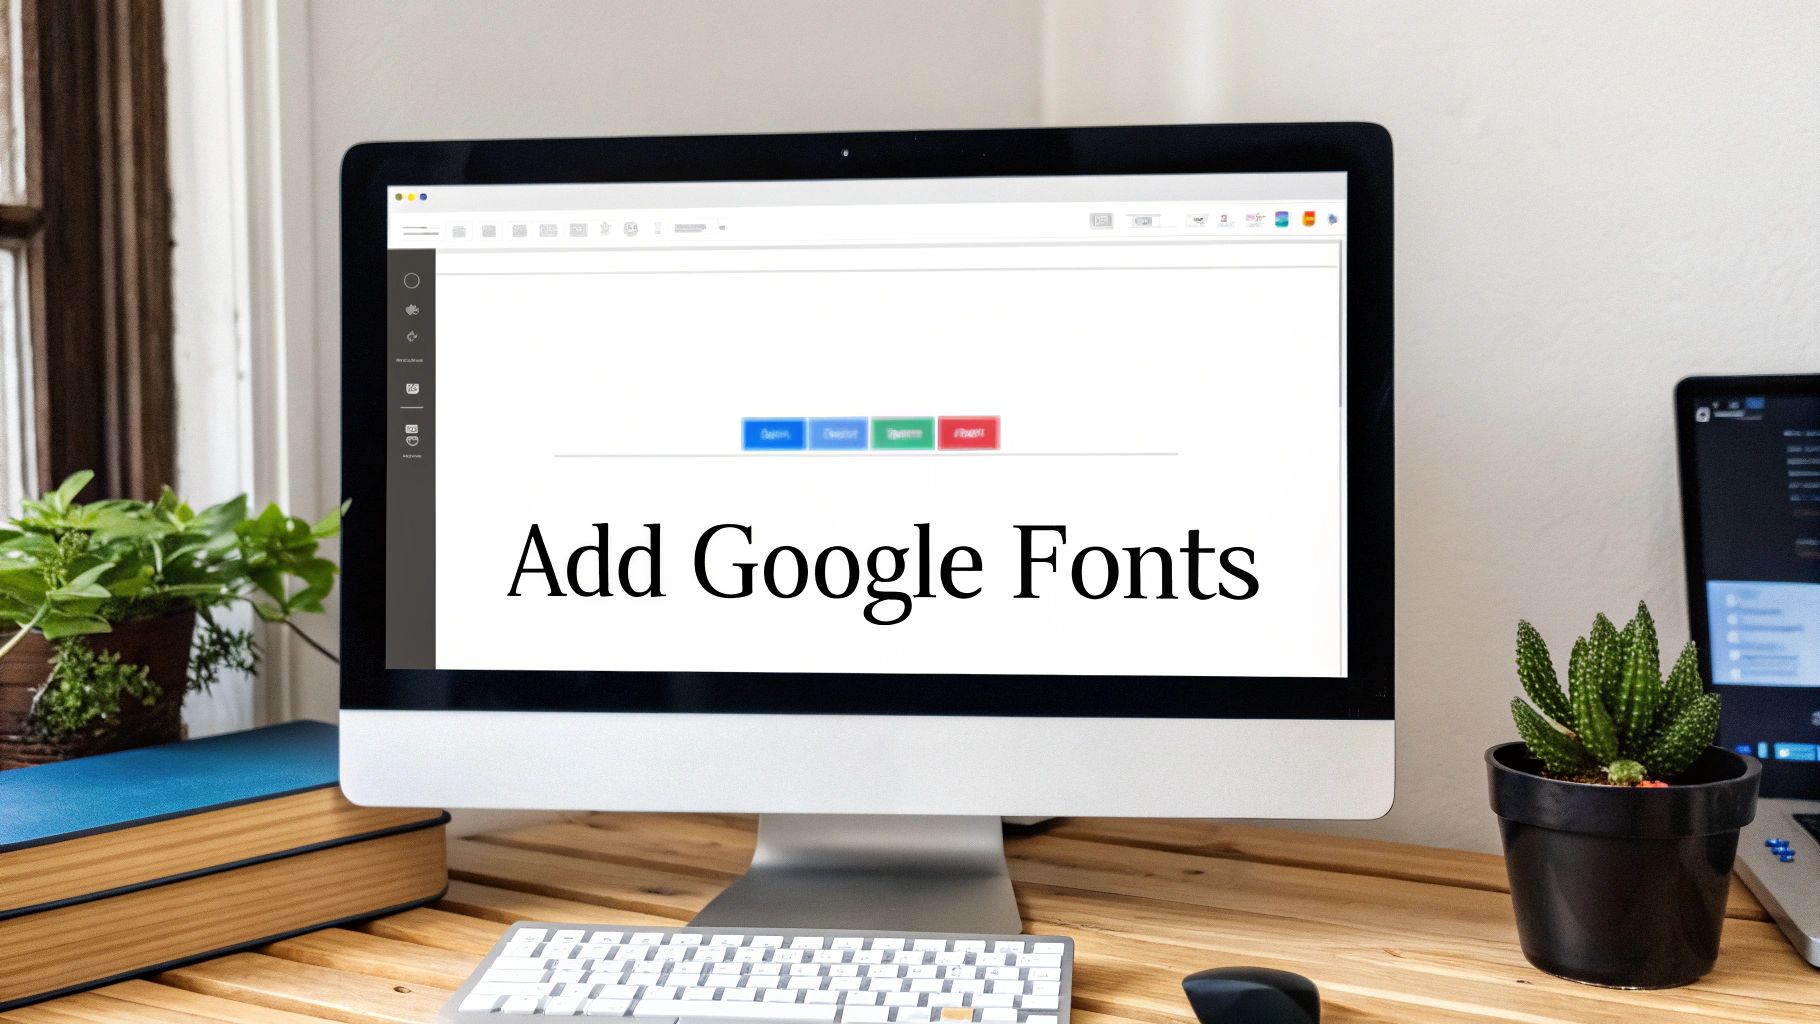
Sometimes, your theme’s built-in font options just don’t have the specific look you’re going for. When you hit that wall, plugins are your best friend. This is the perfect middle-ground approach—it gives you a massive library of new fonts to play with, but you never have to touch a single line of code.
It’s a great route for anyone who wants more design flexibility than the standard Customizer offers but isn’t quite ready to start tinkering with CSS files.
The WordPress plugin repository is enormous. As of 2025, there are over 70,000 plugins available, and a good number of them are built just for managing fonts. Tools like Easy Google Fonts and Fonts Plugin (which used to be called Google Fonts Typography) are incredibly popular for a reason. They make a complex task feel simple.

Installing and Using a Font Plugin
Let’s use a really common and easy-to-use plugin, Easy Google Fonts, as our example. Getting it set up is the first hurdle. If you haven't installed a plugin before, we have a complete guide on how to install a WordPress plugin that will make it a breeze.
Once you activate it, the plugin neatly adds its options right into the WordPress Customizer, which you can find under Appearance > Customize. This is great because you don't have to learn a whole new dashboard. You'll just see a new section, usually called 'Typography,' pop up.
From there, the controls are pretty intuitive. You can:
- Pinpoint specific text elements you want to change, like your main body text, all your H1 or H2 headings, or even blockquotes.
- Pick any font from the entire Google Fonts library and apply it with a dropdown menu.
- Watch your changes happen live in the preview window on the right.
- Tweak all the little details, like the font weight (think light, regular, or bold), style (like italic), and even text-transform (forcing text to uppercase).
This level of control is where you can really start to define your site's personality. For instance, you could set your paragraph text to a super-readable font like 'Roboto' and then use a more elegant serif font like 'Playfair Display' for your main headlines to create a clear and stylish visual hierarchy.
Balancing Creativity with Performance
The biggest win with a font plugin is the sheer variety it offers. You can find the exact typeface that matches your brand's voice from a library of hundreds of options. It’s a fast, easy way to give your site a serious design upgrade.
But here’s the catch: with all those options, it’s easy to get carried away. Every single font and font weight you add is another file your visitor's browser has to download. Too many, and you’ll start to see your site’s loading speed take a hit.
A good rule of thumb is to stick to two or three font families maximum. Just as important, only load the specific font weights you’re actually going to use.
Understanding how plugins work in general can also help you make smarter decisions for your site. For a broader overview, you can check out some general WordPress plugin information. This context helps you pick tools that add real value without bogging down your site's performance.
Tweaking Fonts with Page Builders
If you're one of the millions using a page builder like Elementor or Beaver Builder, or even just the native WordPress Block Editor, you're in luck. These tools don't just let you pick a font; they give you a complete system for managing your site's typography from top to bottom. The whole point is to give you control to create a consistent, professional look without ever having to write a line of CSS.
This method is a game-changer for brand consistency. We've all been there—you change a headline font on one page, only to realize you forgot to update it on ten others. Page builders solve this with global settings. You define your styles for H1s, H2s, and body text just once, and those rules automatically cascade across your entire website.
Global vs. Local Font Settings
Most page builders use a clever two-level system for typography. It’s designed to give you both sitewide consistency and the flexibility to get creative when you need to.
- Global Fonts: Think of these as your website's default style guide. You’ll usually find them in a "Site Settings" or "Global Styles" area. This is where you set the font family, size, weight, and color for all your primary text elements. Getting these right from the start saves a massive amount of time down the road.
- Local Overrides: But what about that one special call-to-action or a standout headline that needs to break the mold? Page builders let you override the global settings on any individual element or "block." This gives you creative freedom exactly where you need it, without messing up your site's overall design.
For instance, your global setting might assign 32px Roboto to all H2 headings. But for a holiday promotion on your homepage, you can click on just that one headline and bump it up to 48px Playfair Display to make it impossible to miss.
This dual system is the real magic of using a page builder for fonts. It enforces a consistent design by default but gives you an escape hatch for creative exceptions. You really get the best of both worlds.
Mastering Fonts in the Block Editor
The native WordPress block editor, often called Gutenberg, has seriously stepped up its typography game. Its widespread adoption has reshaped how we handle fonts in WordPress. With over 82.7 million active installations, it's the standard editing experience for most new sites. You can dig into more WordPress editor statistics at Magecomp if you're curious.
If you're using a modern block theme, you can access sitewide font controls by heading to Appearance > Editor and clicking the "Styles" icon. This brings up the Global Styles panel, where you can set your default fonts for text, links, and headings—just like you would in a third-party page builder.
What’s more, you get granular control right where you're writing. When you select any text block while editing a page, a settings panel appears on the right with a ton of typography options.
Here, you can fine-tune things like:
- Font Size: Pick from preset sizes or type in a custom value.
- Appearance: Easily switch between font weights like Light, Regular, or Bold.
- Letter Case: Instantly change text to all caps, all lowercase, or capitalize the first letter of each word.
- Line Height: Adjust the vertical spacing between lines to improve readability.
This block-level control is perfect for making those small tweaks that improve the look and feel of a single page. It's a really intuitive way to manage fonts as you create content, making the block editor a powerful tool for anyone who wants to get their site's typography just right.
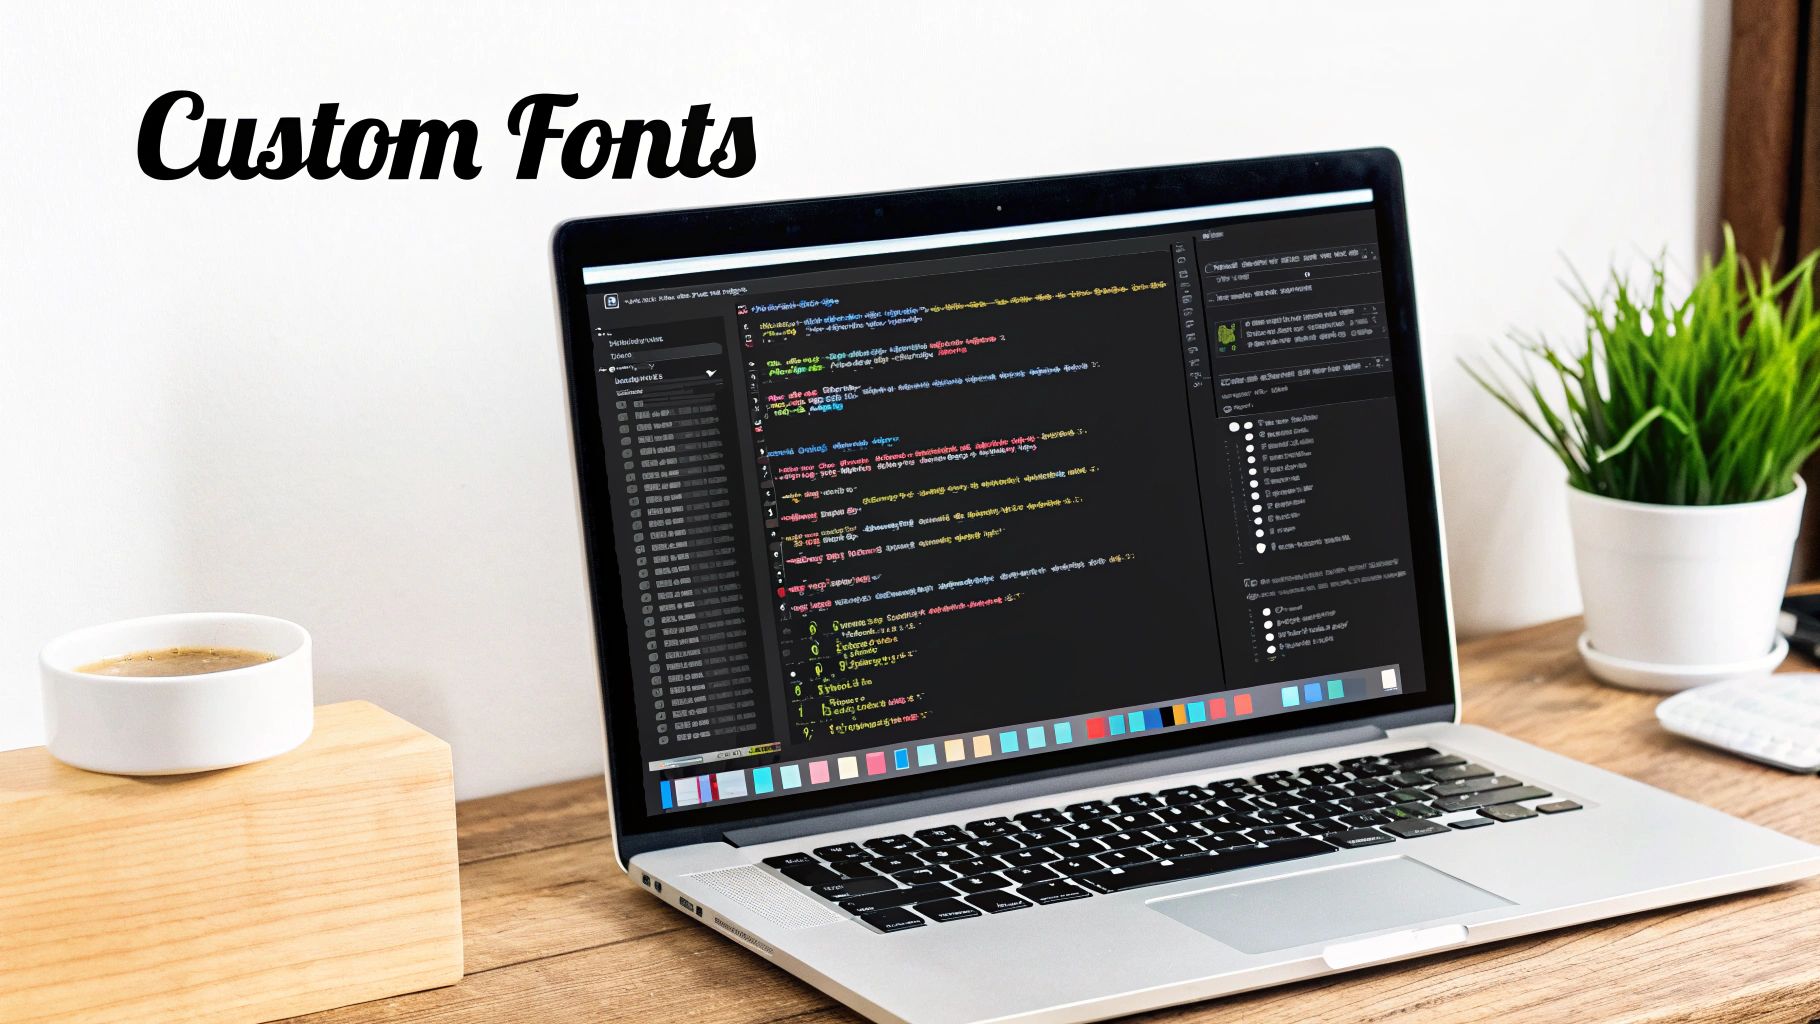
Going Custom: Adding Fonts with Code
Sometimes, theme options and plugins just don't cut it. When you need complete control—maybe you have a specific licensed font for a client, or you want to self-host fonts for a speed boost—it's time to roll up your sleeves and get into the code. This is definitely a more technical route, but the payoff is total typographic freedom.
Think of this less as "changing a font" and more as permanently adding a new typographic asset to your site's DNA. It’s how the pros implement a truly bespoke brand identity.
The @font-face Rule: Your Foundation
At the heart of adding any self-hosted font is a simple but powerful piece of CSS: the @font-face rule. This is what tells a web browser, "Hey, I have a special font, here's where you can find it, and this is what I'm calling it."
Before you even think about code, you need the right font files. The gold standard today is WOFF2 (Web Open Font Format 2) because it offers fantastic compression, meaning faster load times. It’s also smart to have a WOFF version as a backup for older browsers.
You’ll typically add the @font-face code to your theme’s style.css file. It looks something like this:
@font-face {
font-family: 'YourCustomFont';
src: url('fonts/YourCustomFont-Regular.woff2') format('woff2'),
url('fonts/YourCustomFont-Regular.woff') format('woff');
font-weight: normal;
font-style: normal;
font-display: swap;
}
Let's quickly break that down:
font-family: This is the name you're giving your font. You'll use this name to apply it to different elements.src: This points to the location of your font files. You’ll need to upload these into a dedicated folder (like a/fontsfolder) inside your theme's directory.font-display: swap: This is a non-negotiable for performance. It tells the browser to show a system font for a split second while your custom one loads, preventing that annoying "invisible text" problem.
Once that's in place, using your new font is easy. You just call it in your CSS like any other font:
h1, h2, h3 {
font-family: 'YourCustomFont', sans-serif;
}
A Quick Word on Child Themes
I can't stress this enough: never add custom code like this directly to your main theme’s files. The second that theme gets an update, all your customizations will be wiped out. Always, always use a child theme. It keeps your work separate and safe from any future updates.
Enqueueing: The Proper WordPress Method
If you're pulling in fonts from an external service like Adobe Fonts, there's a specific "WordPress way" to do it: enqueueing.
Instead of just slapping a <link> tag into your site's header, you use your theme's functions.php file (in your child theme, of course) to properly register and load the font stylesheet. This process ensures your fonts load in the right order and don't clash with other scripts. For a much deeper look at this, our ultimate guide to font loading optimization is a great resource.
It's a cleaner, more robust approach that follows WordPress best practices, making your site easier to manage in the long run. Mastering these code-based methods really is the final piece of the puzzle to becoming a pro at handling fonts in WordPress.
Common Questions About Changing Fonts
Diving into your site's typography for the first time usually brings up a handful of questions. Getting these answers sorted out early can save you a ton of headaches down the road, especially when deciding how you want to change a font in WordPress. Let's clear up some of the most common ones I hear.
What Is the Safest Way to Change Fonts?
Hands down, the most secure and stable method is using your theme's built-in options via the WordPress Customizer. These settings were created by the theme developer, so you know they won't break anything.
If your theme's choices feel a bit limited, a reputable plugin is your next best bet.
But if you're going to add any code yourself, using a child theme is non-negotiable. This simple step is what keeps all your hard work from disappearing the next time your theme gets an update.
Can I Use My Own Font Files?
Absolutely. You can definitely use your own font files like OTF or TTF, but they need a bit of prep work to be web-ready. For best results, you'll want to convert them to web-optimized formats like WOFF2 and WOFF. These are much smaller and load faster, which is a big win for performance.
After converting them, you just upload the files to your server. The final step is to define them using the CSS @font-face rule in your child theme's stylesheet, which tells browsers where to find and apply your custom font.
The bottom line is performance. Each new font, weight, and style (like regular, bold, or italic) adds another file that visitors must download. Loading an entire font family you don't fully use can seriously impact your page speed.
Why Are My Font Changes Not Showing Up?
More often than not, this is a classic caching issue. The very first thing to try is clearing your browser's cache completely. After that, go into your WordPress dashboard and purge any caching plugins you have running (like WP Rocket) or any caching systems built into your web hosting.
Still no luck? Then it's probably a CSS conflict, meaning another style rule is overriding your new one. You can hunt this down using your browser's "Inspect" tool. Just right-click the text you're trying to change, choose "Inspect," and you'll see exactly which styles are being applied and what's taking priority.
Managing your website's design, from fonts to functionality, can be time-consuming. At OneNine, we simplify the process with expert design, development, and ongoing support, so you can focus on your business while we perfect your online presence. Learn more about how we can help.


