

Adding a plugin to your WordPress site is usually a breeze. You just head to your dashboard, find the Plugins > Add New screen, search for what you need, and hit Install Now, followed by Activate. In just a few clicks, you can unlock a whole new world of features for your website.
Why WordPress Plugins Are Your Website's Secret Weapon
Think of a fresh WordPress installation like a sturdy, well-built house. It has all the essentials, but it's the plugins that really turn that house into your home. They're the furniture, the appliances, and the smart-home gadgets that add personality and specific functions tailored to your needs. It’s not just about bolting on new features; it’s about strategically improving your site to achieve your goals.
This incredible flexibility is exactly why so many people swear by WordPress. The platform's real power comes from its massive ecosystem of plugins, which lets you extend what your site can do without ever having to touch a line of code.
For instance, putting effective local SEO strategies into practice often comes down to installing the right plugins that can seriously boost your site's visibility. With just a few clicks, you can add an entire eCommerce store, a sophisticated booking system, or a simple contact form.
The True Scale of WordPress and Its Plugin Library
The impact of this expandability is huge. WordPress is the engine behind roughly 43.5% of all websites on the internet, which adds up to over 532 million sites. Its dominance becomes even clearer when you look at the content management system (CMS) market, where it holds a massive 61% share. This incredible adoption is fueled by the 59,000+ free plugins available in the official WordPress directory alone. You can dive deeper into the numbers by checking out the latest WordPress market share data.
With a library this vast, you can bet there’s a plugin for almost anything you can dream up, from building a stunning photo gallery to locking down your site against digital threats.
Learning how to properly add and manage these powerful tools is the first, most important step in unlocking your website’s true potential. It's what separates a static online brochure from a dynamic, high-performing digital asset that truly works for you. Let's walk through exactly how to do it.
Add Plugins Directly from Your WordPress Dashboard
For most people, the easiest way to add new features to your site is by installing plugins straight from your WordPress dashboard. This is the method you’ll probably use 90% of the time. It’s built right into WordPress, giving you direct access to a massive library of free tools without ever having to leave your website.
To get started, head over to the Plugins > Add New section in your admin menu.
This screen is your gateway to the official WordPress plugin directory. You can think of it as an app store just for your website. Simply type what you're looking for into the search bar—either a function like "contact form" or the name of a specific plugin like WPForms if you already have one in mind.
Finding and Installing the Right Plugin
After you search, you'll see a grid of plugin "cards." Each one represents a different plugin, and it's worth taking a moment to look them over before you click install.
Here’s what the official plugin directory looks like, which is very similar to what you'll see inside your dashboard.
Pay close attention to the details on each card:
- User ratings: What do other people think?
- Active installations: A high number usually points to a popular, trusted plugin.
- Last Updated: You want to see that it’s been updated recently, which signals it's actively maintained and secure.
Once you’ve picked one that looks like a good fit, just click the Install Now button. WordPress takes care of everything behind the scenes, downloading the plugin files and placing them on your server.
Key Takeaway: Installing a plugin isn't the final step. It just puts the files on your server. You have to activate it to actually turn it on and make it work.
After the installation finishes, that same button will change to say Activate. Go ahead and click it.
And that's it! You've just installed and activated your first plugin. The next step is usually to configure its settings, which you can often find in a new menu item that appears on your WordPress sidebar or under the main Settings menu.
Manually Uploading a Plugin from a ZIP File
Sooner or later, you'll find a fantastic plugin that isn't in the official WordPress directory. This is especially true for premium or highly specialized tools from marketplaces like CodeCanyon or directly from a developer's website. These almost always come as a downloadable .zip file, so learning how to install them manually is a must-have skill.
The Upload Process
Your journey starts in a familiar place: head to Plugins > Add New in your WordPress dashboard. But instead of touching the search bar, look right at the top of the page for the Upload Plugin button. Go ahead and click it.

This reveals a simple upload form. Click Choose File, find the plugin's .zip file that you saved to your computer, and select it. Then, just hit Install Now. WordPress takes it from there, uploading the file and unpacking it into the right spot on your server.
Avoiding Common Upload Mistakes
I've seen this trip people up countless times. A common mistake is uploading the wrong file. Often, when you buy a premium plugin, the download you get is a package that includes documentation, license keys, and the actual plugin file. If you try uploading that main package, WordPress will throw an error.
Pro Tip: Always unzip the main downloaded package on your computer first. Look inside for a file named something like
plugin-name.ziporinstallable-plugin.zip. That’s the file you need to upload, not the whole package.
Another classic error is unzipping the installable plugin file itself before uploading. Don't do it! The WordPress uploader is built to accept the .zip file specifically. Leave it compressed.
After a successful installation, you’ll see a confirmation screen. Just like before, the final step is to click the blue Activate Plugin button.
Once it's active, it’s a great time to do a quick health check on your site. Keeping your software in top shape is crucial, and our guide on essential WordPress website maintenance tasks offers a solid routine to follow. Getting comfortable with manual uploads opens up a whole new world of powerful tools for your website.
Alternative Methods for Advanced Users
While the WordPress dashboard is usually the go-to for adding plugins, there are times when you need to roll up your sleeves and take a more direct route. If you're a developer, managing multiple sites, or—let's be honest, it happens—locked out of your own admin area, knowing how to install plugins via FTP or the command line can be a real lifesaver.
These methods give you more control and are fantastic backup plans to have in your toolkit.
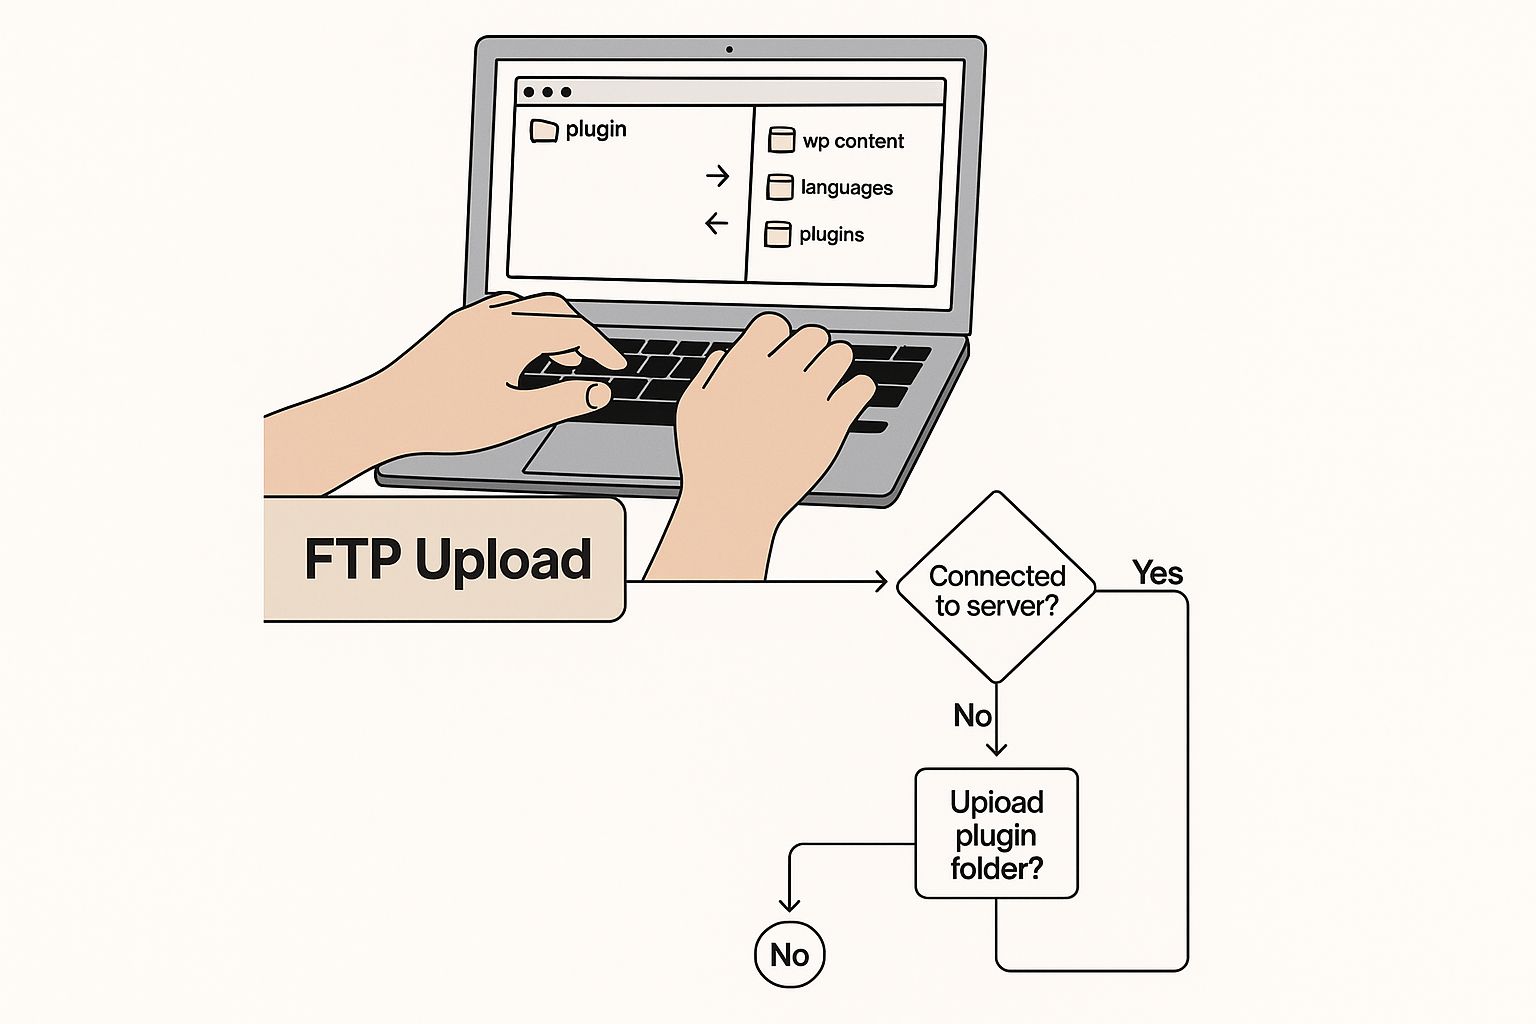
Installing a Plugin with FTP
First up is the classic FTP method. FTP (File Transfer Protocol) basically opens a direct line between your computer and your website's server. You can use a free tool like FileZilla to connect to your web host and manage your site's files just like they were on your own desktop. It’s a very hands-on approach.
Here’s how it works:
- First, download the plugin's
.zipfile directly from the developer or the WordPress repository. - Unzip that file on your computer. You should now have a folder named after the plugin.
- Next, log in to your server using your FTP client and navigate to the
wp-content/plugins/directory. - Simply drag the unzipped plugin folder from your computer and drop it right into that
pluginsdirectory on the server.
This manual upload is a tried-and-true fallback when the standard dashboard method isn't an option.
Just remember, uploading the files doesn't turn the plugin on. You still need to head back to your WordPress dashboard, find the new plugin in your list, and hit Activate.
Using WP-CLI for Power Users
If you're comfortable working in a command-line environment, you'll love the WordPress Command-Line Interface (WP-CLI). This tool is incredibly fast and powerful, letting you manage your entire site with simple text commands instead of clicking through the admin dashboard.
For developers who juggle multiple client sites or automate their deployment scripts, WP-CLI is an absolute game-changer. What takes dozens of clicks in the admin panel can be done with a single command.
For instance, if you wanted to install and activate the popular Jetpack plugin, you’d just run this command in your terminal:
wp plugin install jetpack --activate
That one line tells WordPress to find Jetpack in the official repository, install its files, and immediately activate it. Done.
After a big change like adding a major plugin, it's always a good idea to clear your site's cache to make sure the changes appear correctly on the live site. We have a helpful guide on how to clear your WordPress cache if you need a walkthrough.
Plugin Installation Method Comparison
Feeling unsure about which method is right for you? This table breaks down the best use case for each approach, from the everyday user to the command-line pro.
| Method | Best For | Technical Skill | Use Case Example |
|---|---|---|---|
| Dashboard Search | Beginners & daily use | Low | Finding and installing a free plugin like Yoast SEO directly from the WordPress repository. |
| Dashboard Upload | Installing premium plugins | Low | You just purchased a premium plugin and have the .zip file from the developer. |
| FTP Upload | Troubleshooting & manual installs | Medium | Your WordPress admin is inaccessible, or a plugin upload failed through the dashboard. |
| WP-CLI | Developers & server admins | High | Automating the setup of a new site by scripting the installation of 10 different plugins at once. |
Mastering these different ways to add plugins to WordPress gives you complete control over your site. You'll be prepared for anything, from a simple install to a full-blown emergency recovery.
How to Choose and Manage Plugins for a Healthy Site
Knowing how to add a plugin to WordPress is one thing, but knowing how to manage them is what separates a fast, healthy website from a slow, vulnerable one. It’s easy to get excited and install a plugin for every shiny new feature, but that’s a quick path to problems. The real skill is in being selective from the start and consistent with your upkeep.
Before you even think about clicking that “Install Now” button, pause and do a little homework. Think of it as a quick background check on a potential new hire for your website team.
I've learned from experience that a quality plugin usually has a few key traits you can spot right away in the repository:
- High User Ratings: Are there a lot of four and five-star reviews? A handful of good reviews is nice, but thousands of them show a track record of reliability.
- Active Installations: A high number here—we're talking thousands, if not millions—is a huge vote of confidence from the WordPress community. It tells you the plugin is trusted.
- Recent Updates: Look at the "Last Updated" date. If it’s been updated in the last few weeks or months, the developer is likely on top of security patches and compatibility with the latest version of WordPress. If it’s been over a year, I’d steer clear.
Avoiding Plugin Bloat and Security Risks
It’s incredibly tempting to solve every problem with a plugin, but this leads to something we call plugin bloat. This is what happens when you have so many plugins (or even just a few poorly coded ones) that they start to weigh your site down, making it sluggish. Every active plugin adds more code for your server to execute, and that can have a real impact on your site’s loading speed.
Security is the other elephant in the room. Outdated plugins are a favorite entry point for hackers. Keeping your plugins updated isn’t just a recommendation; it’s one of the most critical security tasks you have as a site owner.
A slow, insecure website is a death sentence for user experience and your search engine rankings. A healthy site is a fast and secure site, and disciplined plugin management is how you get there.
This is where having a simple, repeatable process becomes your greatest asset. A core part of any good WordPress website maintenance strategy is a regular plugin audit. I suggest setting a calendar reminder every quarter to go through your plugin list.
For each one, ask yourself: "Do I still absolutely need this?"
If a plugin is deactivated, or you genuinely can't remember why you installed it in the first place, it's probably safe to delete it. Getting rid of unnecessary plugins cleans up your database, shrinks your site's attack surface, and can often provide a nice little performance bump. Being a great site owner means being a plugin minimalist.
Your Questions on Adding WordPress Plugins Answered
Even with the best instructions, you're bound to have questions. That's perfectly normal, especially when you're just getting the hang of adding plugins to your WordPress site. This section is designed to tackle the most common questions and hangups we see every single day.
My goal here is to give you clear, no-nonsense answers that boost your confidence. Think of it as a quick cheat sheet to help you sidestep common problems and make managing plugins a whole lot smoother.
What’s the Difference Between Installed and Active Plugins?
This is a big one, and it trips a lot of people up. It's a great question.
When you install a plugin, all you're doing is downloading its files to your website's server. They get tucked away neatly in the /wp-content/plugins/ folder. The plugin is now on your site, but it's completely dormant—it isn't actually doing anything.
To get it to do its job, you have to activate it. Activating a plugin is like flipping the "on" switch. It tells WordPress to start running the plugin's code. You can see the status of all your plugins by heading to the "Plugins" page in your dashboard. Active plugins usually have a blue background, while inactive ones are plain white.
Bottom line: Installed means the files are on your site. Active means the plugin is turned on and working. You always have to activate a plugin after installing it if you actually want it to function.
How Many Plugins Are Too Many?
There's no magic number. You've probably heard the myth that a high number of plugins will automatically slow down your site, but that's not the full story. The real issue isn't the quantity of your plugins, but their quality.
A single, badly written plugin can cripple your site's performance more than ten lightweight, well-coded ones.
Instead of obsessing over a number, focus on impact. Only install plugins you genuinely need, and always stick to ones from reputable developers who have solid reviews and a history of recent updates. It's a good habit to review your plugin list every few months and get rid of anything you aren't actively using.
Should I Delete Inactive Plugins?
Yes. Without a doubt. An inactive plugin might not be running, but its files are still taking up space on your server, creating a potential security loophole.
If a vulnerability is found in that plugin, it could be exploited by attackers, even if the plugin is turned off.
Think of it this way: keeping inactive plugins is like having an extra, unlocked door on your house that you never use. It's an unnecessary risk. The best practice is simple: if you're not using a plugin, deactivate it and then delete it. You can always reinstall it later if you need it again. This keeps your site cleaner, safer, and much easier to manage.
Managing a WordPress site effectively means having a partner you can trust. At OneNine, we simplify website management with expert development, design, and ongoing support, ensuring your online presence is always powerful and secure. Let us handle the technical details so you can focus on your business. Find out how we can help at https://onenine.com.


