
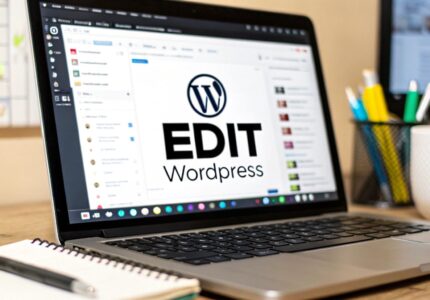
To get started editing your WordPress website, you’ll need to log into your dashboard. Think of it as your website’s command center—it’s where you’ll handle everything from writing blog posts to changing your site’s entire look and feel.
You can update content by jumping into Pages or Posts, tweak your design under Appearance, or add new features with Plugins. It’s all right there.
Getting Comfortable Inside Your WordPress Dashboard
The first time you see the WordPress dashboard, it can feel like a lot to take in. But here’s the secret: for most of your daily tasks, you’ll only ever use a handful of these options.
Taking a few minutes to get your bearings now will save you a ton of headaches later. Once you know where the essential tools are, making quick edits becomes second nature.
Your Main Navigation Menu
Look to the left side of your screen, and you'll spot the main navigation menu. This is your roadmap to every part of your site's backend. While there are many options, you'll probably spend most of your time in these key areas:
- Posts: This is your blogging hub. Head here to write new articles or edit existing ones.
- Pages: For static content that doesn't change often—think your "About Us," "Services," or "Contact" pages—this is the place to be.
- Appearance: Want to change your theme, customize your site's colors, or manage your menus? It all happens here.
- Plugins: This is where you can add new functionality to your site, like contact forms or SEO tools, by installing and managing plugins.
When you first log in, you’ll land on a screen that looks something like this.
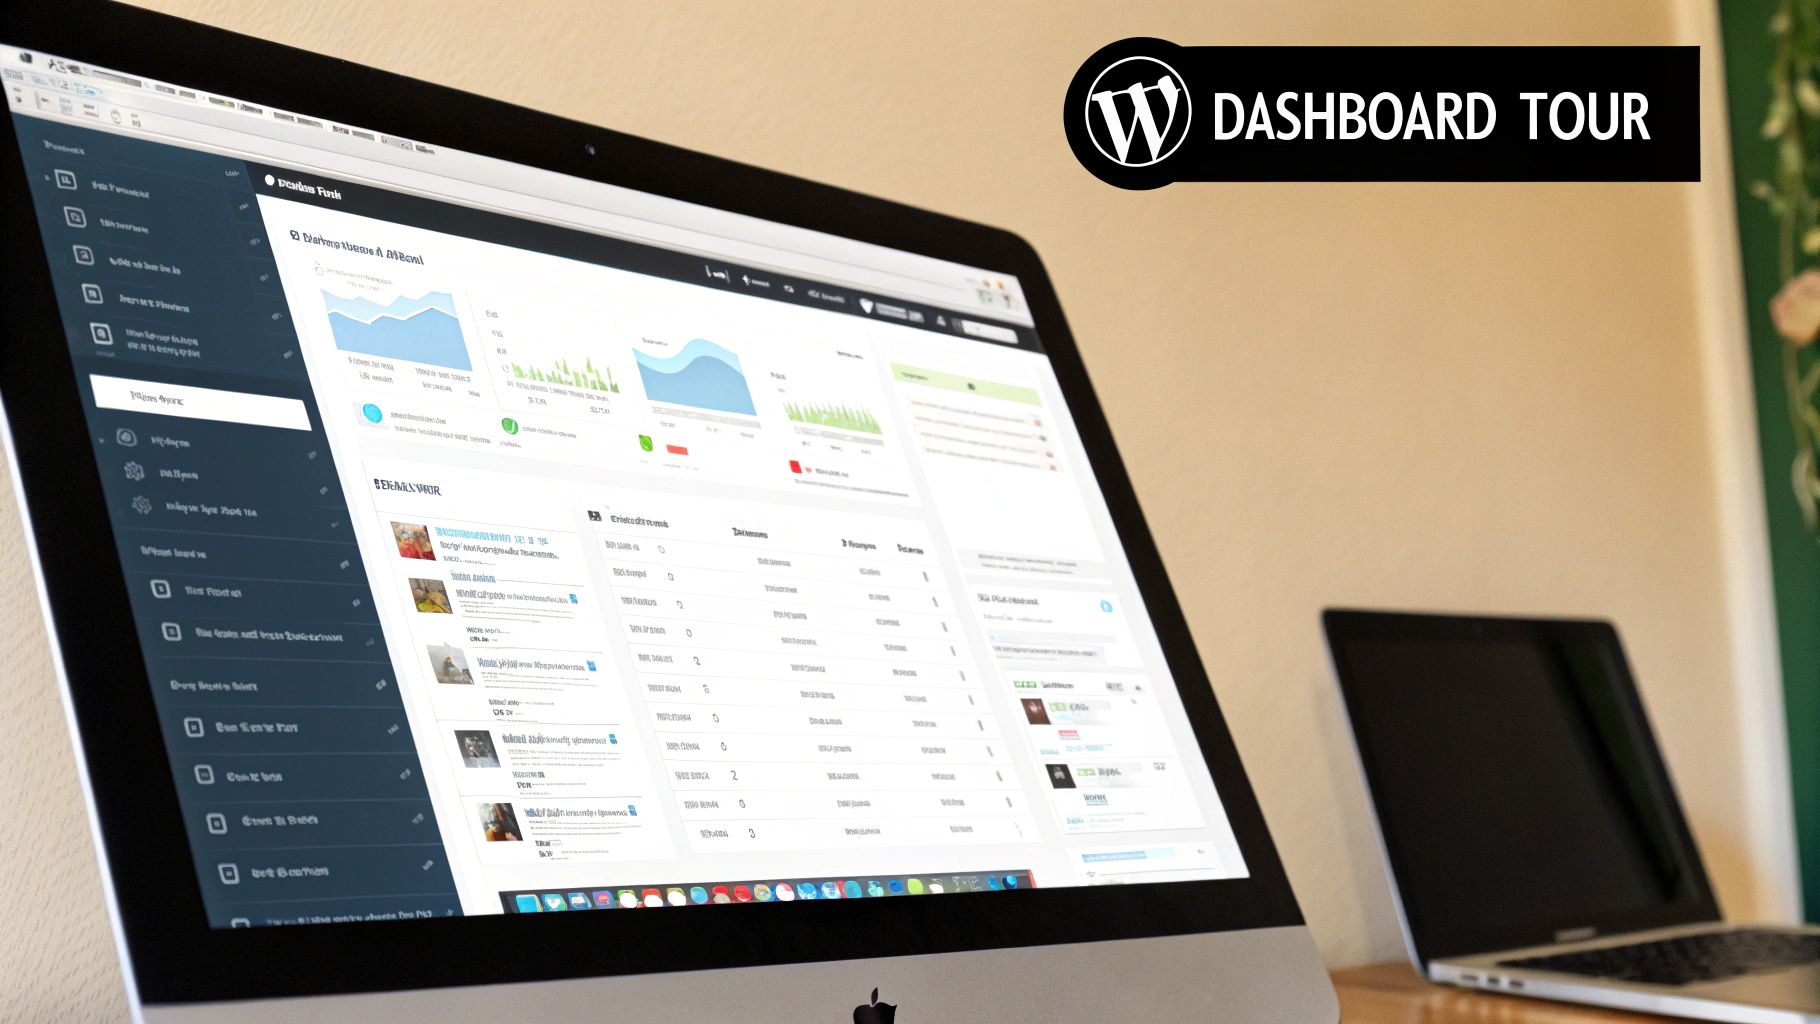
This main dashboard gives you a quick snapshot of your site’s recent activity and some handy shortcuts to get things done faster.
The great thing is, you’re not alone. WordPress powers an incredible 43.4% of all websites on the internet. That massive community means there’s a solution for almost any problem you can imagine, with an average of 70 million blog posts published every month. If you're curious, you can explore additional statistics to see just how big the ecosystem is.
To help you get around, here's a quick cheat sheet for finding the most important sections.
Your WordPress Dashboard Cheat Sheet
This little table is a handy reference for where to go when you need to get something done on your site.
| Dashboard Section | What You Can Do Here |
|---|---|
| Dashboard | Get a high-level overview of your site's activity and access quick links. |
| Posts | Write, edit, and manage all of your blog articles. |
| Media | Upload and organize all of your images, videos, and other files. |
| Pages | Create and update your site's core, static pages (like "About" or "Contact"). |
| Comments | Approve, reply to, or delete comments left by your visitors. |
| Appearance | Change your theme, customize your site's design, manage menus, and add widgets. |
| Plugins | Add new features by installing plugins or manage the ones you already have. |
| Users | Add new team members, edit user roles, and manage your own profile. |
| Tools | Access import/export functions and check on your site's overall health. |
| Settings | Configure your site's general settings, like its title, URL structure, and more. |
Keep this handy as you start exploring, and you’ll feel like a pro in no time.
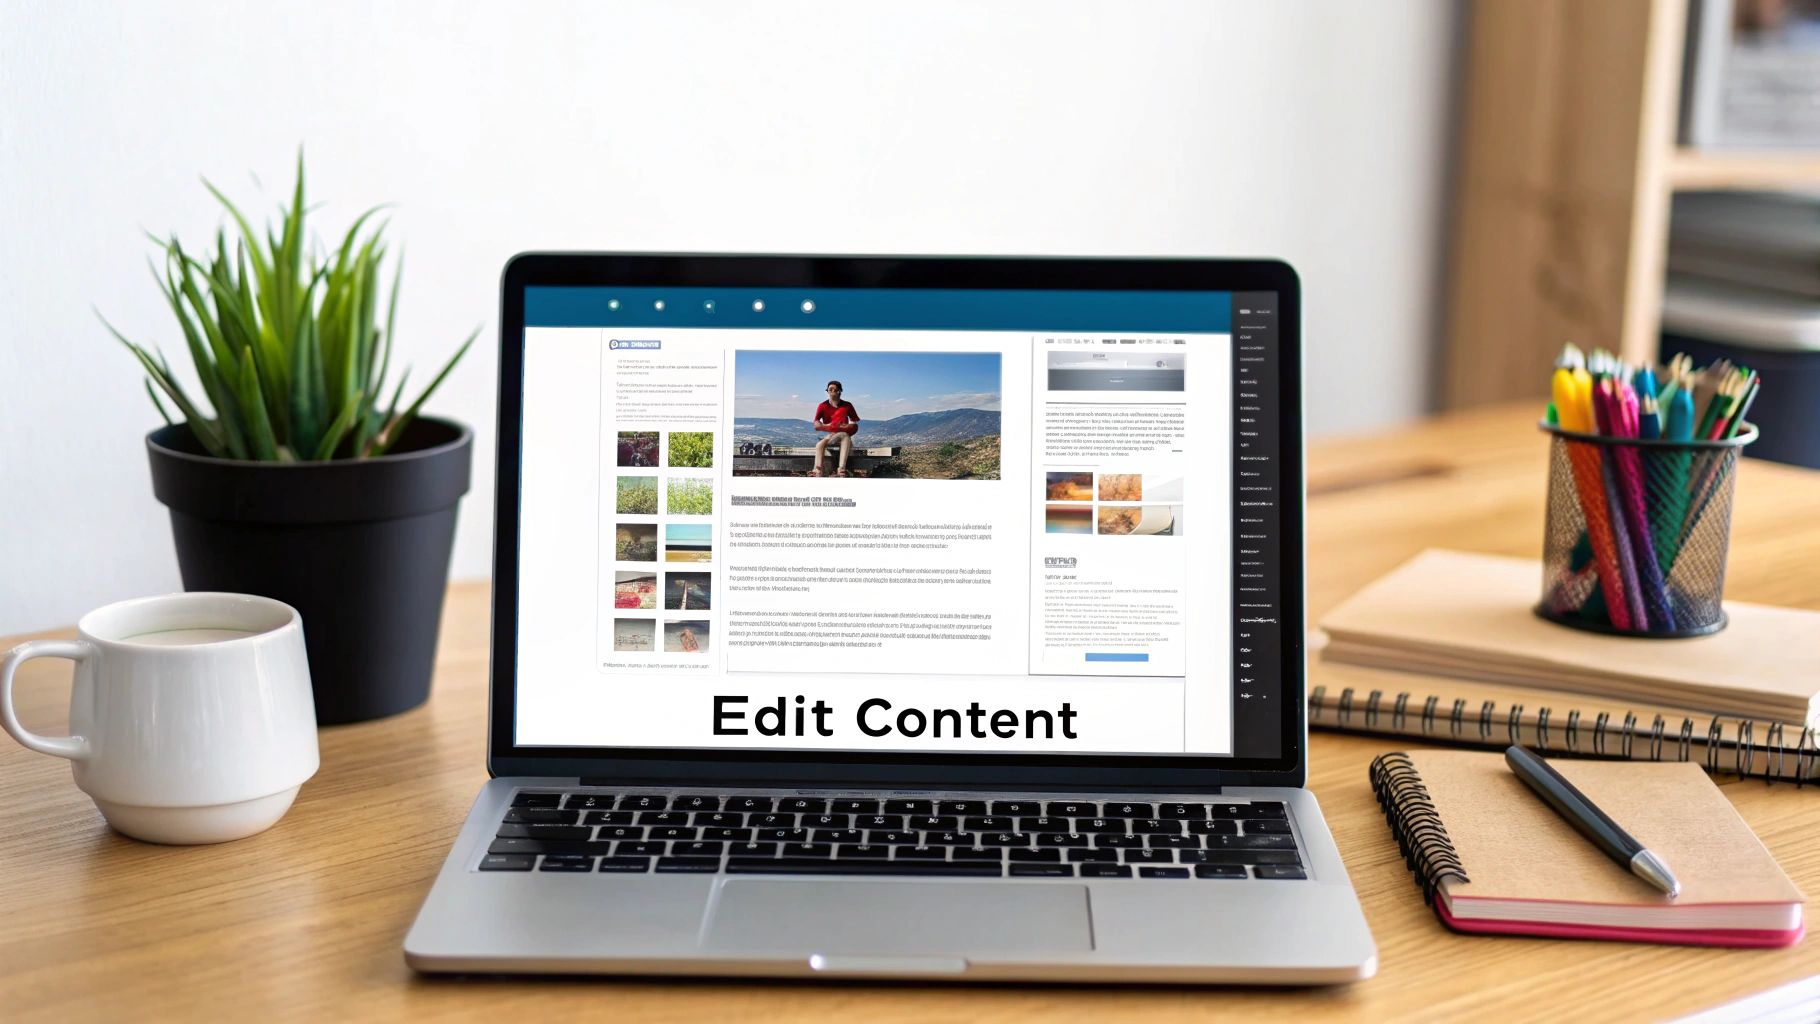
Making Changes to Your Pages and Posts
Alright, now that you've got your bearings in the dashboard, it's time to get into the fun stuff: your actual website content. The heart of your site lives in its Pages and Posts, and this is where you'll spend most of your time when you want to edit your WordPress website.
We'll be working with the WordPress Block Editor, which is the standard way to build and edit content these days. It might look a little different if you're used to older versions, but once you get the hang of it, it's incredibly intuitive.
Let's walk through a real-world scenario. Imagine you run a local bakery and your "About Us" page is out of date. The main photo is old, and you just updated your business hours. Let's fix it.
Getting a Feel for the Block Editor
When you open a page or post to edit it, you're looking at the Block Editor. The concept is simple: everything on the page is a block. A paragraph is a block. An image is a block. A video, a heading, a list—they're all individual blocks. This makes it super easy to move things around and control your layout without touching a single line of code.
Want to change some text? Just click on the paragraph and start typing. Need to add something new? Look for the "+" icon to browse for new blocks.
My Favorite Shortcut: Instead of clicking the "+" button, just hit the forward-slash key (
/) on a new line. A little search box will pop up, letting you find the block you need instantly. Typing/imageor/headingis way faster than clicking around.
So, for our bakery's "About Us" page, here's our to-do list:
- Add a new paragraph about the bakery's founding story.
- Swap out the old photo for a fresh one of the new cupcake lineup.
- Update the business hours listed at the bottom.
Bringing the Changes to Life
First, let's tackle the business hours. Just find that text on the page, click into its paragraph block, and type in the correct times. Easy.
Next up, the photo. Click on the old image. A small toolbar will appear right above it. You'll see an option that says "Replace." Click that, and you can upload the new cupcake photo straight from your computer.
While we're at it, maybe you want to add the page's URL to your business card. You can easily adjust the page's web address, or "slug." If you're not sure how that works, it's worth taking a moment to learn what a slug is on WordPress and how it affects your SEO.
After you've made all your edits, there's one last, crucial step. See that big blue Update button in the top-right corner? Click it. If you don't, none of your hard work will be saved, and your visitors will still see the old information. Always remember to hit update
Customizing Your Website's Look and Feel
Once you've got your content squared away, it’s time for the fun part: making your website actually look like your website. This is where you inject your brand's personality, and the good news is you don't need a design degree to get it done. Most of this magic happens in a handy tool called the Theme Customizer.
To get there, just head to Appearance > Customize from your WordPress dashboard. This will open up a split-screen view: a live preview of your site on the right and all your design options on the left. It’s a fantastic, risk-free way to play around with your site's design because nothing is final until you hit "Publish."
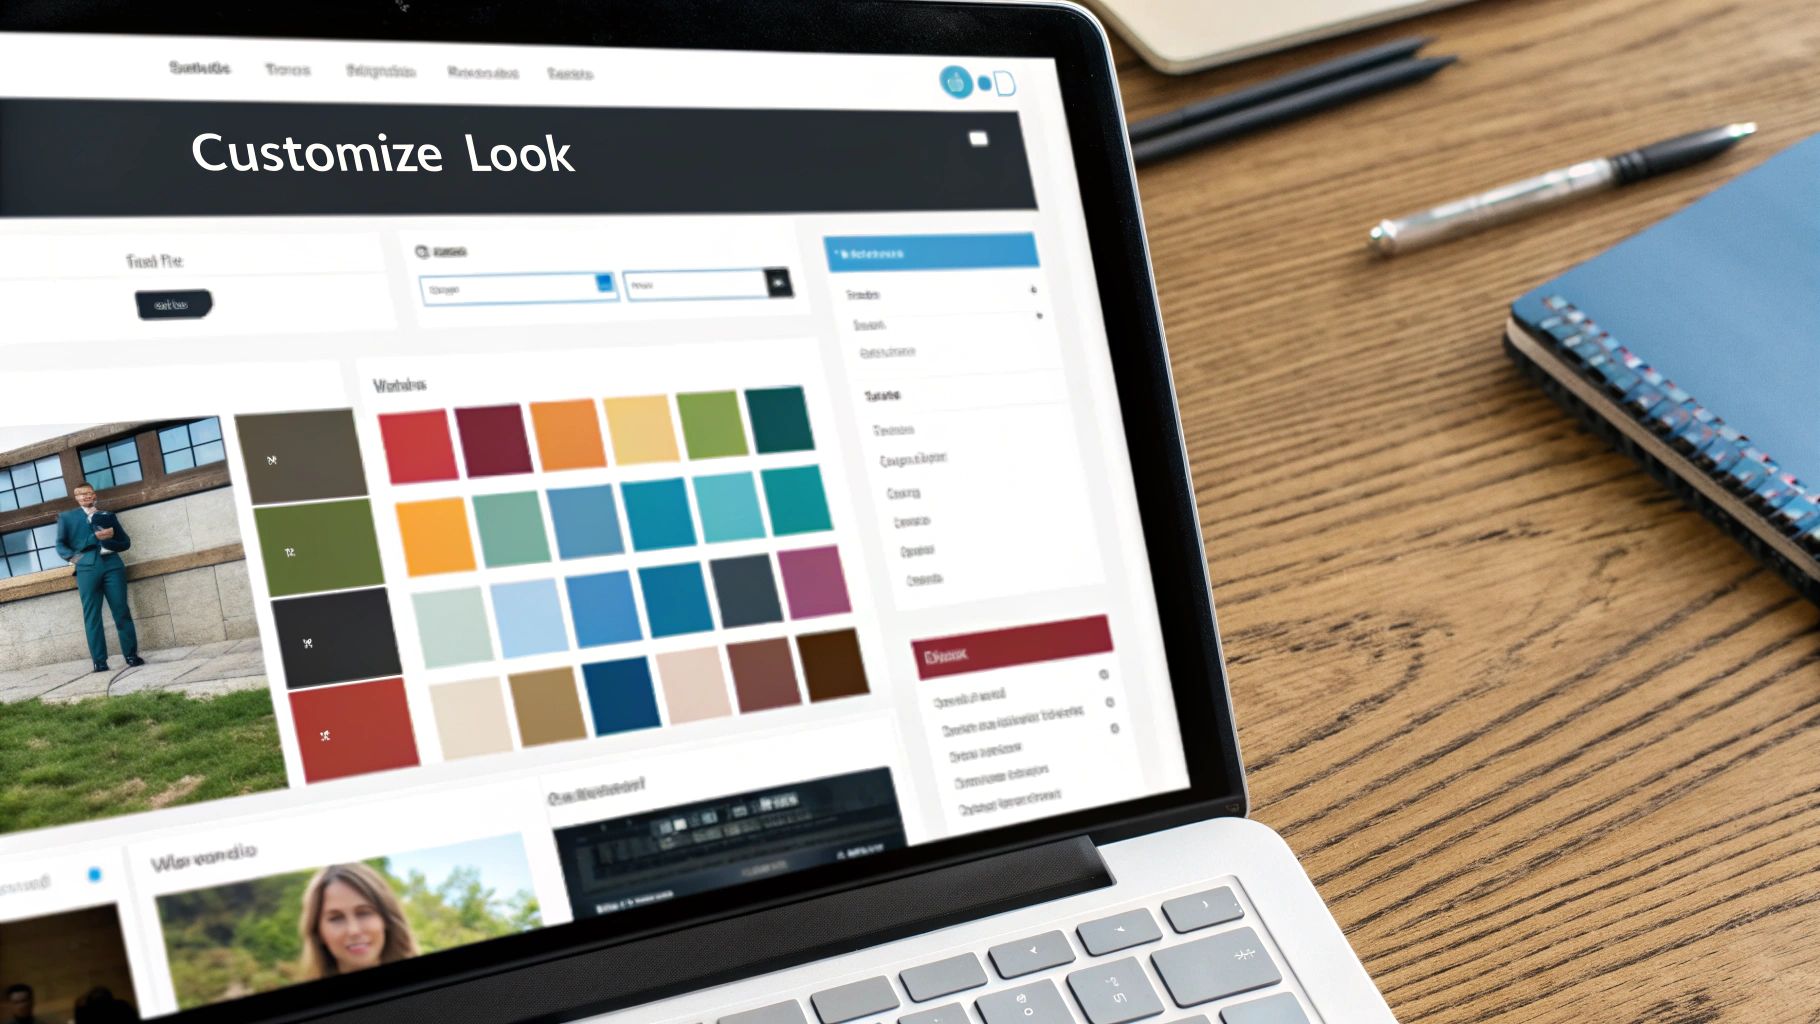
This is your command center for the big-picture design stuff. You can upload your company logo, change the site title and tagline, and dial in your brand's color scheme. It's all about creating a consistent, professional look.
Fine-Tuning Your Site Identity and Navigation
Inside the Customizer, look for a section called "Site Identity" (or something similar). This is where you'll handle your core branding elements. You can upload your logo and also set your "favicon"—that tiny icon that shows up in browser tabs. These small details go a long way in making your site feel polished and legitimate.
Next up is your navigation menu, which is basically the road map for your entire site. A confusing menu is a fast way to lose visitors. The Customizer makes managing your menus incredibly straightforward.
- Add New Items: Easily link to pages, posts, or even external sites.
- Reorder Links: Just drag and drop menu items into the order you want.
- Create Submenus: Tuck one item under another to create a dropdown menu. This is a lifesaver for keeping more complex sites organized and clean.
Don't rush this part. A logical, easy-to-follow menu is a cornerstone of a great user experience.
Using Widgets to Add Functionality
Last but not least, let's talk about widgets. Think of these as little blocks of content or functionality that you can place in specific areas of your site, like the sidebar or footer. They're like mini-apps for your website.
A well-placed widget can be a game-changer for usability. For instance, popping a search bar widget into your sidebar gives visitors a quick way to find what they need, which often encourages them to stick around longer.
A few common widgets you'll probably find useful are:
- A search bar
- A list of your recent blog posts
- An archive of past articles, often sorted by month
- A gallery of your latest images
By mastering the Theme Customizer, thoughtfully organizing your menus, and strategically placing a few key widgets, you can build a professional, user-friendly website that truly represents your brand. And the best part? You can do it all without touching a single line of code.
Adding New Features with Plugins
Think of plugins as apps for your website. They’re the key to unlocking features your theme doesn't offer out of the box. Need an online store, a contact form, or better SEO tools? There’s a plugin for that. In fact, the official WordPress directory has over 59,000 free options available.
Plugins are your go-to when you want to edit your WordPress site's functionality. Many of them bring the power of no-code workflow automation right into your dashboard, letting you build out some pretty complex features without ever touching a line of code.
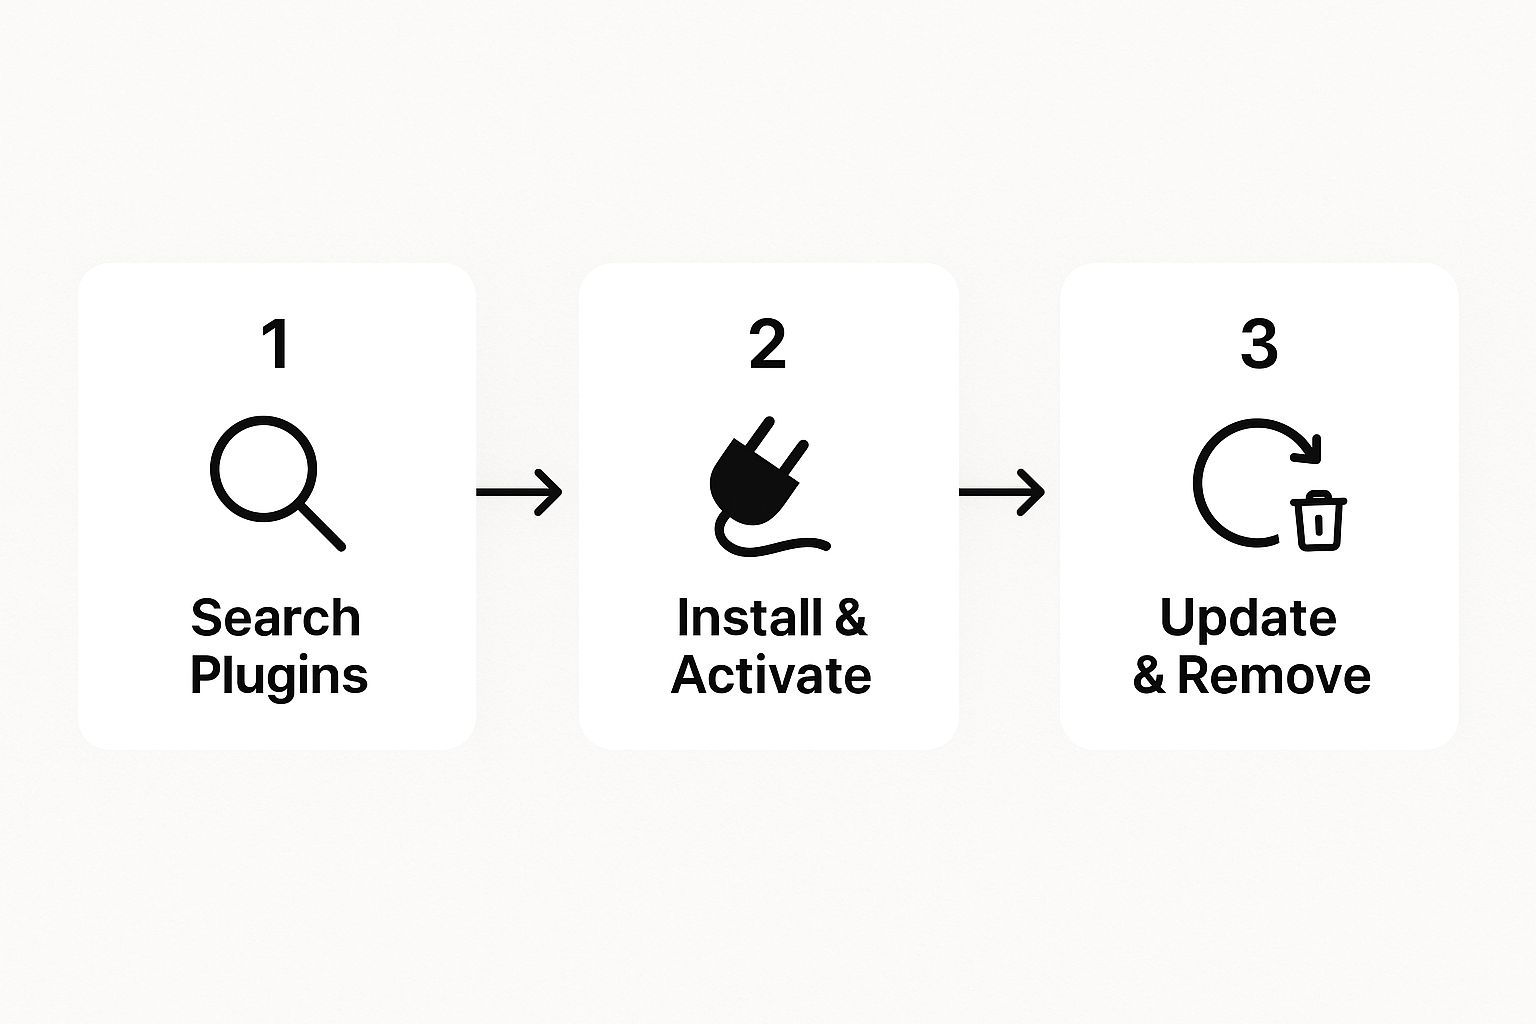
From finding the perfect plugin to installing and maintaining it, the whole process is designed to be straightforward.
Choosing and Installing the Right Plugin
Let's walk through a common scenario: you need a contact form. You'd head over to Plugins > Add New on your dashboard and type "contact form" into the search bar. The results can be overwhelming, so how do you know which one to trust?
Pro Tip: I always check two things before hitting "Install": the "Last updated" date and the number of active installations. A recently updated plugin with a high user count is a good sign it’s secure and well-supported. Skimming the latest reviews also helps spot any red flags.
Found one you like? Great. Installing it just takes a couple of clicks. If you want a more detailed breakdown, our guide on how to install a plugin to WordPress will walk you through every step.
Keeping Your Plugins Healthy
Just installing a plugin isn't the end of the story. Keeping them updated is absolutely critical for your site's security. Hackers love to target outdated plugins, which can leave your entire website vulnerable.
You can manage all your updates right from the Plugins page in your dashboard. And if you decide you no longer need a plugin, don't just leave it sitting there inactive. Deactivate and delete it. This keeps your site clean, fast, and secure by getting rid of unnecessary code.
Smarter Editing and Essential Best Practices
Knowing the basics of WordPress is a great start, but adopting a few pro habits is what really separates the beginners from the experts. Think of these practices as your safety net—the stuff that experienced users do automatically to avoid major headaches down the road.
Before you touch anything significant, get in the habit of backing up your website. I’m talking about installing a new plugin, tweaking your theme's code, or making any big change. This is non-negotiable. Seriously. A simple backup can turn a site-breaking disaster into a minor, five-minute inconvenience.
Managing Access and Customizations
Sooner or later, you'll probably need to give someone else access to the site. The temptation is to just create another admin account, but that's a huge security risk. Instead, use WordPress’s built-in user roles to give people just the permissions they need.
For example, if you bring on a new writer, set them up as an "Author" or "Contributor." This way, they can create and edit their own posts without being able to mess with plugins, themes, or other critical settings.
- Administrator: Has the keys to the entire kingdom. Use this role sparingly.
- Editor: Can publish and manage all posts on the site, not just their own.
- Author: Can only write, publish, and manage their own posts.
- Contributor: Can write posts, but can't publish them. An editor has to approve their work first.
Here's another pro tip: if you plan on making any code changes, even simple CSS tweaks, always use a child theme. It’s essentially a safe layer that sits on top of your main theme. When your theme gets an update, your custom code won't be wiped out. It's a lifesaver.
Keeping up with backups and managing users properly are fundamental parts of good WordPress site maintenance. Taking these steps seriously will keep your site humming along. And if you want to make life even easier, there are plenty of useful WordPress tools out there that can help automate some of this for you.
Answering Your Top WordPress Editing Questions
Once you start tinkering with your WordPress site, you'll inevitably run into a few head-scratchers. Everyone does. Let's walk through some of the most common questions I hear, so you can skip the frustration and get back to creating.
Can I Actually Edit My WordPress Site on My Phone?
Yes, you absolutely can. The official WordPress mobile app for both iOS and Android is surprisingly handy for managing your site on the fly. It's perfect for writing a quick post, uploading a photo you just took, or approving comments while you're away from your desk.
But here's the reality: for the heavy lifting, you'll want a proper computer. Things like overhauling your theme, digging into plugin settings, or making detailed page-layout changes are just plain easier on a bigger screen. Think of the app as your go-to for quick tasks, not a full replacement for your desktop dashboard.
How Do I Undo a Mistake? (The WordPress "Oh No" Button)
This is the one feature you'll be so glad exists. If you've ever accidentally deleted a huge chunk of text, don't panic. WordPress has your back with a built-in feature called Revisions.
Just go into the editor for the post or page you were working on. Over on the right-hand sidebar, you should see a "Revisions" link. Click it, and you'll be taken to a screen where you can scroll through every saved version of your content. You can even compare two versions side-by-side to see what changed before restoring an older one with a single click.
This has saved my bacon more times than I can count. Before you give up on a change you regret, always check your revisions. It's your built-in safety net.
What’s the Real Difference Between a Page and a Post?
This trips up almost every beginner, but it’s pretty simple once you get the hang of it.
Here’s the breakdown:
- Pages are for your static, foundational content. Think "About Us," "Contact," "Services," or your "Privacy Policy." These are the cornerstones of your site that don't really change much and usually live in your main navigation menu.
- Posts are for timely, dynamic content—basically, your blog. These are your articles, news updates, or announcements. They're typically shown in reverse-chronological order and use categories and tags to keep things organized.
So, if it’s a permanent fixture on your site, it’s a page. If it’s a new article for your blog, it’s a post.
Why Aren't My Changes Showing Up on the Live Site?
Ah, the classic "I clicked save but nothing happened" problem. 99% of the time, the culprit is caching.
Your browser and your website often store saved versions of pages to make them load faster for visitors. This is great for speed, but it means you might be looking at an old, cached copy instead of your freshly updated one.
The first fix to try is a "hard refresh" in your browser. On Windows, that's Ctrl+Shift+R, and on a Mac, it's Cmd+Shift+R. If that doesn't do the trick, your site probably has a caching plugin (like WP Rocket or W3 Total Cache). Log into your WordPress dashboard, find the plugin's settings, and look for a button that says "Clear Cache" or "Purge Cache." That will force the server to show the newest version.
Feeling like you'd rather have an expert handle all this? At OneNine, we take the complexity out of website management. Whether you need a quick fix, ongoing support, or a full redesign, our team is ready to help your website shine. Learn more about our website management services.


