

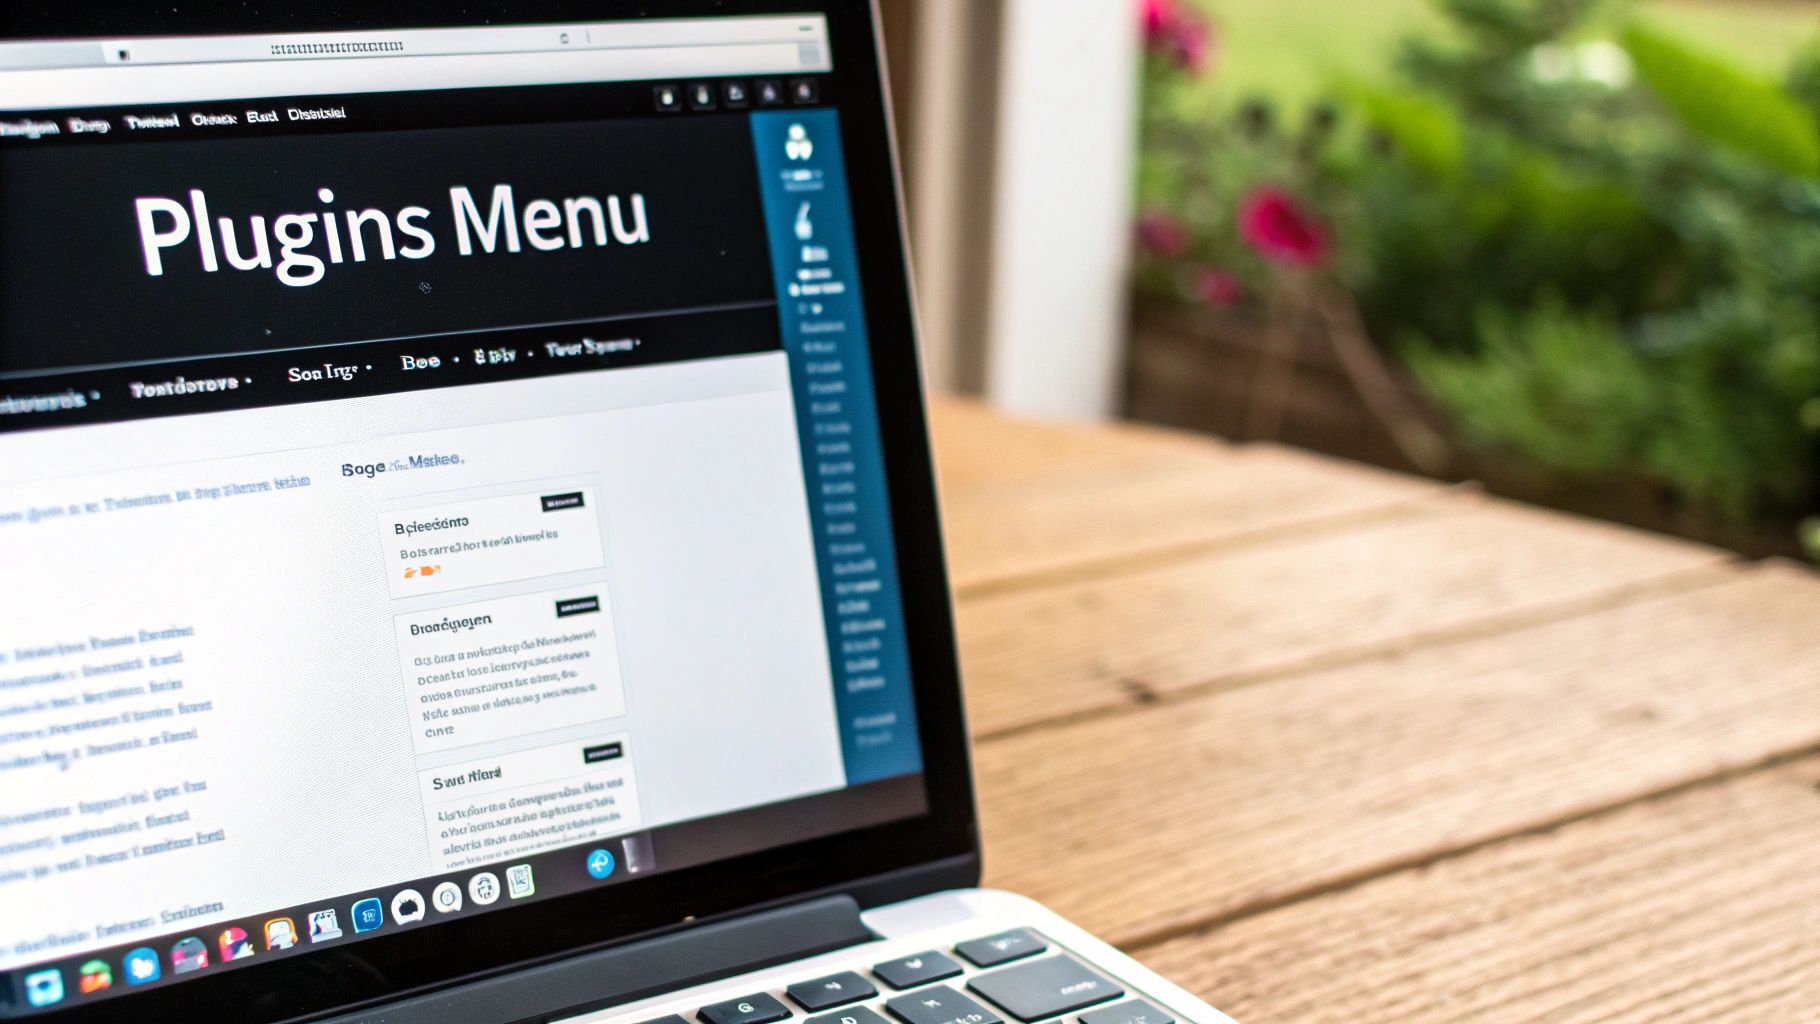
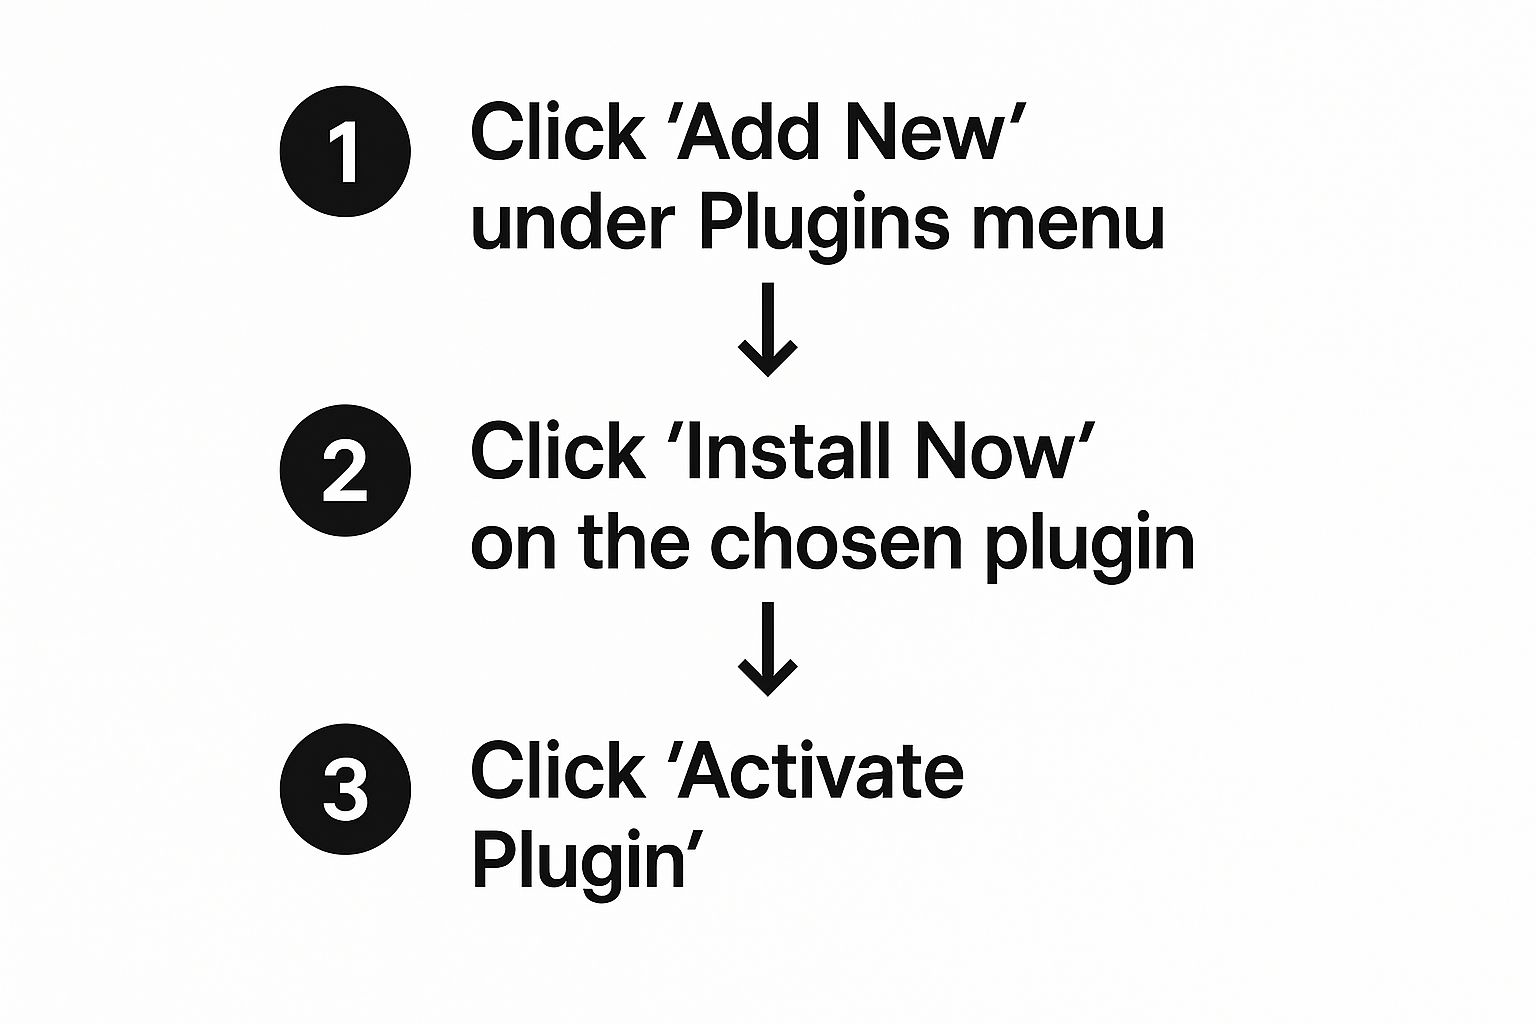
Adding a plugin to your WordPress site is usually a breeze. You just pop over to your dashboard, head to Plugins > Add New, find what you're looking for, and click "Install Now" then "Activate". In less than a minute, you can bolt brand new functionality onto your website.
Why Bother With WordPress Plugins Anyway?
Think of your basic WordPress site like a new smartphone. It works perfectly out of the box for calls and texts, but the real magic happens when you start adding apps. That’s exactly what plugins do for your website.
Plugins are just little bundles of code that "plug in" to your WordPress core, giving you cool new features or making existing ones even better. Best of all, you don't have to touch a single line of code yourself.
They're the secret sauce that turns a simple blog into a full-blown online store, a slick portfolio, or a private membership community. The sky’s the limit.
The Real Power Behind WordPress Customization
The whole reason WordPress is so incredibly popular—powering a massive 43.4% of all websites on the internet—is this very idea of endless customization. Its massive community has created a thriving ecosystem of developers who have built a plugin for just about anything you can dream up.
Learning how to install a plugin isn't just a technical task; it's your gateway to making your website do exactly what you need it to do. For a full picture of its dominance, you can explore a deeper dive into these WordPress statistics.
At its core, installing a plugin is about empowerment. It’s how you add a contact form, boost your SEO, or lock down your site's security without needing to be a developer. It puts you in control.
The Three Paths to Installing a Plugin
Before we get into the nitty-gritty, you should know there are three main ways to get this done. Each one is useful in different situations, whether you're grabbing a freebie from the official directory or uploading a premium plugin you just bought.
- From the Dashboard: The simplest and most common way, perfect for free plugins found in the WordPress repository.
- Via Manual Upload: The go-to method for installing premium or custom plugins that come in a ZIP file.
- Using FTP: A more technical approach, but a lifesaver when the other methods fail or your dashboard is down.
Let's take a quick look at how these stack up against each other.
Comparing Plugin Installation Methods
Here’s a quick summary comparing the three primary methods for installing a WordPress plugin. This will help you choose the best option based on your situation.
| Method | Best For | Difficulty Level |
|---|---|---|
| WordPress Dashboard | Installing free plugins from the official directory quickly and easily. | Easy |
| Manual ZIP Upload | Installing premium plugins or those not listed in the official directory. | Easy |
| FTP Installation | Troubleshooting installation issues or when you can't access the dashboard. | Intermediate |
Knowing which tool to use for the job makes the process much smoother. Now, let's walk through how to actually use each of these methods.
Using the Official WordPress Plugin Directory
For most folks, the easiest and safest way to add a new plugin is right from the WordPress dashboard. It’s built-in, it’s fast, and it gives you direct access to a massive library of free, pre-vetted tools without ever leaving your site.
First things first, log into your WordPress admin area and look for Plugins > Add New in the left-hand menu. Clicking this takes you to the plugin marketplace, which is your gateway to extending your site’s functionality.
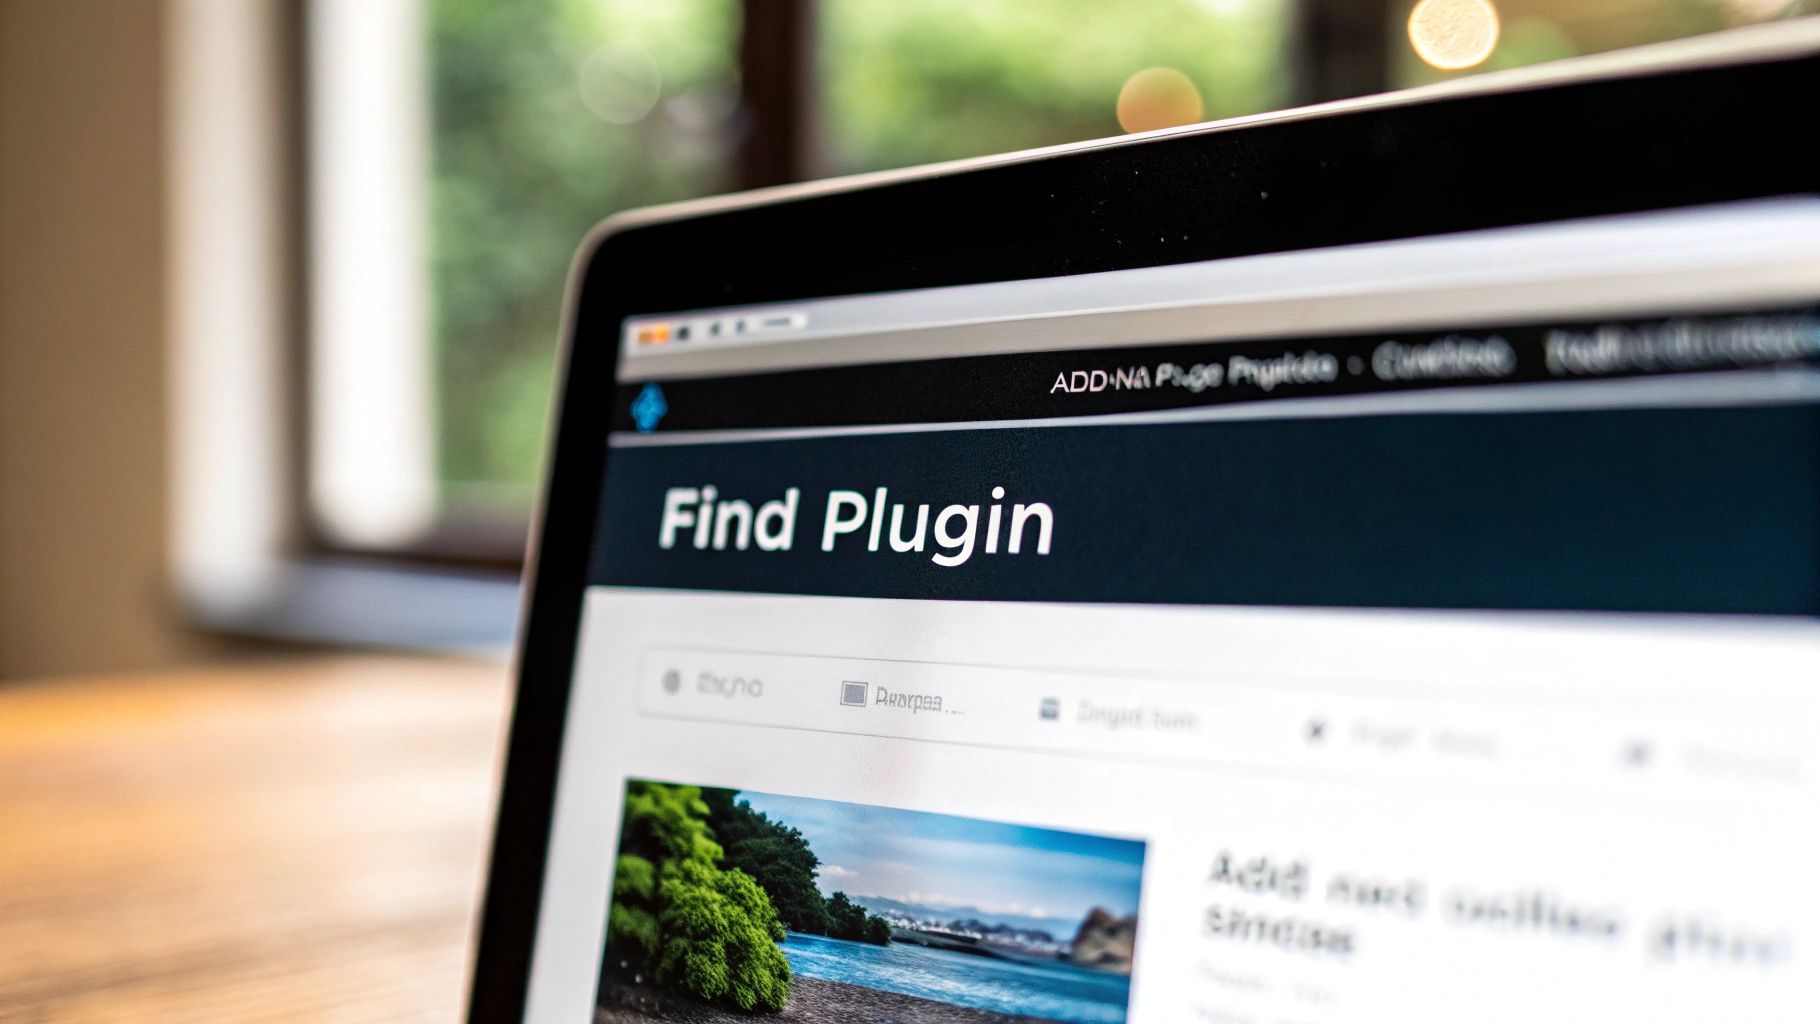
You'll immediately see a few featured and popular plugins, but the real magic is in the search bar on the right.
This is where you can find exactly what you need. You can type in the name of a specific plugin you've heard of, like "Yoast SEO," or search for a function you want, like "image compression." The results give you a quick overview of each plugin, including user ratings and how many other sites are using it, which helps you quickly spot the quality options.
Finding and Installing the Right Plugin
As of June 2025, there are over 59,000 free plugins in the official directory. But here's a telling stat: only 62 of them have more than a million active installations. This really shows how a handful of powerhouse plugins, think Elementor or WooCommerce, have become absolute essentials for millions of websites. Getting comfortable with installing these is a core skill for anyone running a WordPress site. You can discover more insights about these WordPress statistics on Hostinger.com.
When you find a plugin that catches your eye, take a second to check a few key details before you commit:
- Last Updated: If it hasn't been updated in a while, it might not be compatible with the latest version of WordPress or could even be a security risk. Look for recent activity.
- Active Installations: A high number is a great sign. It means the plugin is trusted and widely used by the community.
- Reviews and Ratings: See what actual users are saying. Are they happy? Did they run into problems?
Once you feel good about your choice, just click the Install Now button. WordPress does all the heavy lifting for you, downloading and unpacking the files onto your server.
Heads Up: Clicking "Install Now" just puts the plugin's files on your site. It doesn't actually turn it on yet. That's a common stumbling block for newcomers.
After a few moments, that button will change to a blue Activate button. Go ahead and click it. This is the final step that officially enables the plugin and integrates its features into your website. Now you can find its settings (usually in the main menu or under "Settings") and start configuring it.
Remember, installing plugins is just the beginning. Keeping them updated is critical for security and performance, a topic we dive into in our guide to essential WordPress website maintenance.
How to Manually Upload a Plugin ZIP File
The official WordPress directory is fantastic for freebies, but the real power often comes from premium plugins. When you buy a plugin from a marketplace like ThemeForest or directly from a developer, you can't just search for it in your dashboard. You'll need to upload it yourself.
This process starts the second you hit "download" on the purchase page. Your new plugin will arrive as a ZIP file, but here's a pro tip that'll save you a headache: don't just upload the first ZIP file you see.
Developers often package everything—documentation, license files, and other assets—into one big ZIP. If you try uploading that main package, WordPress will throw an error. You need to look inside for the actual installable file, which is usually named something like plugin-name.zip. That's the one you want.
Finding the Upload Feature
Ready to install? Head over to Plugins > Add New in your WordPress dashboard. It's the same screen you'd use to search for a free plugin.
Look right at the top of the page. You'll see an Upload Plugin button. It's easy to overlook, but that's your starting point.
Click it, and a simple upload form will appear. From here, it's just a few clicks:
- Hit the Choose File button.
- Find that
plugin-name.zipfile on your computer and select it. - Click Install Now.
WordPress will handle the rest, uploading the file to your server and unzipping it into the right folder. It usually only takes a few seconds.
Once the upload is done, you'll see a success screen. The last step is the most important one: click the big blue Activate Plugin button. Now your new tool is installed, active, and ready to be configured.
Mastering the manual upload is a core skill for anyone serious about building a powerful WordPress site. It's just one way to get the job done, and you can learn about others in our full guide on how to add plugins to WordPress. Knowing this opens the door to a whole world of premium functionality that you just can't find in the free directory.
Advanced Installation Using an FTP Client
Sometimes, the standard WordPress dashboard methods just won't cut it. Maybe you're locked out of your admin area, or a plugin installation failed and brought your site down. When that happens, knowing how to install a WordPress plugin with an FTP client is a game-changing skill.
Think of it as having a back door to your website. It lets you manage files directly on your server, completely bypassing the WordPress login screen. To get started, you'll need an FTP client. I personally use FileZilla, but Cyberduck is another fantastic, free option that works on both Mac and Windows.
This image shows the simple, in-dashboard process that we're about to replicate manually.
When you use FTP, you're essentially performing these steps yourself, giving you full control over placing the files exactly where they belong.
Connecting and Navigating Your Server
First things first, you need to connect to your server. Grab your FTP credentials, which you can find in your hosting provider's control panel. You'll need four key pieces of information:
- Host: Your domain name (e.g.,
yourwebsite.com) or server IP address. - Username: Your unique FTP username.
- Password: The password for that specific user.
- Port: Usually 21 for standard FTP, but I strongly recommend using SFTP on port 22 if your host supports it for a secure connection.
Once you’re connected, your FTP client will show a two-sided layout. On the left, you'll see the files on your computer. On the right, you'll see the files on your website's server.
Navigate through the folders on your server (the right side) until you find the heart of your WordPress installation. This is typically inside a folder named public_html or www. From there, go into wp-content, and then into the plugins folder.
This
/wp-content/plugins/directory is mission control for all your plugins. Any folder you place here will automatically show up on the Plugins page inside your WordPress dashboard. It's the technical equivalent of using the dashboard installer.
Now, look at your local files (the left side). Find the plugin's .zip file you downloaded earlier and unzip it. This is a crucial step: you upload the extracted folder, not the zip file itself.
Simply drag that unzipped plugin folder from your computer over to the plugins directory on your server. The transfer might take a moment or two, especially for larger plugins.
Once the upload is complete, head back to your WordPress dashboard and click on Plugins. You should see your new plugin sitting in the list, waiting for you. Just click Activate, and you're good to go. This manual method is a true lifesaver for tricky situations.
Troubleshooting Common Plugin Installation Problems
So, you followed all the steps, but the plugin installation still failed. Don't sweat it. Even seasoned pros run into hiccups. Technology has a mind of its own sometimes, and a failed install can throw up a cryptic error message. The good news? Most of these problems are common and have straightforward fixes.
One of the errors you'll see most often is The uploaded file exceeds the upload_max_filesize directive in php.ini. This sounds technical, but it's not. It just means the plugin file is too big for your server's current settings. This happens a lot with beefier, more complex plugins.
Another classic is the PCLZIP_ERR_BAD_FORMAT error. This one is almost always a simple mistake. It usually means you've tried to upload the main download package instead of the actual plugin file. You know how premium plugins often come in a big ZIP file with documentation and other extras? You likely uploaded that, not the smaller, installable ZIP file tucked inside.
Solving Installation Errors
For that file size issue, you'll need to increase your server's upload limit. This might mean a quick chat with your hosting provider's support team, or you can often edit a configuration file yourself if you're comfortable doing so. The "bad format" error? That's an easy fix—just unzip the main package on your computer, find the correct plugin ZIP file, and upload that one instead.
Sometimes, a failed installation leaves junk files behind that can cause conflicts. When that happens, it's a good idea to clear your website's cache. This makes sure you're not just looking at a broken, cached version of your site. If you're not sure how, this guide walks you through it: https://onenine.com/how-to-clear-wordpress-cache/
A "Destination folder already exists" error is another one that pops up frequently. It means a previous attempt to install the plugin failed but still created an empty folder for it on your server. You'll have to log in via FTP or your host's file manager and delete that empty folder before you can try installing the plugin again.
For other technical snags that pop up, having an effective troubleshooting guide handy can give you a solid framework for figuring things out quickly. Getting familiar with these quick fixes will make the whole process of learning how to install a plugin in WordPress feel much less intimidating.
Got Questions About WordPress Plugins? We've Got Answers.
Even after you've mastered the install process, you might still have a few questions rattling around. Let's clear up some of the most common ones I hear from people managing their own WordPress sites.
Installed vs. Active: What’s the Difference?
This is a big one. When you install a plugin, you're just adding its files to your website's server. It's there, but it's not doing anything yet. To get it working, you have to click Activate.
Think of it like downloading an app to your phone—it's not useful until you actually open it. On your main Plugins page, you'll see active plugins highlighted (usually in blue), while inactive ones have a plain white background. Simple as that.
The Million-Dollar Question: How Many Plugins Are Too Many?
Everyone asks this, and the truth is, there's no magic number. It's not about how many plugins you have; it's about their quality. A single, poorly built plugin can drag your site to a halt, while 20 well-coded ones might run without a hitch.
The focus should always be on quality and necessity. Only install plugins from trusted developers that you genuinely need. When a site feels slow, it's almost always because of one or two problematic plugins, not the total count.
I've seen well-managed sites run perfectly with over 40 plugins. The myth that hitting a certain number automatically makes your site slow is just that—a myth. It's the badly coded plugin, not the 21st plugin, that causes the problem.
Should I Delete Inactive Plugins?
Yes. Without a doubt.
An inactive plugin isn't running on your live site, but its files are still sitting on your server. This is a security risk waiting to happen. If you forget to update that dormant plugin, it can become an easy entry point for hackers.
Here's my rule of thumb:
- Need it again soon? It's fine to leave it inactive for a little while.
- Don't plan on using it again? Deactivate it and hit delete.
Keeping your plugin list tidy is just good website hygiene. It prevents "plugin bloat" and closes security gaps. You can always reinstall it later if you change your mind. Consider it digital spring cleaning for a safer, faster site.
At OneNine, we know that a great website is about more than just plugins. If you need a hand with ongoing maintenance, custom features, or a full-blown strategy, we're here to help. See how we can make your website management easier at https://onenine.com.


