

Performance matters. A slow app can frustrate users, hurt engagement, and reduce conversions. In this guide, you’ll learn how to make your Ember.js app faster and more efficient with actionable steps:
Key Optimization Areas:
- Initial Load Time: Minimize bundle size, use lazy loading, and enable server-side rendering with FastBoot.
- Rendering Speed: Switch to Glimmer components, handle large datasets with virtualization, and optimize DOM updates.
- Data Management: Load data in chunks, reduce API calls, and cache efficiently.
- Advanced Techniques: Fix memory leaks, use Web Workers for heavy tasks, and monitor performance consistently.
Quick Metrics to Aim For:
| Metric | Target |
|---|---|
| Time to Interactive (TTI) | < 3.8 seconds |
| First Contentful Paint | < 1.8 seconds |
| Total Bundle Size | < 200KB (gzipped) |
| Server Response Time | < 200ms |
| Route Transition Time | < 300ms |
Why It Matters:
- Faster apps = happier users.
- Better performance boosts SEO and conversions.
- Tools like Ember Inspector and Chrome DevTools help track and fix issues.
This guide dives into practical techniques to improve every aspect of your Ember.js app’s performance. Ready to make your app lightning-fast? Let’s get started!
Emberconf 2014 convergent divergent by christopher …
Speed Up Initial Load Time
The initial load time of an Ember.js app plays a crucial role in its performance and user experience. Here’s how you can reduce startup time effectively.
Minimize Bundle Size
Reducing the size of your app’s bundle is one of the best ways to improve load speed. Here are some strategies:
- Enable Tree Shaking: Configure your build pipeline to remove unused code, ensuring only necessary modules are included.
- Implement Code Splitting:
- Separate vendor libraries to take advantage of caching.
- Use dynamic imports to load code based on routes.
- Lazy load components so only the required code is loaded during startup.
- Optimize Dependencies: Regularly audit and update your packages. Remove unused dependencies and use tools like
ember-cli-bundle-analyzerto discover optimization opportunities.
By combining these techniques, you can significantly reduce your app’s bundle size while ensuring on-demand loading for routes and components.
Load Routes and Components On-Demand
Lazy loading routes and components can further improve performance by deferring the loading of non-essential parts of your app until they’re needed. Here’s how it works:
// Example of lazy loading a route
this.route('dashboard', function() {
    this.route('analytics', { load: () => import('./routes/dashboard/analytics') });
});

// Lazy loading a component using ember-auto-import
const ChartComponent = () => import('./components/chart');
For instance, OneNine successfully implemented lazy loading in a client’s dashboard app. This approach reduced the initial bundle size and improved the app’s time to interactive.
Server-Side Rendering with FastBoot
Using FastBoot for server-side rendering can also enhance load speed by delivering pre-rendered content to users. Here’s how to get started:
-
Install FastBoot:
ember install @ember/render-modifiers && ember generate fastboot -
Configure FastBoot: Update
config/environment.jsto include a host whitelist:module.exports = function(environment) { let ENV = { fastboot: { hostWhitelist: [/^localhost:\d+$/] } }; return ENV; }; -
Handle Environment-Specific Data Fetching: Adjust your route models to fetch data differently depending on whether FastBoot is being used:
export default class IndexRoute extends Route {
    async model() {
        if (typeof FastBoot !== 'undefined') {
            return await this.store.findAll('post');
        }
        return this.store.peekAll('post');
    }
}
With these steps, you can improve the perceived load time by showing rendered content faster, even while the client-side app loads in the background.
Next, we’ll dive into strategies for enhancing rendering performance to further optimize your app.
Improve Render Speed
This section covers methods to enhance rendering performance effectively.
Use Glimmer Components
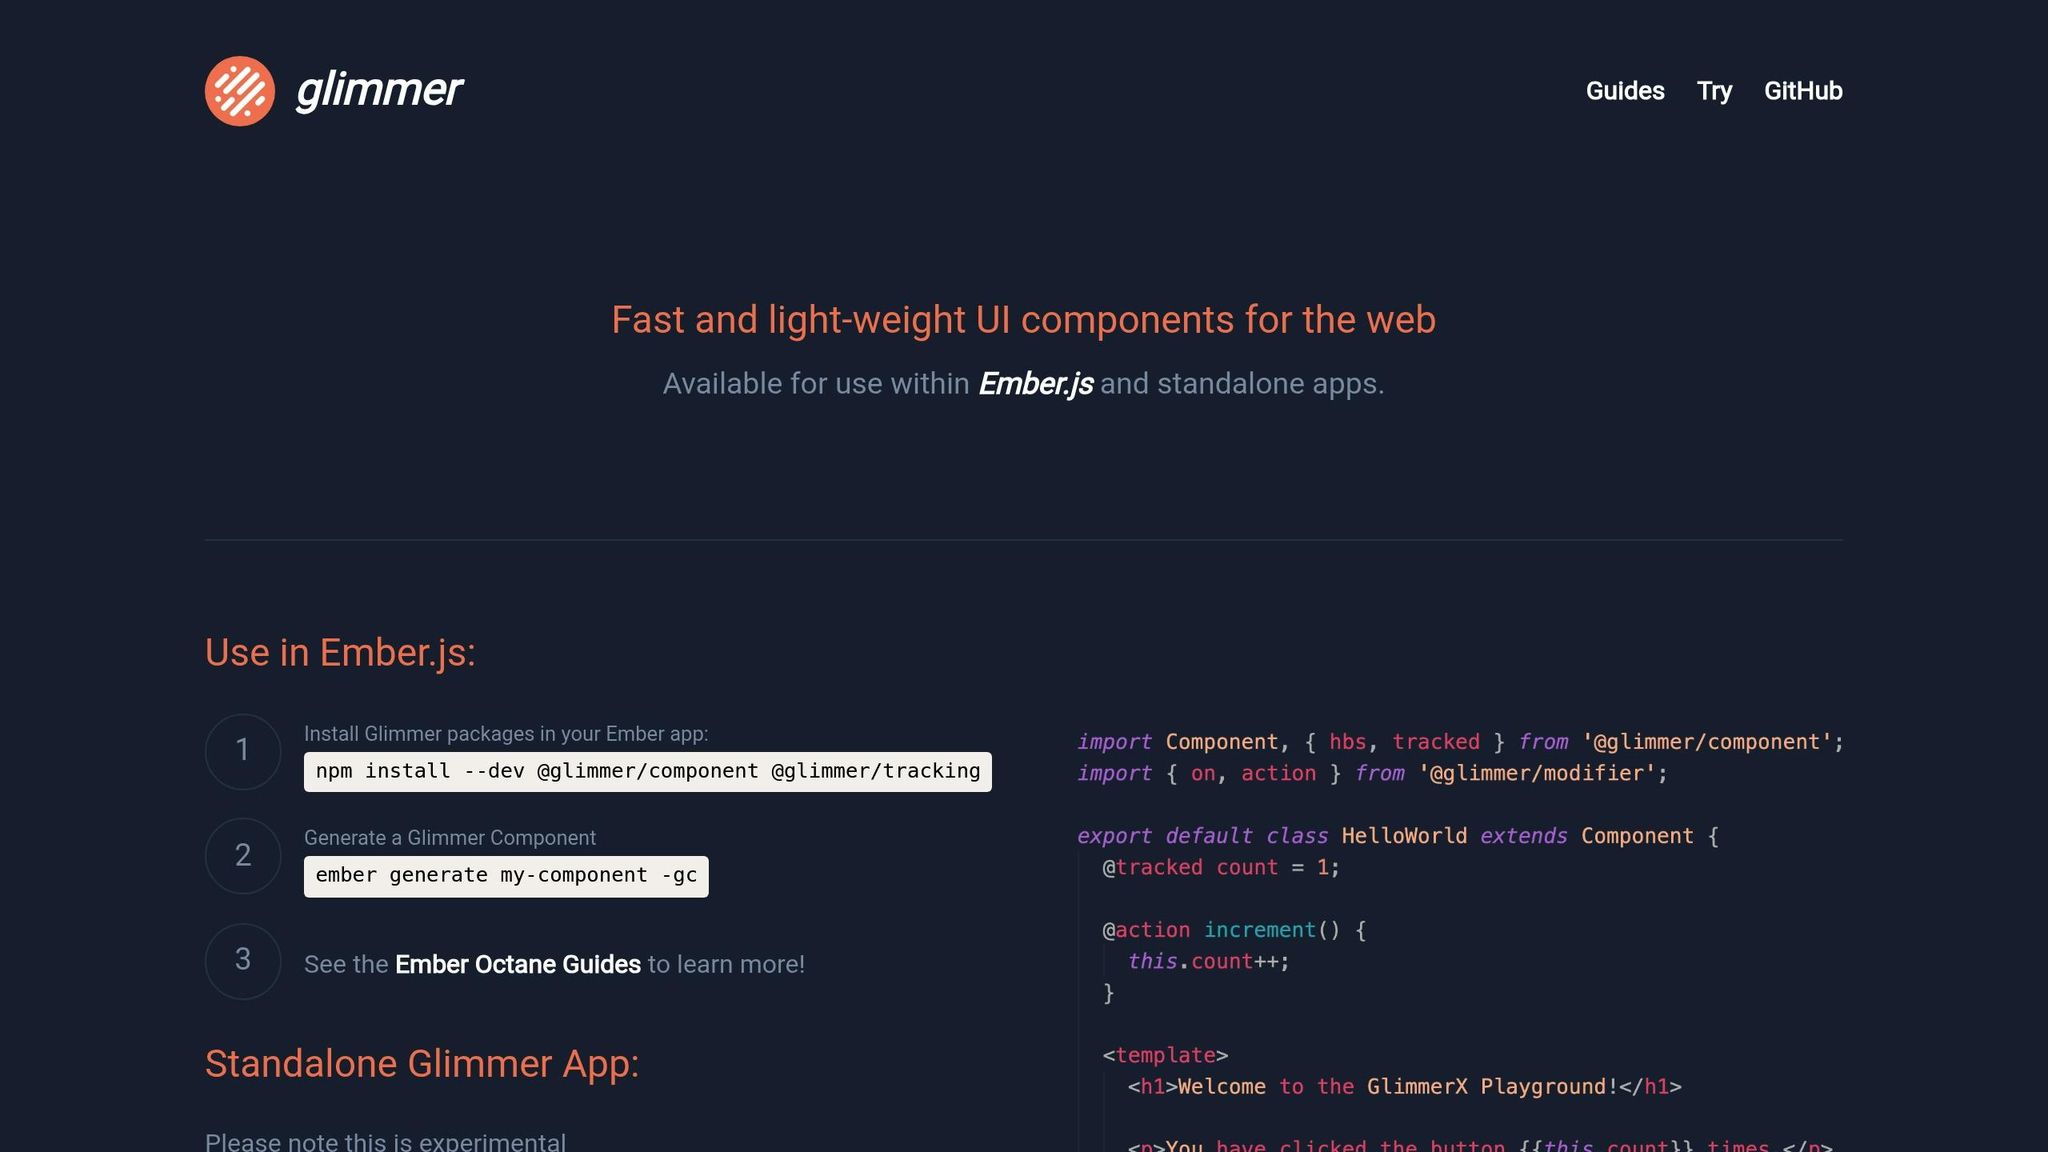
Glimmer components offer better performance compared to classic Ember components, thanks to their simplified rendering engine. They minimize reliance on complex lifecycle hooks and handle memory more efficiently. Here’s how to create a Glimmer component:
import Component from '@glimmer/component';

export class DataTable extends Component {
    get sortedData() {
        return this.args.data.sort((a, b) => a.id - b.id);
    }
}
In your template, render the sorted data like this:
<div class="data-table">
    {{#each this.sortedData as |item|}}
        <TableRow @data={{item}} />
    {{/each}}
</div>
Handle Large Lists Efficiently
When dealing with large datasets, virtualization is essential for smooth scrolling. This technique renders only the visible items and a small buffer, improving performance. The ember-collection addon can help implement this:
import Component from '@glimmer/component';

export default class VirtualList extends Component {
    cellLayout = {
        itemHeight: 50,
        width: 800,
        estimatedHeight: 1000
    };
}
And the corresponding template:
<EmberCollection
    @items={{@data}}
    @cellLayout={{this.cellLayout}}
    @estimatedHeight={{1000}}
    as |item|>
    <ListItem @data={{item}} />
</EmberCollection>
This approach ensures efficient rendering by focusing on the visible items and conserves memory.
Optimize DOM Updates
Streamlining DOM updates can further enhance rendering speed. Here are some strategies:
-
Use Ember’s RunLoop: Batch DOM updates to minimize reflows. For example:
import { schedule } from '@ember/runloop'; export default class UpdateManager { updateMultipleItems(items) { schedule('actions', () => { items.forEach(item => this.updateItem(item)); }); } } -
Track Component Updates: Use tracked properties to manage updates efficiently:
import { tracked } from '@glimmer/tracking'; export default class DataComponent extends Component { @tracked lastUpdate; updateData() { this.lastUpdate = new Date(); } } -
Leverage Element Modifiers: Built-in modifiers help manage DOM events effectively:
<div
    {{did-insert this.setupElement}}
    {{did-update this.updateElement @data}}>
    {{yield}}
</div>
These techniques help reduce unnecessary DOM updates, leading to faster rendering. Up next, we’ll dive into data management strategies to further boost performance.
sbb-itb-608da6a
Manage Data and API Calls
Optimize Ember Data Usage
Design your data models to avoid loading unnecessary relationships. Here’s an example:
import Model, { attr, hasMany } from '@ember-data/model';

export default class UserModel extends Model {
    @attr('string') name;
    @hasMany('post', { async: true, inverse: null }) posts;
}
To free up memory after deleting a record, use unloadRecord():
export default class DataCleanupService extends Service {
    cleanupUserData(user) {
        if (user.isDeleted) {
            this.store.unloadRecord(user);
        }
    }
}
Load Data in Chunks
Handling large datasets? Pagination is your friend. Here’s an example of how to implement it:
export default class PostsRoute extends Route {
    queryParams = {
        page: { refreshModel: true },
        limit: { refreshModel: true }
    };

    async model(params) {
        return this.store.query('post', {
            page: params.page || 1,
            limit: params.limit || 20
        });
    }
}
For infinite scrolling, you can use this approach:
import Component from '@glimmer/component';
import { tracked } from '@glimmer/tracking';
import { action } from '@ember/object';

export default class PostListComponent extends Component {
    @tracked page = 1;
    @tracked isLoading = false;

    @action
    async loadMore() {
        this.isLoading = true;
        await this.args.onLoadMore(++this.page);
        this.isLoading = false;
    }
}
Reduce API Requests
Cut down on network traffic by batching API calls and caching data locally.
To batch updates:
import Service from '@ember/service';
import { inject as service } from '@ember/service';

export default class DataManagerService extends Service {
    @service store;

    async batchUpdate(records) {
        const payload = {
            data: records.map(record => ({
                id: record.id,
                type: record.type,
                attributes: record.changes
            }))
        };
        this.store.pushPayload(payload);
    }
}
And for local caching:
import Service from '@ember/service';

export default class CacheManagerService extends Service {
    cache = new Map();

    get(key) {
        const cached = this.cache.get(key);
        if (cached && Date.now() - cached.timestamp < 300000) { // 5-minute cache
            return cached.data;
        }
        return null;
    }

    set(key, data) {
        this.cache.set(key, {
            data,
            timestamp: Date.now()
        });
    }
}
Advanced Speed Improvements
Fix Memory Leaks
Memory leaks can slow down Ember.js applications. Here’s how to address them:
import Component from '@glimmer/component';
import { tracked } from '@glimmer/tracking';

export default class MemoryAwareComponent extends Component {
    @tracked intervalId;

    constructor() {
        super(...arguments);
        this.intervalId = setInterval(() => {
            // Your interval logic
        }, 1000);
    }

    willDestroy() {
        super.willDestroy();
        clearInterval(this.intervalId); // Clean up the interval
        this.removeEventListeners(); // Remove event listeners
    }

    removeEventListeners() {
        document.removeEventListener('scroll', this.boundScrollHandler);
        window.removeEventListener('resize', this.boundResizeHandler);
    }
}
To detect memory leaks, use the Memory tab in Chrome DevTools:
- Take a heap snapshot before performing actions.
- Run the operations you suspect might cause leaks.
- Take another snapshot.
- Compare the snapshots to find retained objects.
For tasks that are computationally heavy, consider using Web Workers to avoid blocking the main thread.
Run Heavy Tasks in Web Workers
Web Workers allow you to handle CPU-intensive tasks without affecting the main thread’s performance. Here’s an example:
// worker.js
self.addEventListener('message', function(e) {
    const result = heavyComputation(e.data);
    self.postMessage(result);
});

// component.js
export default class DataProcessorComponent extends Component {
    @tracked processingStatus = 'idle';
    worker = new Worker('/assets/workers/worker.js');

    @action
    async processData(data) {
        this.processingStatus = 'processing';

        this.worker.postMessage(data);
        this.worker.onmessage = (e) => {
            this.processingStatus = 'complete';
            this.args.onComplete(e.data);
        };
    }

    willDestroy() {
        super.willDestroy();
        this.worker.terminate();
    }
}
Always validate these changes using proper performance testing tools.
Performance Testing Tools
Create tools to monitor and measure performance:
// performance-monitor.js
import Service from '@ember/service';
import { tracked } from '@glimmer/tracking';

export default class PerformanceMonitorService extends Service {
    @tracked metrics = {};

    measureRenderTime(componentName) {
        performance.mark(`${componentName}-start`);

        return () => {
            performance.mark(`${componentName}-end`);
            performance.measure(
                componentName,
                `${componentName}-start`,
                `${componentName}-end`
            );

            const measurements = performance.getEntriesByName(componentName);
            this.metrics[componentName] = measurements[0].duration;
        };
    }
}
For deeper insights, use the Performance panel in Chrome DevTools. Additionally, you can tweak your app’s configuration for better debugging:
// config/environment.js
module.exports = function(environment) {
    let ENV = {
        EmberENV: {
            FEATURES: {},
            _APPLICATION_TEMPLATE_WRAPPER: false,
            _DEFAULT_ASYNC_OBSERVERS: true,
            _JQUERY_INTEGRATION: false
        },

        '@ember/debug': {
            LOG_STACKTRACE_ON_DEPRECATION: true,
            LOG_VERSION: true
        }
    };

    if (environment === 'development') {
        ENV.EmberENV.RAISE_ON_DEPRECATION = true;
    }

    return ENV;
}
Leverage Ember Inspector for additional analysis:
- Monitor component re-renders.
- Track route transitions.
- Evaluate data layer performance.
- Debug component states.
- Profile render times.
These tools and techniques will help you identify and resolve performance bottlenecks effectively.
Next Steps
Main Performance Tips
To see quick improvements, try these techniques:
// environment.js
module.exports = function(environment) {
  let ENV = {
    modulePrefix: 'my-app',
    environment,
    'ember-performance-monitoring': {
      enabled: true,
      measureRenderTime: true,
      trackRouteTransitions: true
    }
  };
  return ENV;
}
Key areas to focus on include:
- Route-based code splitting: Break down your app’s code to load only what’s needed for each route.
- Switch to Glimmer components: These are lightweight and improve rendering performance.
- Lifecycle hook cleanup: Ensure components properly clean up resources like event listeners or timers.
- Optimize Ember Data and API calls: Streamline data fetching and reduce unnecessary requests.
- Continuous performance tracking: Set up tools to monitor your app’s performance over time.
If implementing these steps feels overwhelming, consider seeking professional help.
Professional Support Options
Performance optimization can be tricky, but expert help is available. OneNine offers a range of services to keep your app running smoothly:
| Service Area | Features |
|---|---|
| Performance Monitoring | Daily speed tests and real-time optimizations |
| Technical Support | 24/7 help and dedicated account managers |
| Security | Active monitoring and fast threat response |
| Maintenance | Routine updates and backup management |
These services are designed to handle the heavy lifting for you.
Learning Resources
Want to sharpen your Ember.js performance skills? Check out these resources:
Official Documentation:
- Ember.js Performance Guide
- Ember CLI Build Documentation
- Ember Inspector Guide
Performance Testing Tools:
- Chrome DevTools Performance Panel
- Ember Inspector
- Lighthouse
For better debugging during development, configure your environment like this:
// config/environment.js
if (environment === 'development') {
  ENV.EmberENV.DEBUG_RENDER_TREE = true;
  ENV.EmberENV.DEBUG_CONTAINER = true;
  ENV.APP.LOG_ACTIVE_GENERATION = true;
  ENV.APP.LOG_TRANSITIONS = true;
}
Combine these resources with the optimization techniques above to get the best results for your app’s performance.


