

Why WordPress Migration Matters More Than Ever
Let's be real: you’re probably thinking about migrating your WordPress website because your current setup is giving you a major headache. Whether it's sluggish page load times, those all-too-frequent security alerts, or hosting bills that keep creeping up, you're not alone. Many site owners hit a wall where the old "if it ain't broke, don't fix it" approach just doesn't cut it anymore. A slow website isn't just a minor issue; it's a business problem. A single security breach can wipe out years of hard work. These are the real-world pressures that lead people to seek a fresh start.
The decision to migrate often boils down to a simple fact: your website has outgrown its current home. The hosting that was perfect for a small blog with a few hundred monthly visitors can't keep up with a booming e-commerce store or a high-traffic business site. Sticking with the wrong infrastructure creates hidden costs—lost sales, a tarnished reputation, and countless hours spent on damage control instead of growth. A proactive migration isn't just about putting out fires; it's a strategic investment in your site's future performance and stability.
The Scale of the Challenge
The sheer number of websites built on WordPress really puts this issue into perspective. As of mid-2025, WordPress powers an astounding 43.5% of all websites on the internet. That's more than 533 million active sites. When you only look at sites using a known content management system (CMS), its dominance is even more striking, with a 61.2% market share. These huge numbers mean that migrating a WordPress site is a frequent and crucial task for millions of business owners and developers around the world. You can dig deeper into these figures by checking out the latest WordPress usage statistics on WPZOOM.
This scale shows just how important it is to get the migration process right. One wrong move could affect not just your site's functionality but also the search engine rankings you’ve worked so hard to build.
Common Triggers for a WordPress Migration
So, what are the tell-tale signs that it's time to pack up and move? It’s usually not one single thing but a combination of issues that pile up over time. The most successful migrations happen when site owners spot these symptoms before they spiral into a full-blown crisis.
To help you identify if it's time for a move, I've put together a table outlining the most common reasons people migrate their WordPress sites. It compares the urgency, timeline, and difficulty you can expect for each scenario.
WordPress Migration Triggers Comparison
Common reasons why WordPress sites need migration and their urgency levels
| Migration Trigger | Urgency Level | Typical Timeline | Complexity Rating |
|---|---|---|---|
| Poor Performance & Slow Speed | High | 1-2 Weeks | Medium |
| Recurring Security Issues | Critical | Immediate | High |
| High Hosting Costs | Medium | 2-4 Weeks | Low to Medium |
| Lack of Scalability | High | 1-3 Months | High |
| Outdated Server Technology | Medium | 1-2 Months | Medium |
| Poor Technical Support | Low | 1-3 Months | Low |
Catching these triggers early gives you the power to plan a migration on your own schedule, rather than being forced into a panicked, last-minute move. A well-organized process of migrating a WordPress website can result in massive improvements in speed, security, and user experience, turning a potential disaster into a powerful upgrade for your business.
Understanding Your Migration Landscape Before You Start
Diving into a WordPress migration without a clear plan is like setting off on a road trip with no destination in mind. You’ll definitely end up somewhere, but it probably won’t be where you intended. Before you even think about touching a file or a database table, the most important step in migrating a WordPress website is to take a good, hard look at what you’re actually moving. This is more than just counting plugins; it's about uncovering the hidden details that can turn a straightforward move into a massive headache.
The truth is, no two WordPress sites are created equal. A simple personal blog might be a breeze to move, but an e-commerce site with custom user roles, third-party API connections, and years of data has a lot more going on under the hood. Forgetting a tiny custom code snippet in your theme’s functions.php file or an obscure .htaccess rule could easily break your site on the new server. A thorough audit gives you the full picture, helping you avoid those nasty surprises later.
Conducting Your Pre-Migration Audit
Think of yourself as a detective during this phase. Your mission is to document every single piece of your website to create a complete migration checklist. Being methodical here will save you countless hours of troubleshooting down the road.
Here’s a practical checklist to get you started:
- Core WordPress Details: Write down your current WordPress version, PHP version, and MySQL version. A mismatch between your old and new environments is a classic reason for migration failures.
- Plugins and Themes: Make a list of every plugin and your active theme. Pay close attention to any premium plugins that might need their license keys reactivated and any that are no longer being updated.
- Custom Code: Hunt through your theme files (especially
functions.php), any child themes, and custom functionality plugins for hard-coded paths or scripts that will need to be updated. - Third-Party Integrations: Document all the external services your site talks to. This includes payment gateways like Stripe or PayPal, CRMs such as HubSpot or Salesforce, and email marketing platforms like Mailchimp or ConvertKit.
- Database Size and Structure: Take a look at the size of your database. Really large databases can time out during the export/import process. Also, make a note of any custom database tables that might have been added by plugins or developers.
This level of detailed planning has become more and more necessary. The platform has seen incredible growth; back in 2014, WordPress powered about 21% of CMS-based websites, but that number has shot up to an estimated 62.8% by 2025. This explosion in popularity means more complex and unique sites are being built, making a one-size-fits-all migration strategy a risky bet. You can dive deeper into this trend by checking out a comprehensive report on WordPress statistics.
Assessing Your Site’s True Complexity
With your audit done, you can now make an honest judgment about your site's complexity. For example, the built-in WordPress Import/Export tool is fine for moving simple content like posts and pages.

As you can see, the native WordPress importer is great for the basics but falls short for a complete site migration. It won’t bring over your themes, plugins, or configurations, which is exactly why understanding your site's full architecture is so vital. Based on what you found in your audit, you can decide if a simple tool will do the job or if you need a more powerful plugin or even professional help. This is the point where you set realistic expectations and a practical timeline for the move.
Creating Bulletproof Backups That Actually Work
This is the point where most WordPress migrations go sideways. It’s easy to treat backups as just another checkbox to tick, but they are your absolute insurance policy. A half-baked backup can leave you stranded, turning a simple website move into a full-blown disaster. The difference between a quick file download and a true system snapshot is the difference between a smooth migration and a catastrophic failure.
I’ve heard horror stories from developers who relied on a basic plugin, only to discover it missed crucial configuration files or a custom database table. When the restore failed, they were left with a broken site and no way back. This is why a single backup is never enough. A solid strategy for migrating a WordPress site involves creating multiple layers of backups that cover every piece of your digital puzzle.
What a Truly Complete Backup Looks Like
A genuinely "bulletproof" backup goes far beyond the standard wp-content folder and a database export. While those are the two most important parts, they don't tell the whole story. A truly complete backup captures several distinct elements that work together to create a perfect clone of your site.
Here’s what you need to grab:
- The Full WordPress File System: This means everything in your site’s root directory, not just the
wp-contentfolder. This includes the WordPress core files, which can be important if you have any customizations. - The WordPress Database: This is the heart of your site, holding all your posts, pages, user data, and settings. A clean, uncorrupted export is non-negotiable.
- Critical Configuration Files: These are the unsung heroes of your WordPress installation. Files like
wp-config.php(which contains your database credentials) and.htaccess(which manages server rules and permalinks) are absolutely essential for your site to function on a new server. - Server and Email Configurations: While not technically part of WordPress, knowing your PHP version, memory limits, and any specific server-side settings can save you hours of troubleshooting. Likewise, make a note of how your email (like contact form submissions) is configured.
Choosing Your Backup Method
When it comes to the actual process, you have two main paths: using a dedicated backup plugin or getting your hands dirty with a manual approach. Neither is inherently better; the right choice depends on your site’s complexity and your own comfort level with the tech.
To help you decide, let's look at how these common methods stack up. This table breaks down what you can expect from each approach.
WordPress Backup Methods Comparison
Comprehensive comparison of different backup approaches for WordPress migration
| Backup Method | Files Included | Database Coverage | Automation Level | Restore Difficulty |
|---|---|---|---|---|
| Plugin-Based | Usually wp-content (can be configured for more) |
Full SQL export | High (scheduled) | Easy (often one-click) |
| Manual (FTP/cPanel) | Full file system (user-controlled) | Full SQL export (via phpMyAdmin) | Low (manual process) | Medium (requires manual steps) |
| Hosting Provider Backup | Full account snapshot (files and DBs) | Full account snapshot | High (often daily) | Varies (depends on host) |
For most people, a high-quality backup plugin is the sweet spot, offering a great balance of control and convenience. However, I always recommend creating a manual backup as well, especially right before you start migrating your WordPress website. This gives you a raw, unfiltered copy of your site that isn't dependent on any single tool.
Finally, the most critical step that 90% of people skip is testing your backup. An untested backup is just a hope, not a plan. Set up a local development environment or a temporary staging server and try to restore your site from the files you created. If it works there, you can proceed with confidence. If it doesn't, you've just saved yourself from a major migration-day disaster. For more detailed guidance, you can explore our in-depth article on creating effective website backups. This preparation is what ensures your migration is smooth from start to finish.
Executing The Migration Without Breaking Everything
With your site audit done and backups safely tucked away, it’s time for the main event: the actual migration. This is where we pick up your WordPress site and move it to its new home. The route you choose—automated with a plugin or a hands-on manual approach—really boils down to your technical comfort level and your site's complexity. Let's walk through both so you can make the right call for your situation.
One of the biggest tripwires in migrating a WordPress website is the database transfer. A corrupted database is a complete showstopper, leading to lost blog posts, missing user accounts, or a site that just won't load. The goal is a clean export and a successful import, but this can get tricky with larger sites, often failing due to server timeouts.
Another common point of failure is file permissions. Once you’ve moved your files to the new server, they need the correct permissions to let WordPress read and run them. If they’re set incorrectly, you might see the infamous "white screen of death," broken images, or find yourself unable to upload media. It’s a subtle but critical detail that can easily derail a migration.
Choosing Your Migration Method: Automated vs. Manual
Your first big decision is how to move your site. There isn't a single "best" way; the right method is the one that fits your needs and skills.
- Automated Migration (Using Plugins): This is the go-to for most people, and for good reason. Plugins like Duplicator, All-in-One WP Migration, or Migrate Guru are built to package your entire site—files, database, plugins, and themes—into a neat bundle. You upload this package to your new server, run the installer, and the plugin does the heavy lifting. This approach seriously cuts down on the chance of human error and is ideal if you'd rather not mess with FTP or phpMyAdmin.
- Manual Migration: This method gives you total control but requires more technical skill. It involves using an FTP (File Transfer Protocol) client to download your WordPress files, exporting your database with a tool like phpMyAdmin, and then doing the reverse on the new server. You’ll also have to manually edit your
wp-config.phpfile to point to the new database. It’s more involved, but it's a great way to understand your site's inner workings and is useful for troubleshooting.
The infographic below gives a high-level view of transferring your site's files from one server to another.
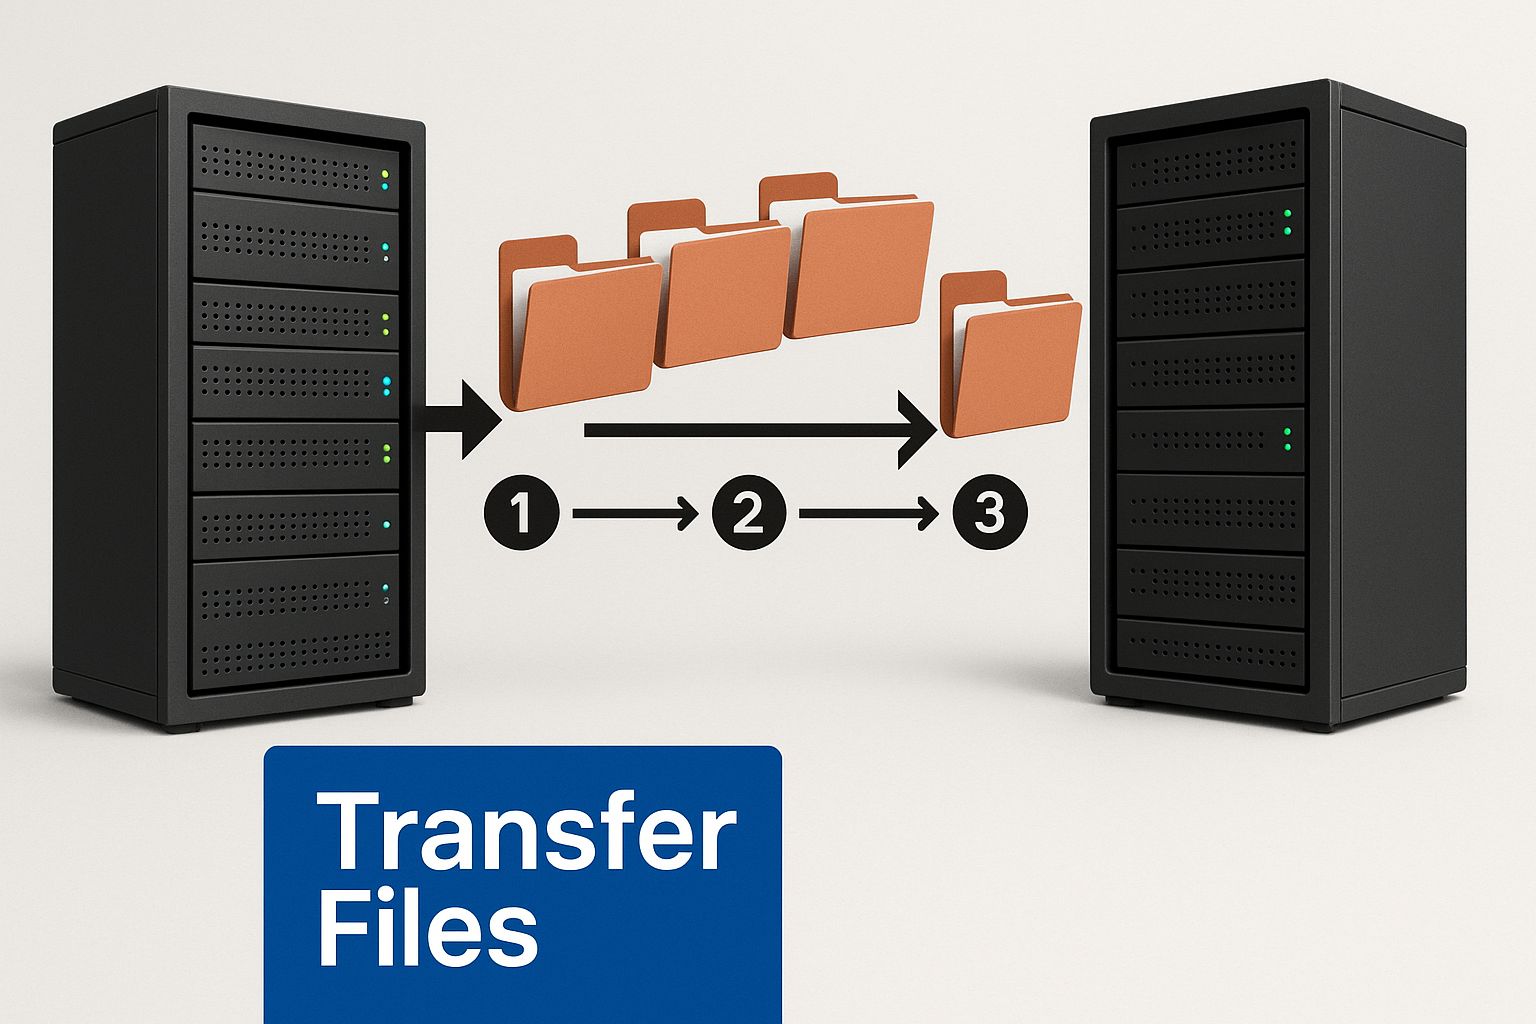
While this image simplifies the idea, a successful move means carefully handling both the files and the database so they work together perfectly in their new environment.
A Practical Walkthrough: The Manual Approach
Even if you plan to use a plugin, it’s helpful to understand the steps of a manual migration. The official WordPress documentation provides a solid foundation for this process.
This screenshot shows the built-in WordPress import/export tool, which is great for moving content like posts and pages. However, as the official documentation explains, a full migration involves moving the entire file system and database, not just the content. This tool is better for merging content between two sites, not as a primary migration solution.
A crucial—and often missed—step in a manual migration is performing a "search and replace" on the database. After you import your database, all the internal URLs will still point to your old domain. You need to run a script, like the Better Search Replace plugin, to update every instance of your old URL to the new one. Skipping this single action is one of the most common reasons for a failed manual migration, resulting in a site full of broken links and missing images.
The Power of a Staging Environment
No matter which method you pick, the absolute best practice is to do the migration on a staging environment first. A staging site is a private copy of your website on the new server. It lets you run through the entire migration and test everything without your live site's visitors ever knowing something is happening.
Using a staging site allows you to:
- Confirm the database was imported correctly without errors.
- Check that all your plugins and themes function in the new server environment.
- Find and fix any broken links or missing image paths.
- Test key features like contact forms or e-commerce checkout processes.
Only after you’ve confirmed everything is working perfectly on the staging site should you point your domain to the new server. This simple precaution changes a high-stress event into a controlled, manageable process. It’s the secret weapon pros use to guarantee zero downtime and a flawless transition when migrating a WordPress website.
Post-Migration Testing And Optimization
Your files have landed on the new server, and the database is imported. It’s tempting to call it a day, but honestly, the most important part of migrating a WordPress website is just getting started. Your site might look okay at a glance, but hidden issues could be lurking just beneath the surface. This is where a methodical testing process separates a smooth transition from weeks of frustrating bug fixes.
Think of it as the final inspection after building a new house—you need to check that every light switch works and every faucet runs properly. The migration isn't truly finished until you can confidently say that every single part of your website works exactly as it did before, if not better. This means going beyond just clicking through your main pages and digging into the specific functions your visitors rely on every day.
Building Your Essential Testing Checklist
A structured approach is your best friend here. Don't just randomly browse your site; create a checklist that covers all the bases. I've seen situations where overlooking a single broken contact form led to weeks of lost leads. You want to avoid that.
Your checklist should be broken down into key areas of functionality. Here’s a practical guide to what you need to verify, from the obvious to the easily forgotten:
- Frontend Visuals and Links: Manually click through your main navigation, header, footer, and sidebar links. Do they all go to the right place? Pay close attention to internal links within your blog posts and pages. A common migration issue is having these links still point to the old domain or a temporary URL, which is a nightmare for users and SEO.
- Core Functionality: This is where you test the interactive parts. Fill out every contact form, newsletter signup box, and comment section. If you run an eCommerce site, perform a complete test transaction—add products to the cart, go through checkout, and make sure you receive an order confirmation email. For membership sites, try registering a new user, logging in, and accessing protected content.
- Media and Files: Scan your key pages for missing images or broken video embeds. Can you upload a new image to the media library? This simple test can quickly reveal file permission problems on your new server. Also, test any file download links for resources like PDFs.
- Backend Verification: Log in to your WordPress dashboard. Are all your plugins and themes active and configured correctly? Check for any error messages. This is also the perfect time to clear all caches—from your browser, your caching plugin, and your new hosting provider—to ensure you’re seeing the live version of the site.
To keep your testing organized and ensure nothing gets missed, a detailed checklist is invaluable. Here's a table you can adapt for your own use.
| Testing Area | Priority Level | Testing Method | Common Issues |
|---|---|---|---|
| Main Site Pages | High | Click through the homepage, about, contact, and services pages. Check layout and content. | Mixed content errors (HTTP/HTTPS), broken images, CSS not loading correctly. |
| Internal & External Links | High | Use a tool like Screaming Frog or manually check links in headers, footers, and body content. | Links pointing to old domain, staging URLs, or resulting in 404 errors. |
| User Forms | High | Submit test entries on all contact, lead-gen, and newsletter forms. | Form submissions fail, confirmation messages don't appear, emails aren't sent. |
| eCommerce Functionality | Critical | Place a test order. Test adding to cart, checkout, payment gateway, and email receipts. | Payment gateway errors, cart not updating, failed order processing. |
| User Accounts | High | Test user registration, login, logout, and password reset functionalities. | Users can't log in, new registrations fail, protected content is accessible. |
| Media Library | Medium | Upload a new image/file. Check existing images and embedded videos. | File permission errors on upload, missing images, broken video embeds. |
| Admin Dashboard | Medium | Log in and navigate the backend. Check plugin settings and look for PHP errors. | Plugin deactivation, error notices at the top of the screen, slow backend. |
| Mobile Responsiveness | High | Use browser developer tools or a real device to check the site on different screen sizes. | Broken layouts, unreadable text, elements overlapping on mobile devices. |
This table provides a solid foundation for your post-migration audit. It ensures you cover all the critical areas systematically, reducing the risk of post-launch headaches.
From Testing to Optimizing Performance
Once you've confirmed everything works as it should, it's time to make sure it works fast. A new, more powerful hosting environment presents a golden opportunity to boost your site’s performance. After all, poor speed is often a primary reason for a migration in the first place.
Start by checking and reconfiguring your caching plugin to suit the new server setup. Many modern hosts have their own server-side caching that can work with or even replace your plugin's settings. This is also the perfect moment to see how your site scores on performance metrics. You might find your site is already faster, but there's almost always room for improvement.
For those looking for practical ways to make their site even quicker, you can check out our detailed guide on how to improve website loading speed without coding. Taking these optimization steps now locks in the benefits of your migration and ensures a better experience for your visitors right from day one.
Protecting Your SEO Rankings During Migration
Let's talk about the elephant in the room: the fear of losing your hard-earned SEO rankings. The thought of watching years of work evaporate after migrating a WordPress website can be terrifying. The good news is that with a solid plan, you can protect—and sometimes even boost—your search engine visibility. It all comes down to communicating clearly with search engines and giving your users a smooth experience.
The biggest mistake I see is assuming search engines will just figure out the move on their own. They won't. You have to be their guide. A messy migration confuses search engine crawlers, making them see your new site as a completely different one, which can reset your SEO progress. This isn't just a theory; a poorly managed migration can cause organic traffic to plummet by 50% or more, a loss that can take months, or even years, to recover from.
The Power of the 301 Redirect
Your most critical tool for a safe SEO migration is the 301 redirect. Think of it as a permanent "change of address" form for your web pages. When a user or a search engine crawler tries to visit an old URL, a 301 redirect automatically sends them to the new one. It tells them, "This content has moved permanently over here," and just as importantly, it passes most of the SEO value (often called link equity) from the old page to the new one.
Here’s a real-world scenario: Your old blog post was located at yourdomain.com/blog/my-awesome-post/. After migrating, you updated your URL structure, and now it's at yournewdomain.com/posts/my-awesome-post/. A 301 redirect is the bridge between these two URLs. Without it, anyone clicking the old link gets a 404 "Not Found" error, and search engines will eventually drop the page from their index, along with all its ranking power.
Your redirect strategy should be thorough:
- One-to-one mapping: Every important page on your old site needs a direct redirect to its new counterpart. Don't take the lazy route of redirecting everything to the new homepage.
- Cover all URL variations: This includes redirects for HTTP vs. HTTPS and www vs. non-www versions of your domain.
- Test your redirects: Once they're set up, use a crawling tool to check your list of old URLs and confirm they all land on the correct new pages.
Keeping Google in the Loop
After your site is live on its new server, you need to officially notify Google. This is where Google Search Console becomes your best friend. If you've changed your domain name, you'll need to use the Change of Address tool. This is a direct signal to Google that your site has moved, which helps them process the change much faster.
This tool is a direct line to Google, confirming the move was intentional and helping to merge the authority signals from your old domain to your new one more efficiently. Submitting a fresh sitemap for your new site is another key step that encourages Google to crawl and index your new URLs quickly.
Post-migration, keep a close watch on your Search Console reports, particularly the Coverage and Performance sections. Look out for any spikes in 404 errors or a sudden drop in clicks and impressions. Catching these problems early allows you to fix them before they cause lasting damage. A small, temporary dip in traffic can be normal, but a well-executed migration should lead to your traffic stabilizing and recovering within a few weeks.
Your Migration Success Roadmap
Alright, let's pull everything together. You’ve gone through your site with a fine-tooth comb, made backups that are as good as gold, and wrestled with the technical side of the move. Now it’s time to zoom out and look at the whole journey with a clear roadmap. Think of this as your go-to guide for any future project involving migrating a WordPress website, whether it’s a simple hosting change or a full-on domain swap. A successful migration isn't just one big leap; it's a project with distinct phases that you manage from start to finish.
Understanding the timeline is key to keeping everyone sane. A simple move from one shared host to another might only take a few days. For instance, I know a developer who moved her personal blog to a new WordPress host in just three days because she planned every detail. On the flip side, a complex project like moving a large e-commerce store with thousands of products and customer accounts could easily stretch into several weeks of planning, execution, and testing. My best advice? Always budget more time than you think you need—hiccups are just part of the game.
Key Milestones and Checkpoints
A solid roadmap is all about hitting milestones that show you’re making real progress. Ticking these off your list keeps the team motivated and confirms you’re heading in the right direction. Here’s how you can break down your migration journey:
- Pre-Migration Audit Complete: You've successfully documented every plugin, custom code snippet, and third-party integration. The beast is no longer a mystery; you know exactly what you're working with.
- Successful Backup and Restore Test: You have a full, verified backup and you've already restored it successfully on a staging or local setup. This is your ultimate safety net.
- Staging Site Go-Live: The migrated site is up and running on a private staging server. You've run through your initial tests, and everything from contact forms to the checkout process is working just as it should.
- Final Data Sync: Right before you flip the switch, you perform one last sync. This means pulling over any new orders, user sign-ups, or content from the old site to the new one, ensuring nothing gets lost in the transition.
- DNS Propagation and Live Site Verification: The moment of truth. You’ve pointed your DNS to the new server and are now running through your entire post-migration checklist on the live, public-facing site.
When to Pause and Reassess
Sometimes, things just don’t go as planned. A critical part of any roadmap is knowing when to hit the pause button. If your backup restoration hits a snag, or you find out a crucial plugin isn't compatible with the new server's PHP version, stop what you are doing immediately. Don't just push forward and hope for the best. Pause the process, figure out the problem in your staging environment, and only move forward once you have a confirmed fix. This disciplined thinking is what stops minor issues from turning into full-blown disasters.
This roadmap gives you the framework to pull off smooth, successful migrations every time.
Managing a website shouldn't feel like you're constantly putting out fires. At OneNine, we focus on making website management straightforward and effective, taking care of everything from tricky migrations to daily maintenance. If you'd rather have a team of experts handle the entire migration process for you, discover how we can help your business thrive.


