
Adding a new plugin to your WordPress site is one of the easiest ways to give it a major upgrade. The whole process, from finding the right tool to getting it running, usually takes less than a minute. You just head to your dashboard, go to the 'Plugins' > 'Add New' screen, search for what you need, and hit 'Install Now' and then 'Activate'. It’s that simple.
Your Quick Guide to WordPress Plugin Installation
Expanding your website's capabilities is one of the best parts of working with WordPress. Before we get into the nuts and bolts of installing plugins, it’s worth remembering what WordPress is at its core. Grasping the big picture of a What Is a Content Management System (CMS) helps you appreciate just how flexible the platform truly is.
I always tell people to think of plugins as apps for your website. Need a contact form, better SEO, or a full-blown online store? There's a plugin for that. This approach makes adding powerful features incredibly accessible. If you're curious to learn more, we have a great article that explains what a plugin is on a website in more detail.
This isn't just a niche feature; it's fundamental to how most WordPress sites are built. In fact, the average WordPress website uses between 12 to 15 plugins to handle everything from security to marketing. It really shows how much we rely on these tools to create modern, functional sites.
Let's walk through the different ways you can get a plugin installed on your site, starting with the most common method right from your WordPress dashboard.
Comparing Plugin Installation Methods
Not all installation methods are created equal. Depending on where you get your plugin and your comfort level, you might choose one over the other. Here’s a quick breakdown to help you decide.
| Installation Method | Best For | Difficulty Level |
|---|---|---|
| WordPress Dashboard Search | Free plugins from the official repository; everyday use. | Easy |
| Manual Upload (ZIP file) | Premium plugins purchased from third-party developers. | Easy |
| FTP/SFTP Upload | Advanced users, troubleshooting, or when the admin area is down. | Intermediate |
Each method gets the job done, but sticking with the dashboard search is perfect for most situations. It's fast, secure, and simple.
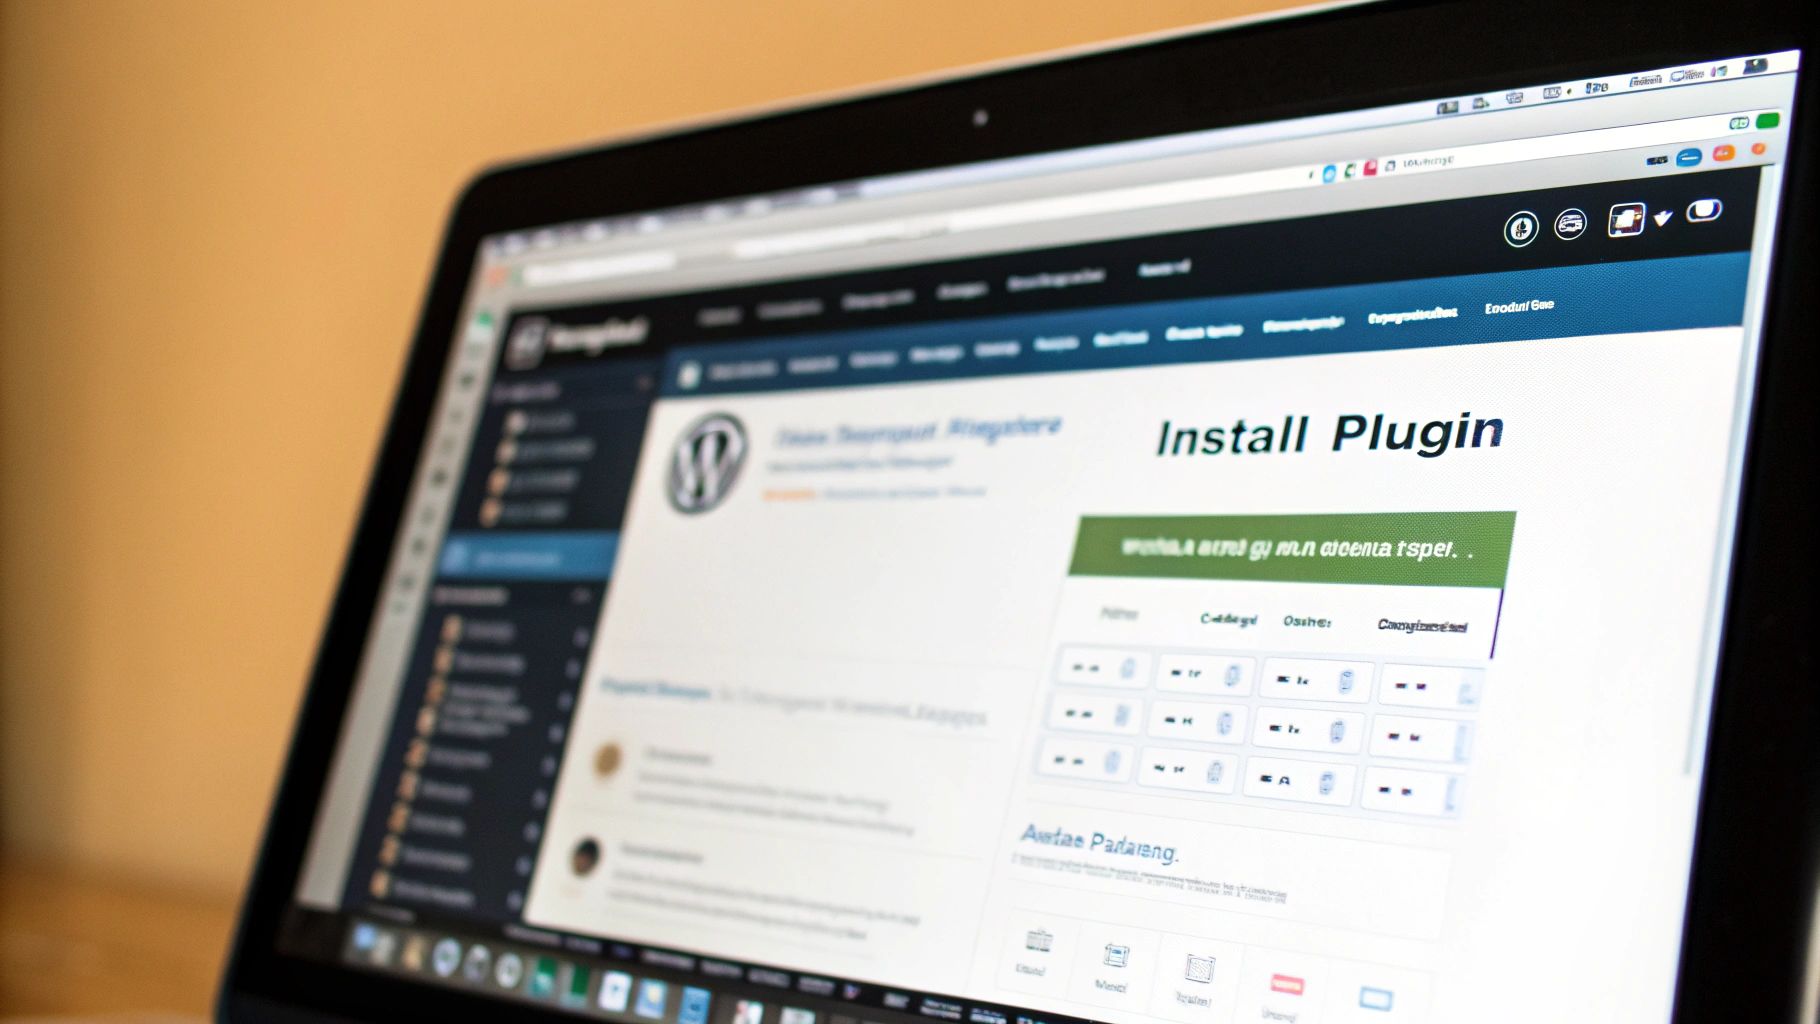
Using the WordPress Directory Search
If you're looking for the easiest way to add a new feature to your site, look no further than the built-in WordPress directory. This is your direct line to thousands of free plugins, and you can get everything done without ever leaving your dashboard. It’s my go-to method and the one I recommend to 99% of users.
First, head over to your WordPress admin menu. You’ll want to navigate to Plugins > Add New. This click takes you straight into the plugin marketplace.
This is a great visual breakdown of what that process looks like, from the initial search all the way to activation.

The trick isn't just finding a plugin that says it does what you want, but quickly figuring out if it's one you can trust.
Finding and Evaluating Plugins
Once you land on the "Add New" screen, you'll see a search bar. You can type in the name of a specific plugin you've heard about or just describe the function you're after, like "image gallery" or "spam blocker."
This is where you need to put on your detective hat. A flood of results will appear, but don't just grab the first one you see.
Take a look at the info on each plugin's "card"—it shows you star ratings, how many people are using it, and when it was last updated. These details are your first clues about its quality.
The directory is massive, with over 59,000 free plugins waiting. Some of the titans of the industry, like Yoast SEO or Elementor, boast millions of installations, which is a pretty strong vote of confidence from the community. A high number of active installs usually means the plugin is well-supported and reliable.
Before hitting that install button, always glance at these three things:
- Last Updated: If a plugin hasn't been touched in a year, it might not be compatible with the latest version of WordPress. I always look for recent updates.
- Active Installations: More users often mean more testing and a more stable plugin.
- Reviews: Check the star rating, but also take a minute to read a few recent reviews to see what real users are saying.
A plugin that hasn't been updated in two years with only a handful of installs? That's a major red flag for me. I'd skip it. Sticking with popular, well-maintained plugins is the best way to keep your site secure and running smoothly.
Once you’ve picked a winner, just click Install Now. WordPress does all the heavy lifting in the background, downloading and setting everything up. When it's done, that button will turn blue and say Activate. Give it one last click, and your new plugin is officially live on your site, ready for you to configure.
Uploading a Plugin ZIP File
The WordPress directory is fantastic for free plugins, but what about when you invest in a premium tool? Often, the most powerful plugins—like advanced page builders or specialized e-commerce add-ons—come directly from a developer's website.
These will almost always arrive as a .zip file that you download to your computer.
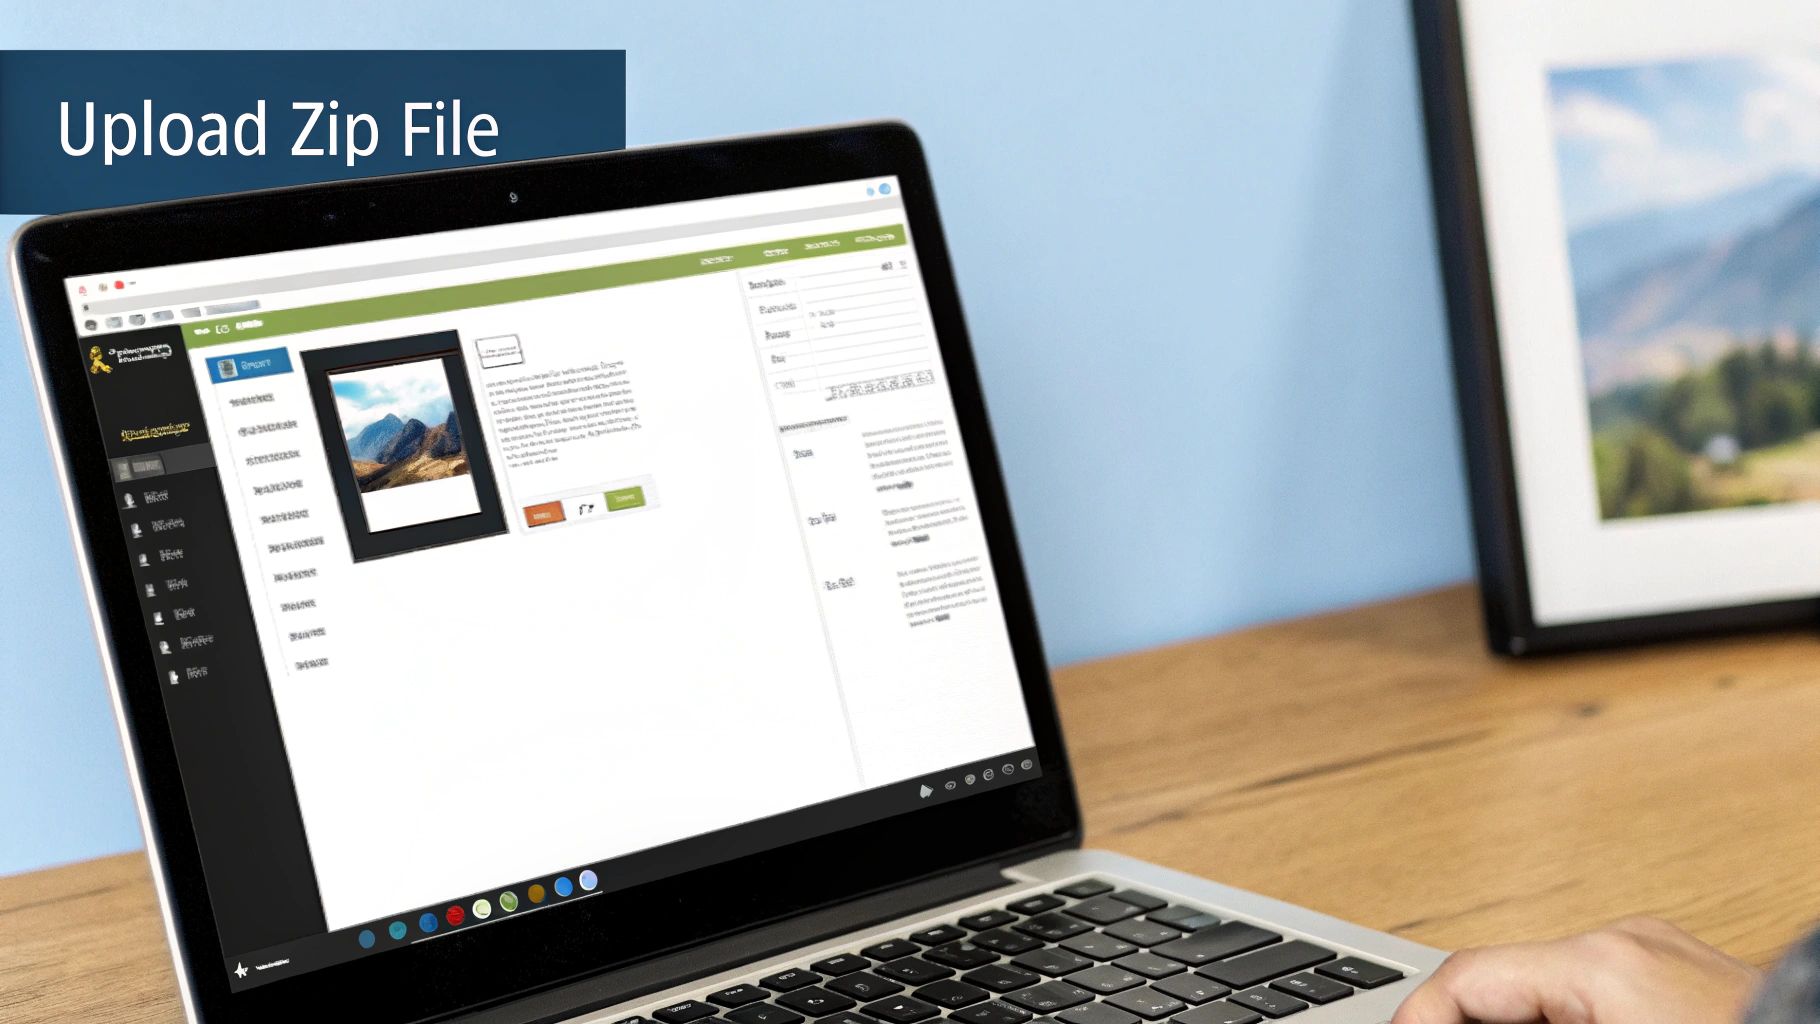
This is a super common scenario. Say you've purchased a powerful forms plugin or an SEO tool like Yoast SEO Premium. You won't find those in the free directory, so knowing how to manually upload the ZIP file is a must-have skill for any serious WordPress user.
Luckily, it's just as simple as searching for a plugin. No coding or FTP clients required.
Finding the Upload Feature
First, head back to the familiar plugin screen in your dashboard. Just go to Plugins > Add New.
Look right at the top of the page, next to the "Add Plugins" heading. You'll spot an Upload Plugin button. Click it, and a new section will slide open with a file-chooser.
This is your target.
Installing and Activating Your Plugin
Now, just click the "Choose File" button and find the plugin's .zip file you downloaded earlier.
One of the most frequent mistakes I see people make is unzipping the file on their computer first. Don't do that! WordPress needs the original, compressed .zip file to work its magic. It handles all the unpacking on its own.
Once you have the correct file selected, the next step is simple: click Install Now.
WordPress will take over, uploading the package and putting all the files in the right place on your server. After a moment, you'll land on a success page confirming the installation.
The final step is to click the blue Activate Plugin button. And that’s it! Your new premium plugin is live and ready to be configured.
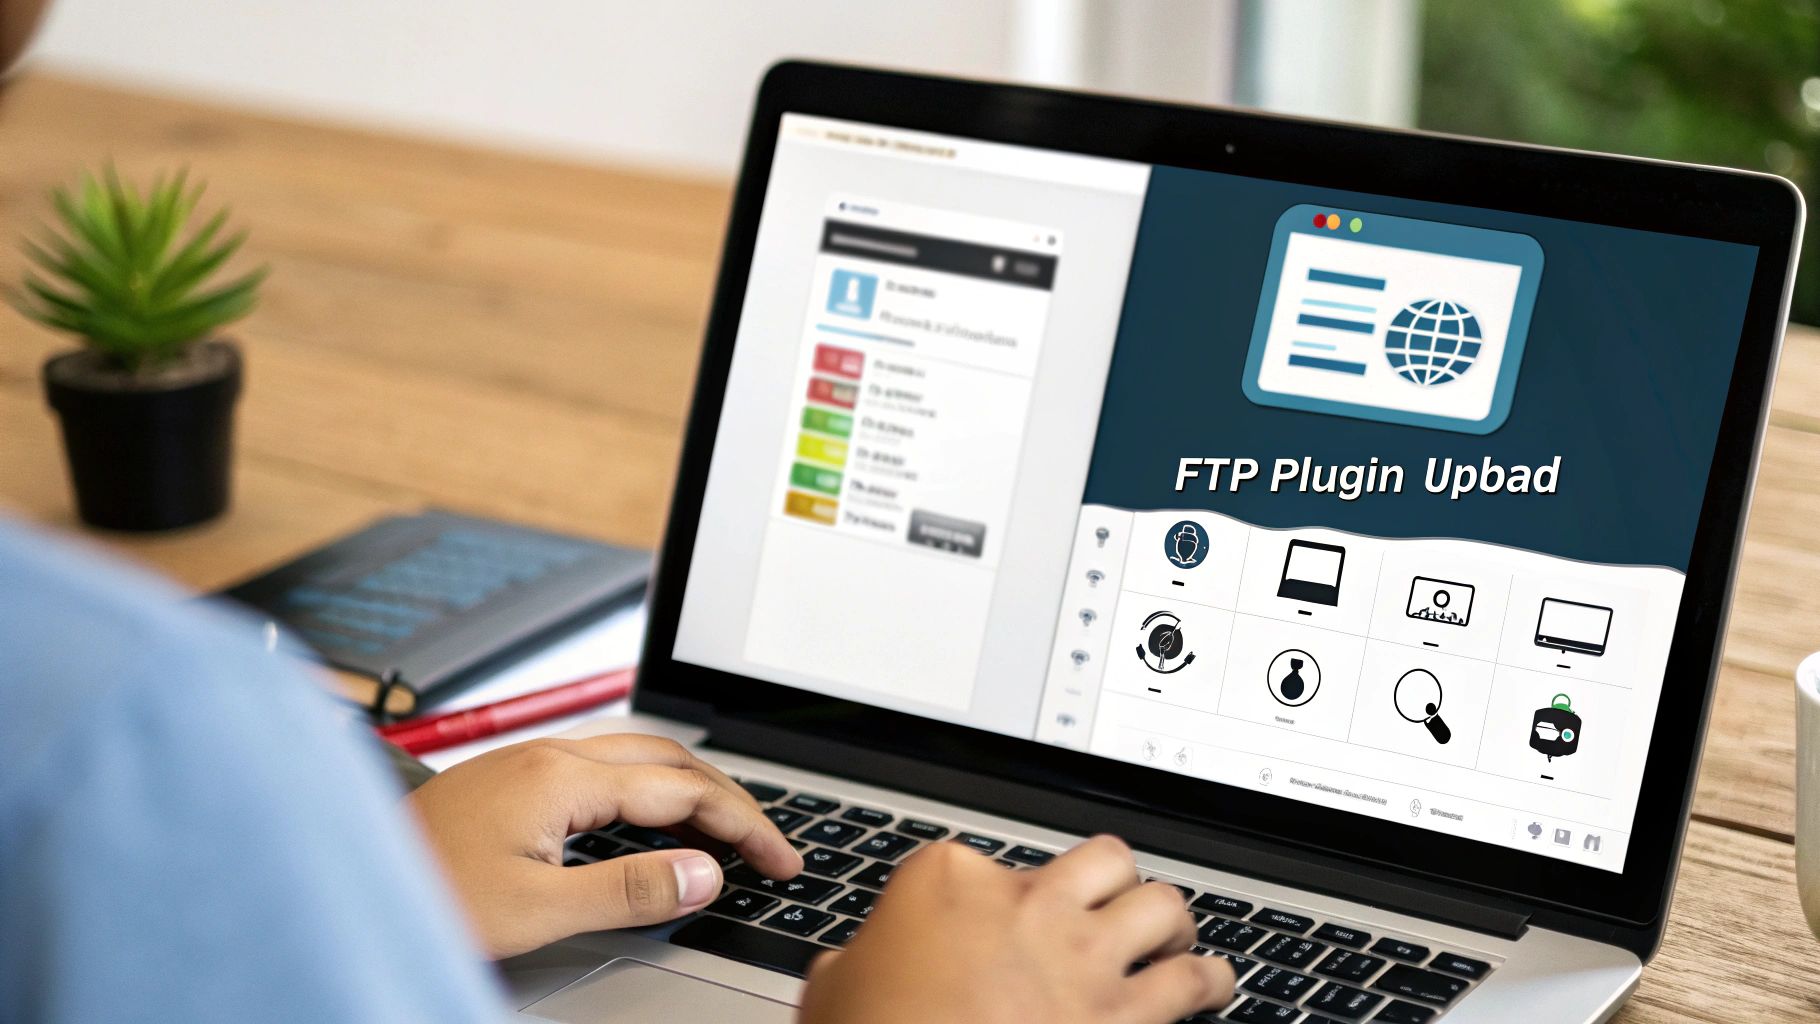
Going Old-School: How to Manually Install a Plugin with FTP
Every now and then, the easy way just doesn't work. Maybe a security setting on your server is blocking uploads, or worse, a rogue plugin has locked you out of your own WordPress dashboard. When that happens, you need a backdoor. That's where File Transfer Protocol, or FTP, comes in.
Think of FTP as a direct line to your website's server, letting you manage files without ever logging into WordPress. It sounds a bit intimidating, I know, but it’s really just like dragging and dropping files on your own computer. Mastering this skill can be a real lifesaver when you're in a tight spot.
A quick side note: having a solid host makes manual tasks like this so much smoother. If you find yourself constantly fighting with server settings, it might be worth looking into options like managed WordPress hosting with Cloudways, which often provide a much cleaner and more accessible server setup.
Connecting and Moving the Files
First things first, you'll need an FTP client. This is just a simple application that connects your computer to your server. FileZilla is a popular and free choice that gets the job done. You'll also need your FTP credentials (host, username, password, and port), which you can almost always find in your hosting account's control panel.
Once you’re connected, you'll see a split view: your computer's files on one side and your website's files on the other. It's time to upload the plugin.
- Step 1: Unzip the plugin. This is the most important part. Before you do anything else, find the plugin's
.zipfile on your computer and extract it. This will create a new folder. - Step 2: Find the right spot. On the server side of your FTP client, navigate into the main WordPress folder (it's usually called
public_html). From there, go into/wp-content/plugins/. This is where all your plugins live. - Step 3: Upload the folder. Now, just drag the unzipped plugin folder from your computer over to the
/plugins/directory on the server. The transfer will begin.
The biggest mistake people make here is uploading the
.zipfile. With FTP, you always upload the unzipped folder. This is the complete opposite of how you do it through the WordPress dashboard.
Once the upload is finished, the hard part is over. Just head back to your WordPress admin area, click on Plugins in the main menu, and you'll see your new plugin sitting there in the list. All that's left to do is hit Activate, and you're good to go.
What to Do After Installing a Plugin
That little "Activate" button feels like the finish line, but you're not quite done yet. Just having a plugin installed on your site doesn't mean it’s actually working for you. The real magic happens in the configuration.
This is where a lot of people get tripped up. They install a new tool and then can't figure out where the settings went. Most of the time, a well-built plugin will pop its own menu item into your WordPress dashboard. I usually check under the main "Settings" or "Tools" tabs first, as many plugins nest themselves there. Bigger plugins, like one for SEO, might even get their own top-level spot in the main menu.
Configuring and Testing for Conflicts
Think of it like getting a new app for your phone—you have to dive into the settings to make it do what you want. Let's say you just added a new contact form plugin. You'll need to go find its settings page to build your form, tell it which email address to send submissions to, and customize the confirmation message.
Without taking these steps, the plugin is basically just taking up space.
Once you have it set up, the next immediate step is to test. I can't stress this enough. New plugins can sometimes clash with your theme or another plugin you're already using, which can lead to anything from a weird visual glitch to a completely broken feature.
My go-to method is simple: I open a new incognito browser window and take a look at the most important parts of my site.
- The homepage
- A blog post or service page
- The contact page
This quick check saves me a ton of headaches later. If you spot something that looks off, the first thing I always recommend is clearing your site’s cache. If you're not sure how, our guide on how to clear your WordPress cache will walk you right through it.
Always test your site's front end immediately after activating a new plugin. It takes less than a minute and can prevent major headaches by catching conflicts before your visitors do. A quick check of key pages ensures everything still looks and works as it should.
This whole ecosystem of plugins is what makes WordPress so powerful. As of October 2025, WordPress powers over 43.3% of all websites on the internet, and that's largely because plugins allow for near-endless customization. You can find more fascinating stats about the incredible growth of WordPress on WPZoom.com.
By spending just a few extra minutes on configuration and testing, you make sure your new plugin becomes a powerful asset instead of a potential problem.
Troubleshooting Common Plugin Issues
Even the most straightforward plugin installation can occasionally go sideways. You activate a new plugin, and suddenly, something on your site looks broken or stops working entirely. It’s a frustrating experience, but don’t panic—it’s usually just a plugin conflict.
When this happens, the first thing to do is figure out what's causing the trouble. A classic troubleshooting trick is to deactivate your other plugins one by one until the problem disappears. Getting familiar with the 7 steps to fix plugin conflicts will save you a ton of headaches down the road.
How Many Plugins Are Too Many?
This is a question I get all the time. But honestly, there’s no magic number. It's never been about the quantity of plugins; it’s all about their quality. I’ve seen a single, badly coded plugin bring a site to its knees, while other sites run perfectly with over 20 well-built ones.
Instead of counting plugins, focus on their purpose and who made them. Stick to plugins from reputable developers that solve a real problem for you. It’s also good practice to periodically review your plugin list and delete anything you’re no longer using. This keeps your site lean, fast, and much more secure.
A common myth is that having more than 20 plugins will automatically crash your site. The real issue is performance and code quality. I've managed sites with over 50 plugins that ran flawlessly because each one was lightweight and well-maintained.
Safely Removing a Plugin
When it's time to part ways with a plugin, just deactivating and deleting it might not be enough. Some plugins are messy and leave behind data in your WordPress database, which can clutter things up and slow your site down over time.
Here’s how to do a proper cleanup:
- Look for a built-in uninstaller. The best plugins include a dedicated "uninstall" or "data removal" option right in their settings. This is always the cleanest way to go.
- Use the standard 'Delete' button. For most plugins, simply going to your Plugins page, deactivating it, and hitting 'Delete' does the job just fine.
- Clean the database (for advanced users). If you're comfortable digging a little deeper, a tool like WP-Optimize can help you find and remove "orphaned" database tables left behind by old plugins.
Following these simple habits will help keep your WordPress site healthy and running smoothly as you add and manage your plugins.
At OneNine, we simplify the complexities of website management so you can focus on your business. From troubleshooting plugin conflicts to performing full site redesigns, our expert team is here to help. Get in touch to see how we can support your digital success at https://onenine.com.


