
Diving into editing a WordPress site can feel a bit like being a chef. You have all these amazing ingredients and tools, but before you start cooking, you need to prep your station. The same principle applies here. Making changes directly to your live website is a recipe for disaster. We're going to cover the two non-negotiable prep steps: creating a safety net with a backup and then building a private playground to experiment in.
Your Essential WordPress Pre-Editing Checklist
I can't tell you how many panicked calls I've gotten over the years from business owners who tried to make a "quick change" and ended up with the dreaded "white screen of death." A single bad plugin update or a tiny code mistake can knock your entire site offline. It’s a huge, totally avoidable risk.
Taking a few minutes to prepare beforehand is what separates the pros from the amateurs. It gives you the freedom to be creative and make bold changes, because you know you have a safety net if things go sideways.
Secure Your Site with a Full Backup
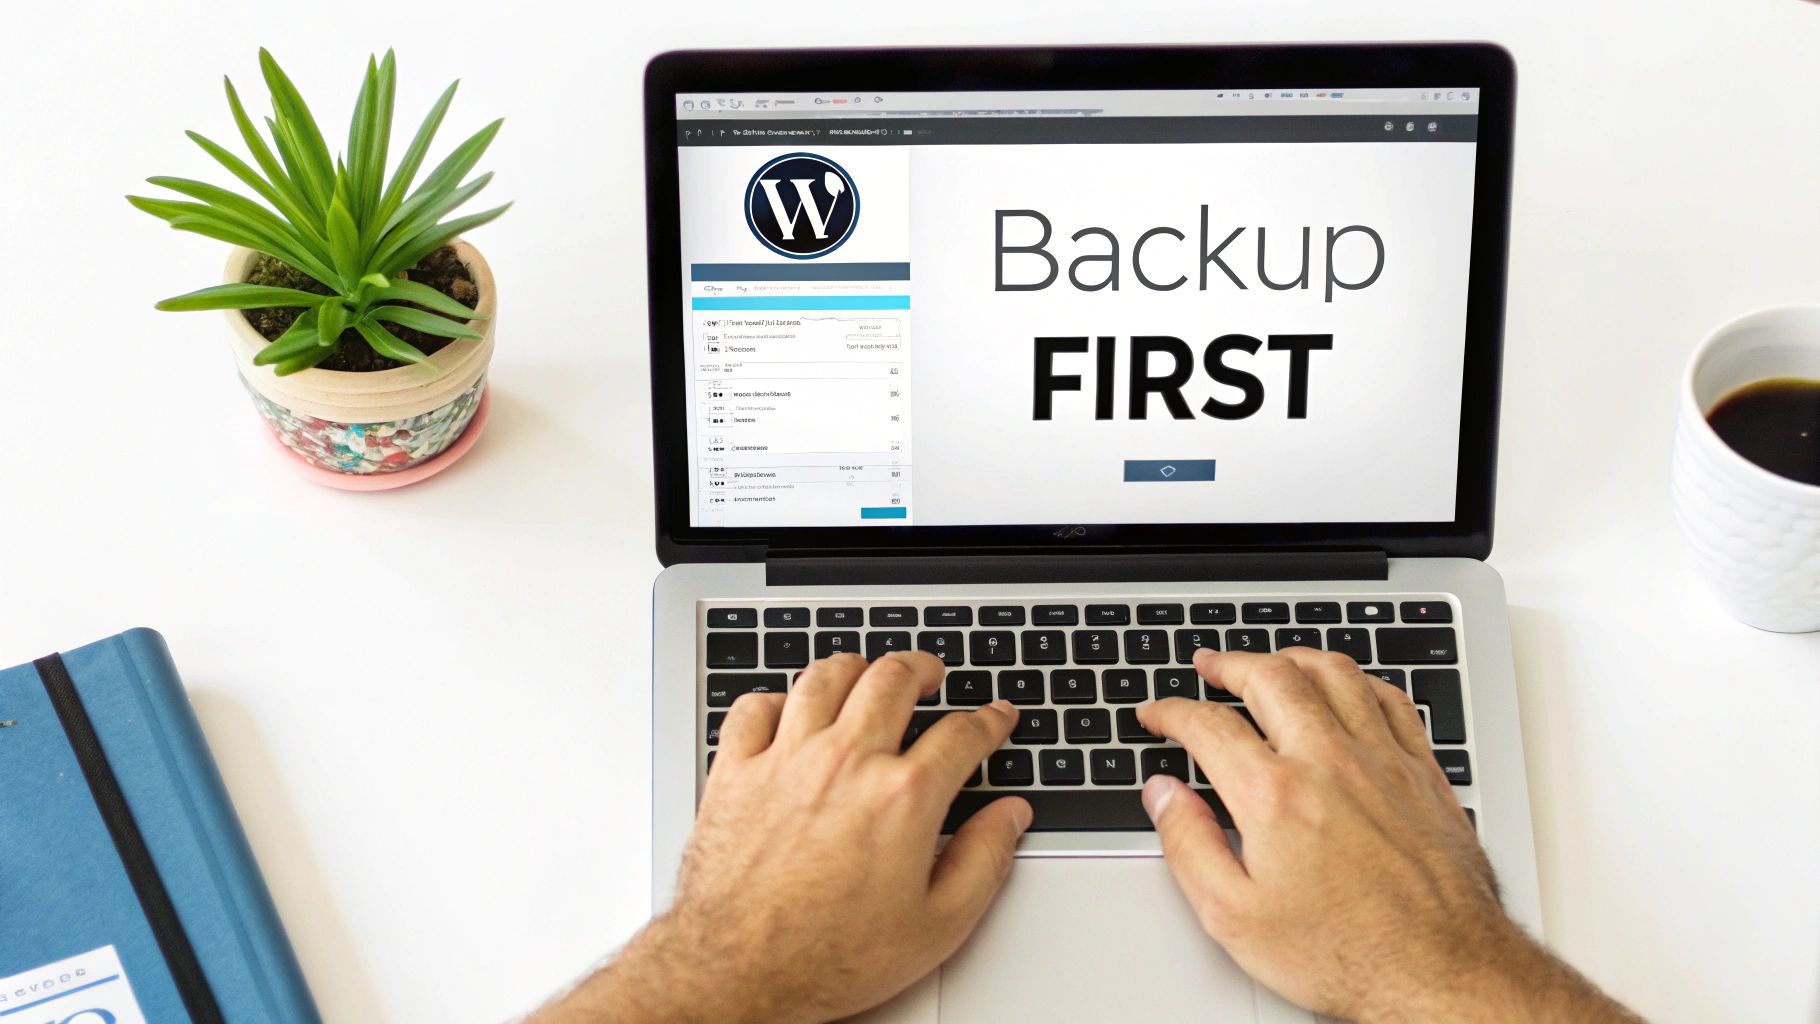
Before you touch anything—and I mean anything—your first job is to create a complete backup. This isn't just your pages and posts; it needs to include everything: your website files (themes, plugins, all your media uploads) and the database (where all your content, settings, and user info lives).
A backup is your ultimate escape hatch. If an update breaks your layout or a change doesn't work out, you can hit the rewind button and restore your site to the exact moment before the problem occurred.
Plugins like UpdraftPlus or ManageWP are great for this. They can automate the whole process and send your backups to a safe, off-site location like Google Drive. If you want to dig deeper, you can learn more about the critical role of website backups in our detailed guide.
Pro Tip: A backup you haven't tested is just a hope and a prayer. I’ve seen people discover their backups were corrupted only when they desperately needed them. Every so often, try restoring your backup on a test site to make sure it actually works.
Create a Safe Sandbox with a Staging Environment
With your backup safely stored away, it's time to build your sandbox. This is called a staging environment, and it’s simply a private, offline copy of your entire website. It's your personal playground where you can break things, test new ideas, and tweak designs without any of your visitors ever knowing.
Most good hosting companies provide a "one-click staging" feature. You press a button, and it creates a perfect clone of your site on a private web address. This is where the real work happens.
For instance, you could:
- Install a new plugin and see if it conflicts with your existing setup.
- Give your homepage a complete makeover without taking the live one down.
- Try out some new CSS code without the fear of messing up the live site.
Once you’ve perfected your changes on the staging site and are happy with how everything looks and works, you can "push" them to the live site, usually with another click. This workflow is standard practice for professional developers because it ensures a smooth, error-free process and eliminates downtime. It’s a habit every website owner should get into.
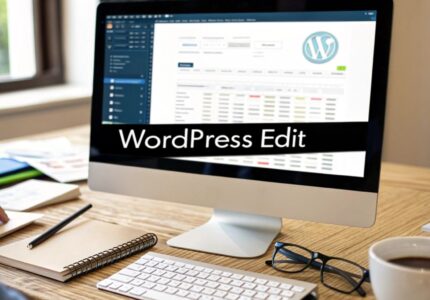
Mastering Everyday Content Updates
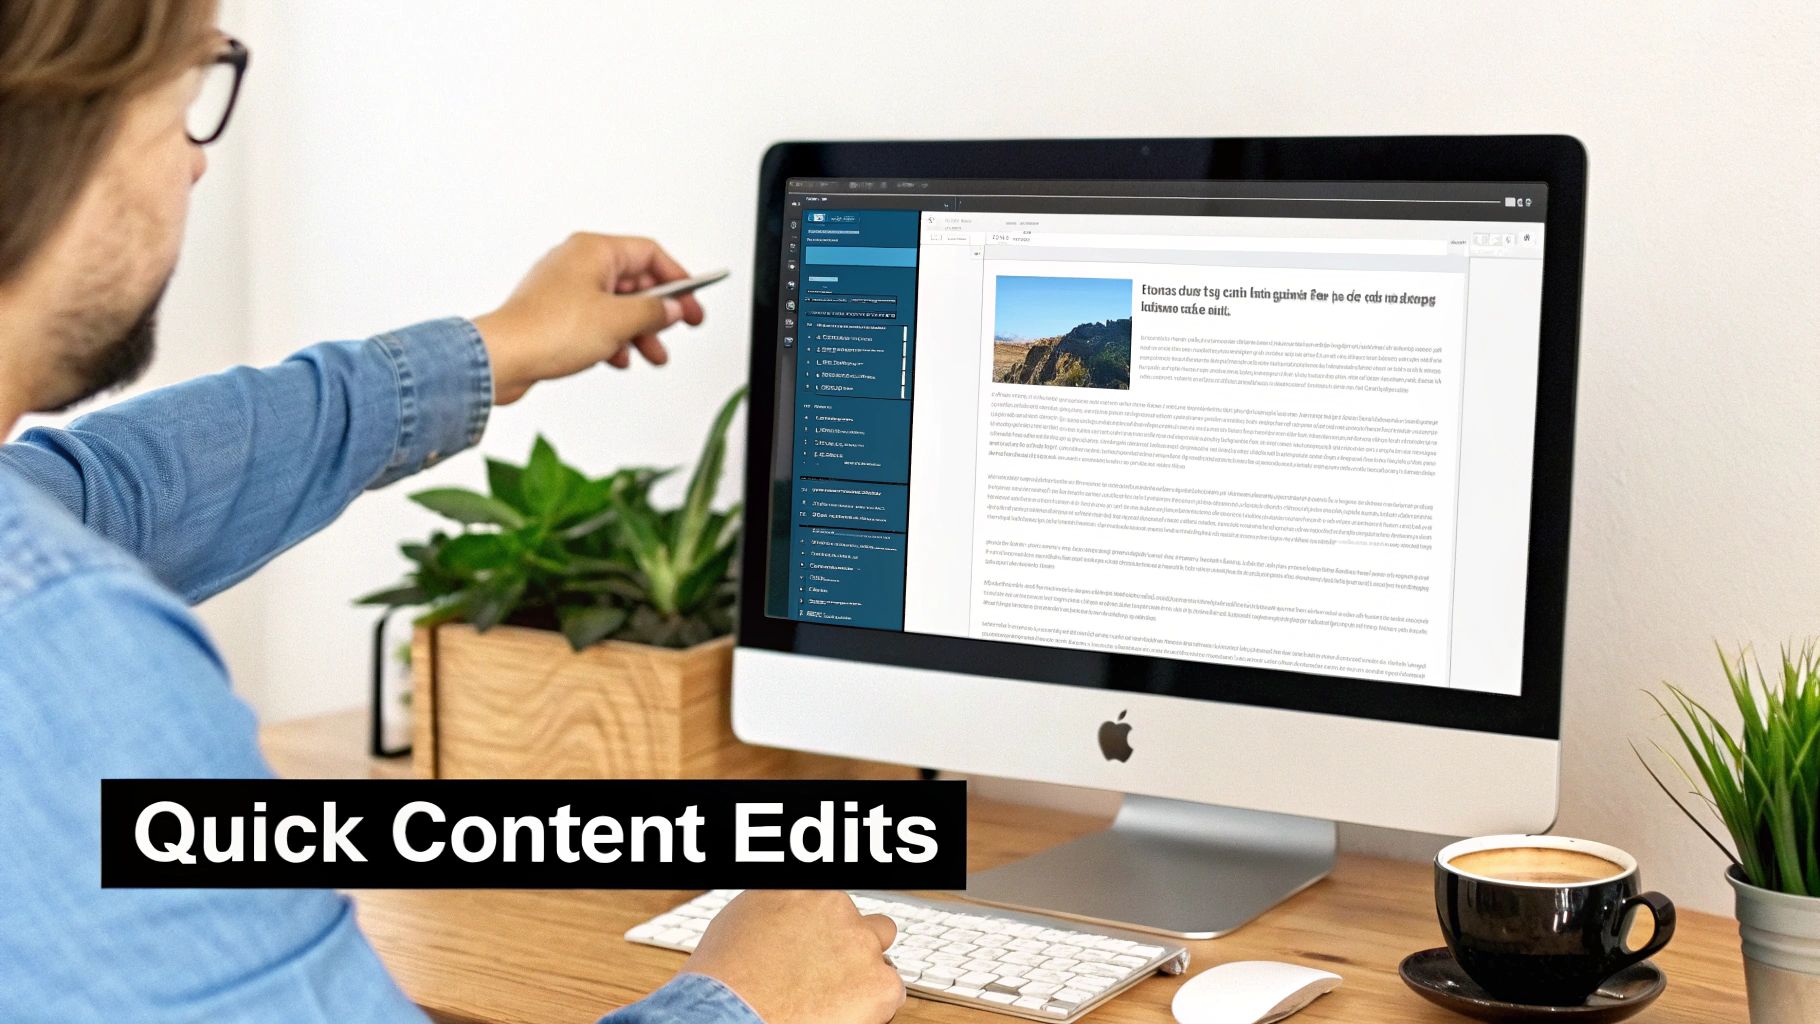
Alright, with a safe staging site ready to go, it’s time to dive into the tasks you'll be doing most often. This is the heart of managing your WordPress site day-to-day—making the core content updates that keep your business looking fresh and relevant. We're not talking about complex code here, just quick, intuitive changes.
Most WordPress sites today run on the Block Editor, which you might also hear called Gutenberg. It completely changed the game by treating every piece of content as its own movable "block." Think of a paragraph, an image, a video, or a headline—each is a self-contained block you can edit or rearrange. Thinking this way makes editing incredibly straightforward.
Getting Comfortable with the Block Editor
When you open a page or post, you’ll see your content neatly organized into these blocks. All you have to do is click on a paragraph to start typing or click on an image to swap it out. Need to add something new? Just hit the little plus (+) icon, and you’ll get a whole library of blocks to choose from.
This system is perfect for the kind of tasks businesses handle all the time. Let's walk through a real-world example: say a marketing manager needs to refresh an old blog post with a new keyword.
- Editing Text: She can click directly into any paragraph and rewrite sentences on the fly. To make key phrases stand out, she can highlight them and use the floating toolbar to make them bold or add a link.
- Adding an Image: She wants to insert a new chart to illustrate a point. She just hits 'Enter' to create a new line, clicks the plus icon, finds the 'Image' block, and uploads the file right from her computer. Done.
- Embedding a Video: To make the post more engaging, she decides to add a video tutorial. She adds a 'YouTube' block, pastes in the video's URL, and WordPress handles the rest, embedding it perfectly on the page.
It’s a fluid, visual process where you see your changes happen in real-time, exactly as your visitors will. This what-you-see-is-what-you-get approach takes all the guesswork out of the equation.
Key Takeaway: The Block Editor gives you layout control without needing a developer. You can easily create columns to place text beside an image or drop in a quote block to make a customer testimonial pop.
A Huge Timesaver: Reusable Blocks
One of the most powerful—and surprisingly underused—features is reusable blocks. Imagine you have a call-to-action (CTA) button that you place at the end of every blog post. Instead of building it from scratch every single time, you can design it once and save it as a reusable block.
The next time you need it, you just search for your saved block and pop it in with one click. Even better, if you ever need to update that CTA—maybe change the link or the button text—you edit the reusable block once, and it automatically updates across every single page and post where you've used it. This is a massive efficiency boost.
What If You Have the Classic Editor?
Some older WordPress sites might still be using the Classic Editor. This one feels a lot more like a traditional word processor, like Microsoft Word or Google Docs. You have one big editing field with a toolbar at the top for all your formatting, linking, and media needs.
While it doesn't offer the slick drag-and-drop flexibility of the Block Editor, it’s still perfectly capable for basic text and image updates. You can easily revise a paragraph on your "About Us" page or swap out a team photo without any trouble.
Mastering these core editing skills is a game-changer for any business owner. For more tips on creating a smooth workflow, our guide on how to easily update website content has some great strategies. Honestly, with these tools, you can confidently handle 90% of the routine updates your website will ever need.
Making Visual Changes With Page Builders
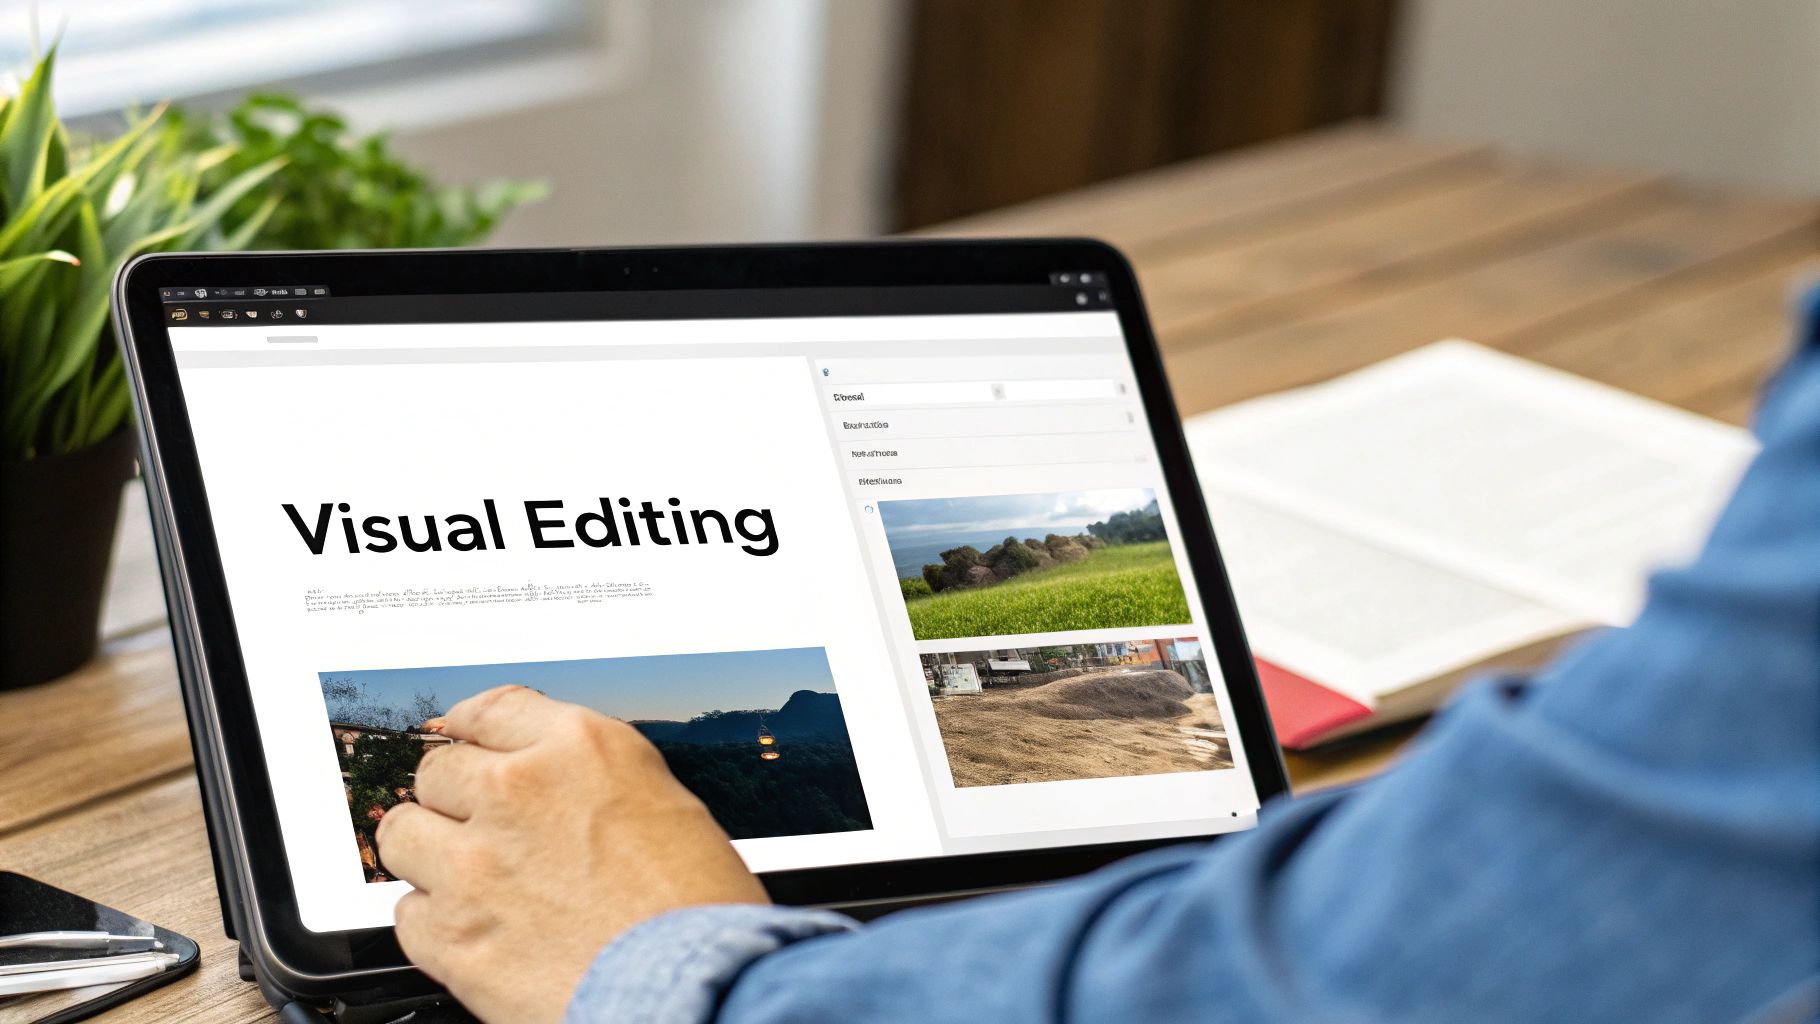
If the standard WordPress editor feels a bit too rigid for your design ambitions, there's a good chance your site is built with a page builder. Tools like Elementor and Divi are wildly popular for a reason—they give you a live, front-end editing experience that feels more like designing on a canvas than tinkering in a dashboard.
Instead of guessing what your changes will look like, you’re editing the page exactly as your visitors see it. This visual, drag-and-drop approach is a game-changer for making big layout changes without ever touching a line of code.
Understanding the Building Blocks of a Page Builder
To really get the hang of these tools, you need to understand how they think. While every builder has its own unique interface, they all rely on the same basic structure to build pages.
Think of it like building with LEGOs. You start with the biggest pieces and work your way down.
- Sections: These are the largest containers on your page, usually outlined with a blue or colored border. A section might hold your entire homepage banner or a "Contact Us" block.
- Columns: Inside each section, you use columns to divide the space. You can have a single, full-width column or split it into two, three, or more to arrange content side-by-side.
- Widgets (or Modules): These are the fun part—the actual content. You drag widgets like headlines, text boxes, images, buttons, and videos directly into your columns.
Once you learn to spot these three elements, you can look at any page on your site and know exactly how it was put together. Editing is as simple as hovering over an element, clicking the little pencil or gear icon, and adjusting the settings that pop up.
My Personal Tip: The "Navigator" or "Structure" view in most page builders is your best friend. It gives you a clean, layered outline of every section, column, and widget on the page. If you’re ever struggling to click on a small, buried element, the Navigator makes it incredibly easy to find and edit.
Practical Edits You Can Make Today
Alright, let's put this into practice. With a page builder, you can handle common business updates in minutes—tasks that used to require a developer.
Imagine you're a marketing manager getting ready for a new campaign. Here’s what you might do:
- Update the Homepage Banner: Just hover over the main headline in your hero section, click to edit, and type in your new campaign slogan. You can swap out the background image and update the call-to-action button link in the exact same way.
- Adjust a Pricing Table: Need to tweak your service prices? Click into the pricing table widget. You’ll find simple fields to update the price, change the feature list, and edit the button text for each plan, all without messing up the design.
- Add a New Client Logo: Head down to your "As Seen On" or client logo section. Most builders use a gallery or carousel widget for these. You can easily add a new logo to the collection with a few clicks.
These tools put a ton of creative power right at your fingertips. It’s no wonder WordPress users publish an incredible 27 posts every single second—the platform is built for fast-moving communication. Mastering a page builder means you can contribute your own beautifully designed pages to that stream of content.
Page builders are a cornerstone of the modern web design toolkit. If you’re curious about what other software the pros use to build amazing websites, you might find our guide on the best web design tools really useful.
Learning your way around a page builder is one of the most empowering skills you can develop for managing your site. It turns your website from a static brochure into a living, breathing marketing asset you can adapt on the fly.
Customizing Your Website's Design and Branding
While page builders and the block editor are fantastic for shaping individual pages, the core elements of your brand—your logo, colors, and fonts—need a more global touch. This is where the WordPress Theme Customizer steps in.
Think of it as the central command for your website's overall look and feel. It’s a safe, visual editor that shows you a live preview of your changes before you save them, which takes all the guesswork out of the process. You can find it by heading to Appearance > Customize in your dashboard.
Fine-Tuning Your Brand with the Customizer
Once you're in the Customizer, you’ll see a menu on the left and your live site on the right. Any tweak you make is reflected instantly.
Here are a few of the most common branding updates you can handle in minutes:
- Uploading a New Logo: Look for a "Site Identity" or "Header" section. From there, you can swap out your old logo for a new one, making sure it looks sharp on every single page.
- Updating Brand Colors: A "Colors" or "General" tab is usually where you can set your primary and accent colors. Change the main brand color here, and watch it update across all your buttons, links, and other theme elements automatically.
- Changing Fonts: Under a "Typography" section, you can select new fonts for your headings and body text, giving your entire site an instant facelift.
This tool is a lifesaver for keeping your brand consistent. A quick color change here beats editing dozens of individual pages any day. While you're refining your site's design, it's also worth looking into the 12 best accessibility plugins for WordPress to ensure your site is usable and welcoming for everyone.
WordPress offers several different places to make edits, and it can be confusing to know where to start. This quick guide should help you find the right tool for the job.
Where to Make Edits in WordPress A Quick Guide
| What You Want to Edit | Where to Go in WordPress | Best For |
|---|---|---|
| Global site branding (logo, fonts, colors) | Appearance > Customize (Theme Customizer) | Sitewide changes that affect your entire brand identity. |
| Small visual tweaks (e.g., button hover color) | Customize > Additional CSS | Adding small, specific CSS code snippets safely. |
| Content on a specific page or post | Pages > Edit or Posts > Edit | Editing text, images, and layout for a single piece of content. |
| Website navigation | Appearance > Menus | Adding, removing, or rearranging links in your main menu. |
| Sidebar or footer content | Appearance > Widgets | Managing content blocks in specific theme areas. |
Knowing where to go saves a ton of time and prevents you from accidentally making changes in the wrong place. For global styles, the Customizer is almost always your best bet.
The Smart Way to Add Code Snippets
Sometimes, you need to make a small style change that isn't available as an option in the Customizer. Maybe you want to tweak a button's color on hover or add just a little more space between lines of text.
For these situations, the Customizer has a hidden gem: the Additional CSS panel. This is a dedicated, safe space where you can add small snippets of CSS code to override your theme's default styles. It's the perfect spot for minor tweaks without the risk of breaking your theme files.
My Personal Insight: The "Additional CSS" box is my absolute go-to for quick fixes. When a client asks, "Can we just make this one headline a little bigger?" I don't need to dig into files. I can pop a single line of CSS in here, hit publish, and the job is done in seconds.
Protecting Your Edits with a Child Theme
Now, let's talk about a non-negotiable best practice for anyone serious about customizing their site: the child theme.
Imagine your main theme (the "parent") is the master blueprint for your website. A child theme is like a transparent sheet you lay on top of it. You make all your custom changes on that transparent sheet.
When the parent theme gets an important update (for security or new features), you can safely install it without erasing all your hard work. Your customizations on the child theme remain untouched.
If you edit the theme’s files directly, your changes will be completely wiped out the next time you update. Using a child theme is the professional standard. It's a foundational step that protects your work and keeps your site running smoothly for the long haul.
Fine-Tuning Your Site’s Navigation and Structure
A great-looking website is pointless if nobody can find their way around. Your site's structure—its menus, sidebars, and footer—is basically the road map for your visitors. Getting this right is a huge part of guiding people to your most important pages, and luckily, it's one of the easier things to get a handle on in WordPress.
These crucial elements aren't edited on the pages themselves. Instead, they have their own dedicated spots in the WordPress dashboard. Knowing where to look is half the battle.
Crafting an Intuitive Main Menu
Your main menu is probably the most-clicked thing on your entire website. It's the first place people look when they want to find your services, read your blog, or get in touch. WordPress gives you a central command center for this at Appearance > Menus.
Once you're there, you'll see it's pretty straightforward. On the left, you've got a list of all your content—pages, posts, categories, you name it. On the right is your current menu layout. Let's say you just published a "New Service" page and want to add it to your navigation. All you have to do is:
- Find the page on the left and check the box next to it.
- Click the "Add to Menu" button.
- The page will pop up at the bottom of your menu structure on the right. Just drag it into the exact spot you want it to appear.
Creating dropdowns is just as simple. If you want to tuck your blog categories under a main "Blog" link, you'd add them to the menu and then drag them slightly to the right, right under the "Blog" item. That little indent tells WordPress to turn them into a sub-menu.
A Quick Tip from Experience: Less is more with main navigation. A menu with more than seven top-level items starts to feel cluttered and can overwhelm visitors. If you have a lot to link to, use dropdowns to keep things organized. Grouping your different service pages under a single "Services" link is a classic example.
Using Widgets to Build Your Footer and Sidebars
Next up are your sidebars and footer. These areas are built with Widgets, which are basically little pre-made content blocks for specific tasks. You’ll find them under Appearance > Widgets.
This is where you can add all sorts of useful features to the edges of your site. The interface is usually a simple drag-and-drop system where you can pull widgets into designated areas like "Sidebar" or "Footer Column 1."
Here are a few smart ways people use widgets:
- Add a search bar to the sidebar so visitors can quickly find what they need.
- Display a list of recent or popular blog posts to keep people clicking.
- Put contact info, social media icons, or a newsletter signup form in the footer.
Getting comfortable with menus and widgets gives you control over the entire user journey, not just the content on one page. It's a core skill, especially when you consider that WordPress powers over 43.5% of all websites as of 2025. For a business owner, this means you can quickly tweak your site's navigation as your priorities change, without having to call a developer for every little thing.
Finding Plugin-Specific Settings
One last thing to remember: many plugins add their own settings pages. A perfect example is an SEO plugin like Yoast SEO. It adds things like breadcrumbs that affect your site's structure, but you won't find its settings under the "Appearance" menu.
Instead, Yoast and plugins like it will create their own dedicated item right in the main WordPress dashboard menu. When you need to adjust how a plugin works, always check for its name in that main sidebar first. This is how WordPress keeps things from getting too chaotic, giving complex tools their own space for all their options.
Pushing Your Changes Live Safely
You’ve tweaked the design, updated your content, and put everything through its paces on your staging site. Now for the final step: moving all that hard work from your private sandbox to the live website for everyone to see. I get it, this part can feel a little nerve-wracking, but having a solid checklist makes all the difference.
Before you even think about hitting that "deploy" button, it's time for one last, thorough quality assurance (QA) run-through on the staging site. This is your final chance to catch any little mistakes before your visitors do.
Your Pre-Launch Quality Checklist
Open up your staging site and try to see it with fresh eyes, as if you’re a first-time visitor. Your only mission is to spot anything that seems off, broken, or out of place.
- Check on Multiple Devices: Pull up your updated pages on a desktop, a tablet, and your smartphone. Does the layout hold up on every screen size? Are there any weird spacing issues or overlapping text?
- Test Every Link: Click every single link, button, and menu item on the pages you’ve changed. Make sure they all go exactly where they're supposed to. No dead ends!
- Check Your Forms: Did you touch a contact form or a sign-up form? Fill it out and hit submit. You need to confirm that the notification email actually arrives in your inbox and that the entry gets logged correctly in WordPress.
A classic mistake I see all the time is people forgetting to check the mobile view. Well over 50% of all web traffic now comes from mobile devices. A layout that's broken on a phone is a serious problem, and taking five minutes to check it can save you a world of headaches later.
Once you're confident that everything looks and works perfectly, you're ready for the main event.
Deploying from Staging and What to Do Next
The exact steps for pushing changes from staging to live will vary a bit depending on your hosting provider or the staging plugin you’re using. Usually, though, it’s a simple one-click action in your hosting dashboard, often labeled something like "Push to Live" or "Deploy to Production." This command essentially copies the version of the site you perfected in staging over to your live domain.
This flowchart shows the key structural parts of your site you'll want to double-check right after pushing an update live.
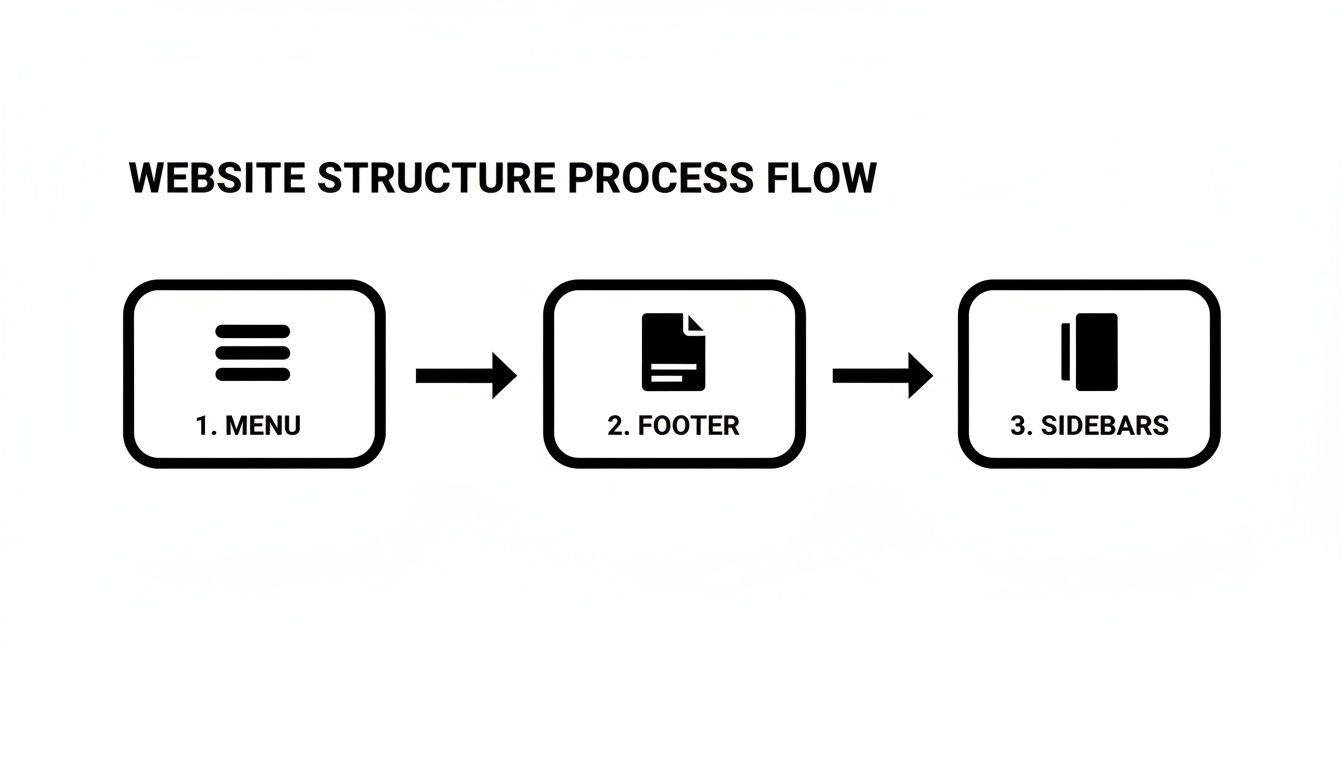
As you can see, it's crucial to confirm that your main navigation, footer links, and any sidebars have all updated correctly and are functioning as expected.
But your job isn't quite done once the deployment finishes. The very first thing you should do is clear your website’s cache. Caching plugins and services are great for performance because they store static versions of your pages, but they can also prevent your new changes from appearing right away. Just look for a "Clear Cache" or "Purge Cache" button, which is usually in your WordPress admin bar or within your caching plugin's settings.
Finally, just keep an eye on your analytics for the next day or two. This helps you confirm that your changes are having the intended effect. Following this simple workflow ensures that every time you edit your WordPress site, the result is a smooth and successful update.
Got Questions About Editing WordPress?
Diving into WordPress for the first time usually brings up a few common questions. Let's tackle some of the things we hear most often from business owners just like you.
Can I Really Edit My WordPress Site Myself?
You absolutely can. WordPress was built from the ground up to be user-friendly, even for folks who don't have a technical bone in their body. For everyday updates—like changing some text, swapping out an image, or publishing a new blog post—you can definitely learn how to edit a wordpress website on your own.
Of course, for a major design overhaul or a tricky technical glitch, you might want to call in a pro. But for the day-to-day stuff? You’ve got this.
The golden rule is to always use a staging site for anything more than a tiny text edit. It’s your safety net. This one practice is a non-negotiable for any professional business website, as it keeps your live site safe from any accidental hiccups.
What's the Easiest Way to Edit a Page?
The "easiest" way really just depends on what tools your site was built with.
- For most modern sites: The default Block Editor (often called Gutenberg) is your best friend. It’s incredibly intuitive—you just click on a paragraph, a heading, or a picture, and start typing or swapping things out right there.
- For highly visual sites: If your site uses a page builder like Elementor or Divi, you'll want to use its visual, front-end editor. This lets you see your changes happen in real-time, dragging and dropping elements exactly where you want them.
Is It Possible to Break My Website While Editing It?
Yep, it happens. You can definitely cause problems if you start poking around in theme files, add a plugin that doesn't play nicely with others, or make significant changes directly on your live site without testing first.
This is exactly why having a backup and a staging site is so critical. Think of it as your "undo" button for the entire website. If a change goes wrong, you can just restore the last working version in a few clicks. It completely takes the fear out of the editing process.
Feeling a bit out of your depth or just want an expert to handle it? At OneNine, we make website management a breeze. Let us take care of the technical details so you can focus on your business.


