

Fluid grids are the backbone of responsive web design, ensuring layouts adapt smoothly to any screen size. Here’s a quick overview of the five best practices to create effective fluid grids:
- Use Relative Units: Replace fixed units like pixels with percentages,
em, orremfor flexible layouts. - Start with Mobile-First Design: Design for small screens first, then scale up for larger devices using media queries.
- Leverage CSS Flexbox and Grid: Use Flexbox for simple, one-dimensional layouts and CSS Grid for complex, two-dimensional designs.
- Optimize Images: Use responsive image techniques like
srcset,picture, and lazy loading to maintain quality and speed. - Test on Real Devices: Simulate layouts in tools like Chrome DevTools and validate functionality on actual devices.
These practices ensure your website looks great and functions well across all devices. Implementing them improves usability, reduces development time, and enhances performance.
Create Responsive CSS Grid Layouts with GRID WRAPPING

1. Choose Relative Units Over Fixed Units
Using relative units helps create layouts that adjust seamlessly across different devices. They scale based on their container, making them ideal for responsive designs.
Comparing Relative and Fixed Units
Fixed units, like pixels, result in rigid layouts that don’t adapt well to smaller screens. For example, a 960px-wide container might work fine on a desktop but will force horizontal scrolling on mobile.
Here’s a quick breakdown of how relative units behave in responsive design:
| Unit Type | Example | Behavior | Best Used For |
|---|---|---|---|
| Percentage (%) | width: 80% |
Scales relative to parent container | Layout containers, margins |
| Viewport Width (vw) | width: 50vw |
Scales relative to viewport width | Full-width elements |
| Viewport Height (vh) | height: 100vh |
Scales relative to viewport height | Hero sections, full-height containers |
| Em (em) | font-size: 1.2em |
Scales relative to parent element’s font size | Typography, padding |
| Root Em (rem) | margin: 2rem |
Scales relative to root element’s font size | Consistent spacing |
Setting Up a Percentage-Based Grid
Let’s put relative units into practice with a percentage-based grid.
- Define your grid container
.container {
    width: 90%;
    max-width: 1200px;
    margin: 0 auto;
}
- Create flexible columns
.column {
    float: left;
    margin: 0 2%;
}

.column-third {
    width: 29.33%; /* (100% - 6% margins) ÷ 3 */
}

.column-half {
    width: 46%; /* (100% - 4% margins) ÷ 2 */
}
When setting up columns, account for margins and gutters. For instance, in a three-column layout, calculate the total margin space first, then divide the remaining width among the columns.
For even better control, pair percentage-based widths with CSS Grid or Flexbox. These tools offer more precision for alignment and spacing while keeping your layout fluid and responsive.
2. Start with Mobile Design First
Taking a mobile-first approach builds on the use of flexible relative units, focusing on improving the experience for small screens. This strategy ensures your design adapts seamlessly to a variety of devices.
Mobile-First Design Basics
Using relative units makes mobile design more straightforward. Begin by designing for the smallest screens, then adjust for larger viewports as needed:
.grid-container {
    display: grid;
    grid-template-columns: 1fr;
    gap: 1rem;
    padding: 1rem;
}
For larger screens, use media queries to tweak the layout:
@media screen and (min-width: 768px) {
    .grid-container {
        grid-template-columns: repeat(2, 1fr);
        gap: 2rem;
    }
}

@media screen and (min-width: 1024px) {
    .grid-container {
        grid-template-columns: repeat(3, 1fr);
        gap: 2.5rem;
    }
}
This method ensures your site’s core content and features work well across all devices, starting with mobile.
Mobile Content Organization
On mobile, it’s important to prioritize key content and maintain a clear structure. Here’s how you can organize your layout effectively:
| Content Priority | Mobile Display | Larger Screen Behavior |
|---|---|---|
| Primary Content | Single column, full width | Multi-column layout |
| Navigation | Hamburger menu | Expanded horizontal menu |
| Images | Scale to viewport width | Maintain aspect ratio in grid |
| CTAs | Stack vertically | Horizontal alignment |
Tips for mobile-friendly design:
- Use
srcsetandsizesto deliver the right image sizes for different devices. - Ensure content fits within the viewport to avoid horizontal scrolling.
- Keep touch targets at least 44px × 44px for easy interaction.
- Use a font size of at least 16px for better readability.
For readability, consider a "content-first" grid layout that adapts to screen sizes:
.content-grid {
    display: grid;
    grid-template-columns: minmax(0, 1fr);
    gap: 1rem;
}

/* Expand to two columns at tablet size */
@media (min-width: 768px) {
    .content-grid {
        grid-template-columns: repeat(auto-fit, minmax(300px, 1fr));
    }
}
This setup keeps your content easy to read and well-structured, no matter the device size, while maintaining the flexibility of your grid system.
sbb-itb-608da6a
3. Use CSS Flexbox and Grid
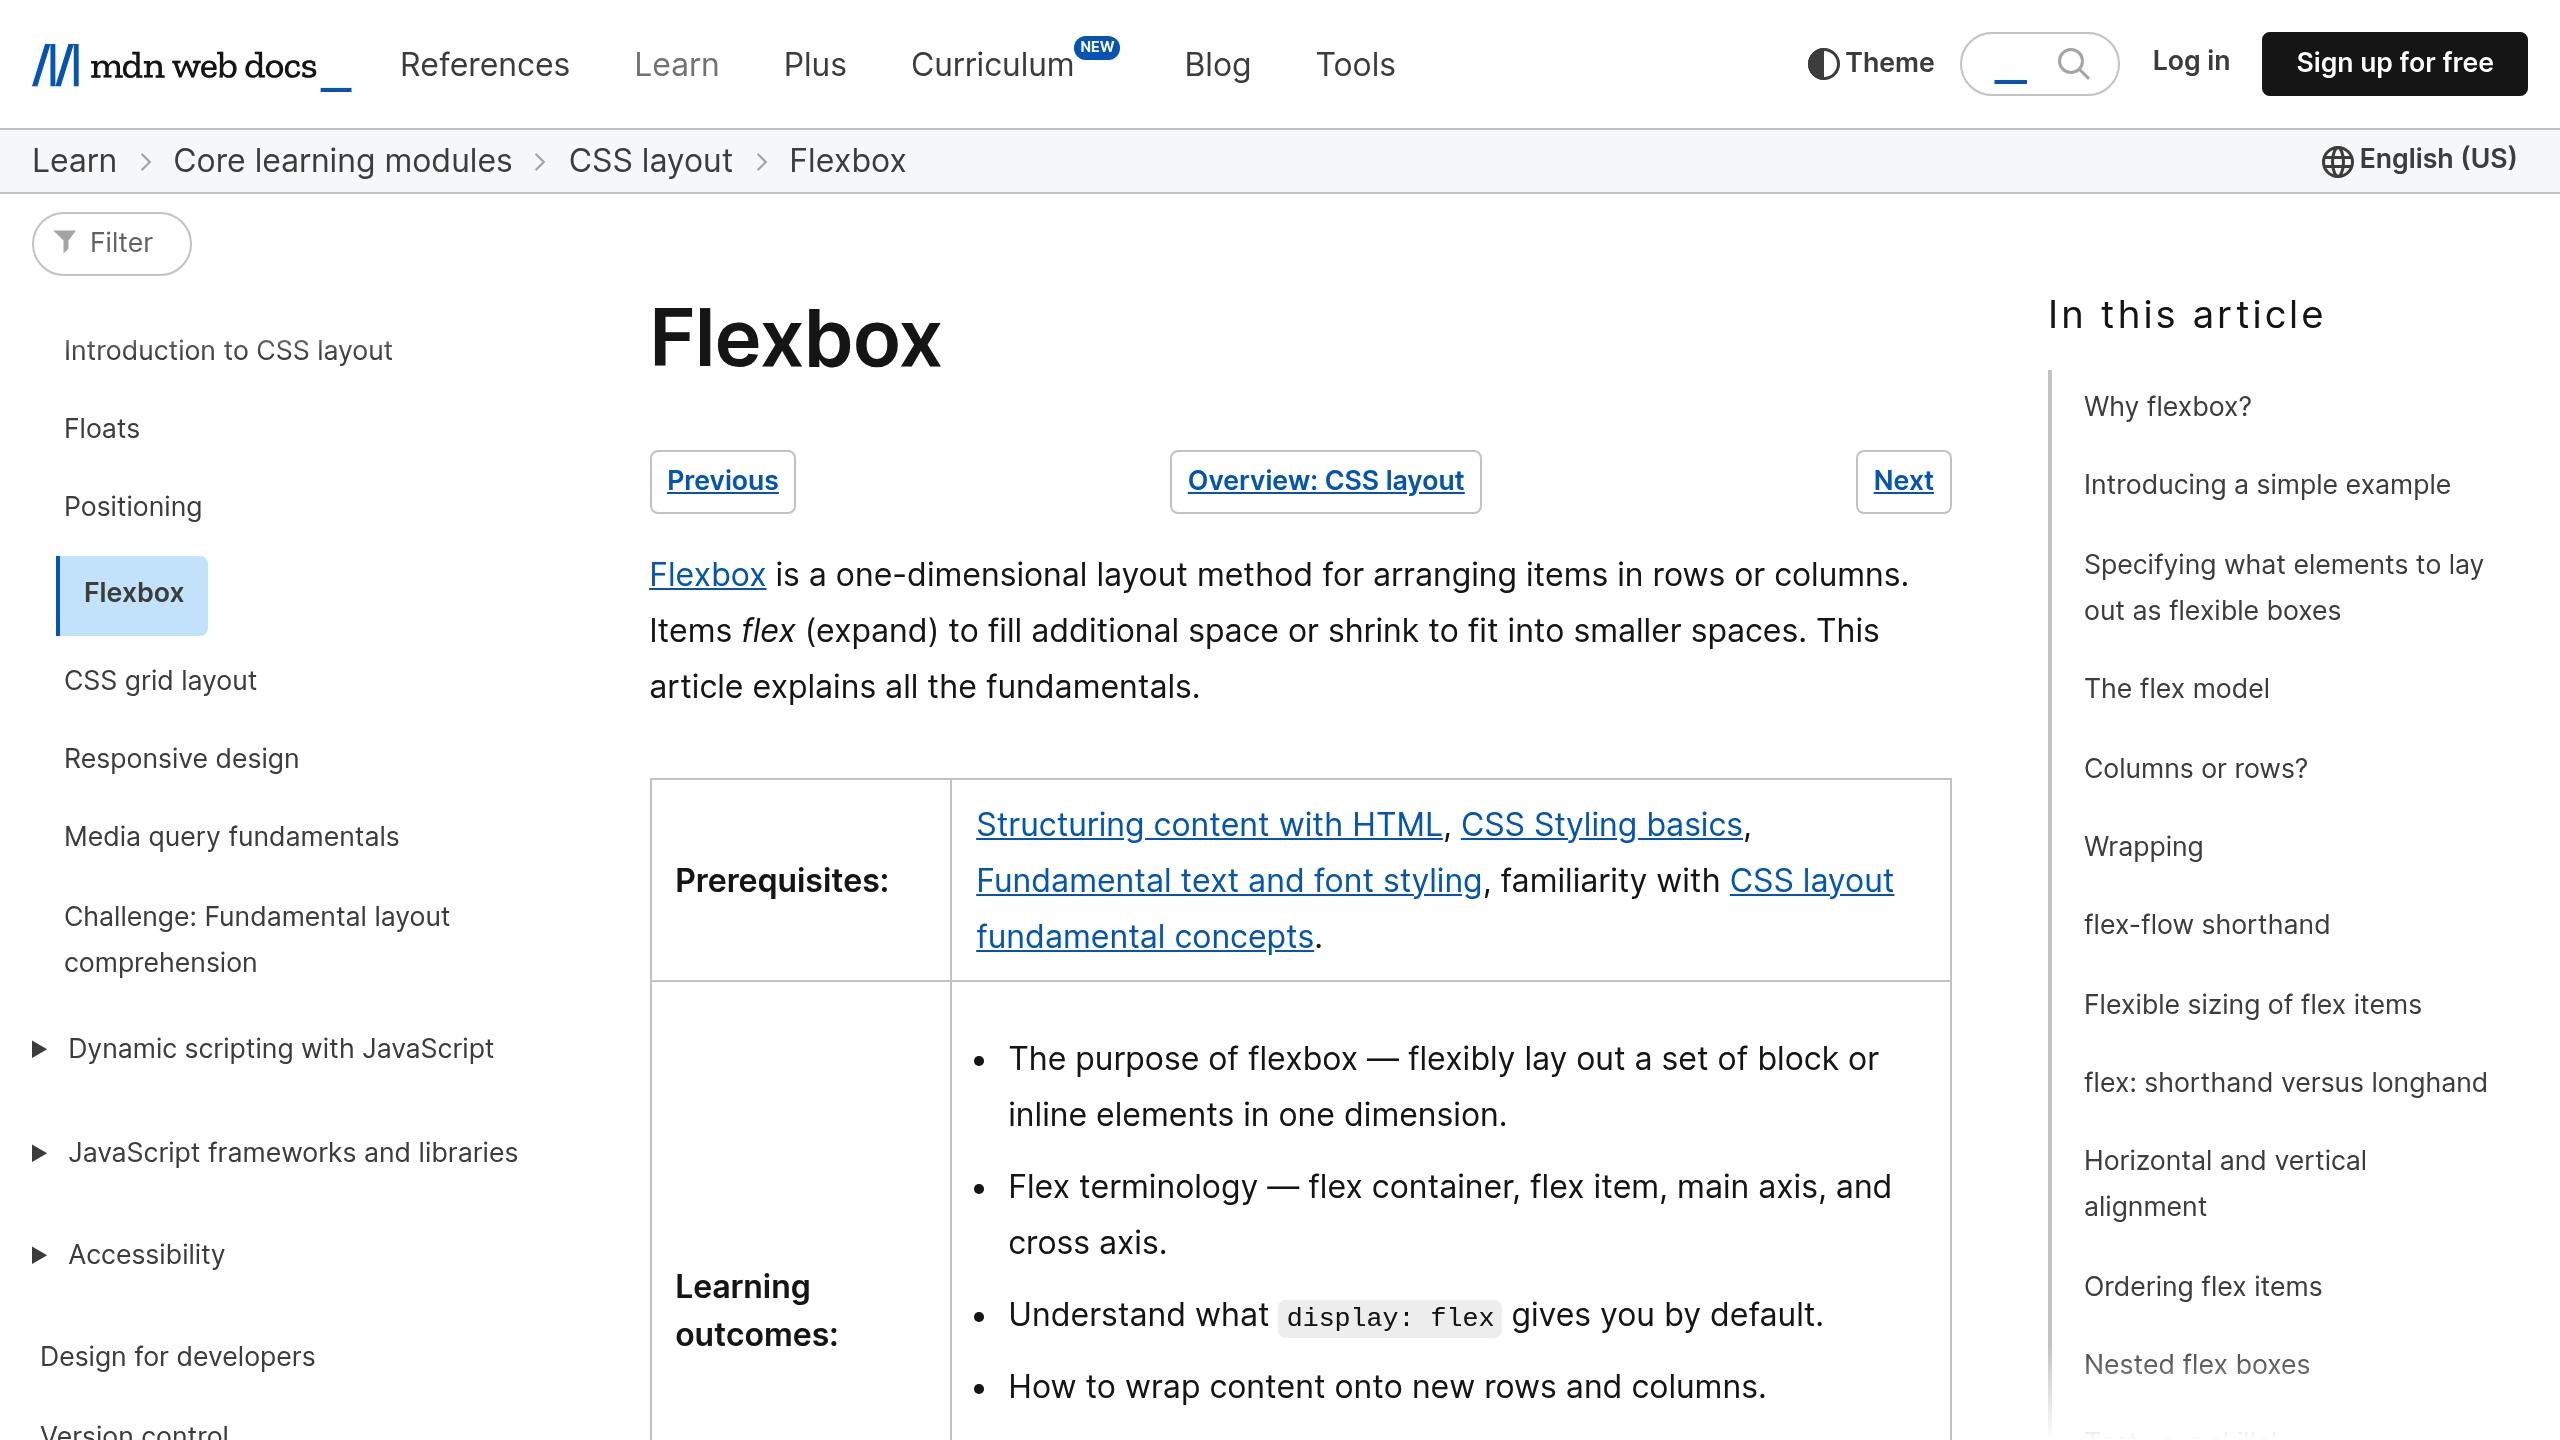
Flexbox and Grid are excellent tools for creating responsive layouts with precision. They build on the concept of fluid grids, offering control over both one-dimensional and two-dimensional designs.
When to Use Flexbox vs. Grid
Deciding between Flexbox and Grid depends on your layout’s requirements. Here’s a quick comparison:
| Feature | Flexbox | CSS Grid |
|---|---|---|
| Direction | Works in one dimension (row or column) | Handles two dimensions (rows and columns) |
| Best Use Cases | Ideal for navigation bars, card layouts, and aligning content | Great for page layouts, complex grids, and magazine-style designs |
| Content Flow | Items can wrap and reflow automatically | Uses fixed rows and columns |
| Space Distribution | Perfect for spacing items evenly | Maintains consistent gaps and alignments |
| Browser Support | Supported by 98.7% of browsers globally | Supported by 96.3% of browsers globally |
Now, let’s dive into how these tools work with real-world examples.
Flexbox and Grid Examples
For responsive navigation menus, Flexbox is a great choice. It allows items to wrap and adjust easily:
.nav-container {
    display: flex;
    flex-wrap: wrap;
    justify-content: space-between;
    gap: 1rem;
}

.nav-item {
    flex: 0 1 auto;
    min-width: 120px;
    text-align: center;
}

/* Stack vertically on smaller screens */
@media (max-width: 768px) {
    .nav-container {
        flex-direction: column;
    }

    .nav-item {
        width: 100%;
    }
}
On the other hand, CSS Grid excels when you need control over rows and columns, such as in a complex content layout:
.content-layout {
    display: grid;
    grid-template-columns: repeat(auto-fit, minmax(250px, 1fr));
    grid-auto-rows: minmax(100px, auto);
    gap: 1.5rem;
}

/* Make featured items span multiple columns */
.featured-item {
    grid-column: span 2;
}

/* Stack everything for smaller screens */
@media (max-width: 768px) {
    .featured-item {
        grid-column: span 1;
    }
}
You can also combine both systems for optimal results. For example, use Grid for the overall page structure and Flexbox for smaller components:
.page-container {
    display: grid;
    grid-template-areas:
        "header header"
        "sidebar main"
        "footer footer";
    grid-template-columns: 250px 1fr;
}

.card-container {
    display: flex;
    flex-wrap: wrap;
    gap: 1rem;
    align-items: stretch;
}
This combination leverages Grid’s layout precision and Flexbox’s adaptability for content arrangement. Always test your designs on different devices to ensure smooth transitions between screen sizes.
4. Make Images Work in Fluid Grids
Images play a crucial role in responsive design. To ensure they look sharp and load quickly across devices, they need to adjust seamlessly within fluid grids.
Image Scaling Techniques
Responsive images should scale proportionally to fit within their containers. Here’s a basic CSS setup:
.fluid-image {
    max-width: 100%;
    height: auto;
    display: block;
}

.image-container {
    width: 100%;
    position: relative;
    aspect-ratio: 16/9;
}
For art-directed images, the picture element is a great choice:
<picture>
    <source media="(min-width: 1200px)" srcset="large.webp">
    <source media="(min-width: 768px)" srcset="medium.webp">
    <img src="small.webp" alt="Description" loading="lazy">
</picture>
To integrate images within fluid grids, CSS Grid is highly effective:
.image-grid {
    display: grid;
    grid-template-columns: repeat(auto-fit, minmax(300px, 1fr));
    gap: 1rem;
}

.grid-image {
    width: 100%;
    object-fit: cover;
    aspect-ratio: 4/3;
}
Once images are scaled properly, the next step is finding the right balance between image quality and speed.
Image Quality vs Load Speed
Optimizing images ensures high quality while keeping load times fast. Here’s a quick look at popular formats and their best use cases:
| Format | Best For | Typical Compression | File Size Impact |
|---|---|---|---|
| WebP | Photos & graphics | 25-35% smaller than JPEG | Excellent |
| AVIF | Complex images | 50% smaller than WebP | Superior |
| JPEG | Photos | Variable compression | Good |
| PNG | Graphics with transparency | Lossless | Larger files |
To further enhance performance, implement responsive loading techniques:
<img
    src="image-800w.jpg"
    srcset="image-400w.jpg 400w,
            image-800w.jpg 800w,
            image-1200w.jpg 1200w"
    sizes="(max-width: 400px) 100vw,
           (max-width: 800px) 50vw,
           33vw"
    alt="Description"
    loading="lazy"
>
Modern attributes like loading, decoding, and fetchpriority help optimize performance:
<img
    src="placeholder.jpg"
    data-src="full-image.jpg"
    loading="lazy"
    decoding="async"
    fetchpriority="high"
>
For critical images, preload them to improve user experience:
<link
    rel="preload"
    as="image"
    href="hero-image.webp"
    imagesrcset="hero-800w.webp 800w,
                 hero-1200w.webp 1200w"
    imagesizes="100vw"
>
Before going live, compress images using tools and enable browser caching with headers:
<IfModule mod_headers.c>
    <FilesMatch "\.(jpg|jpeg|png|webp|avif)$">
        Header set Cache-Control "max-age=31536000, public"
    </FilesMatch>
</IfModule>
These steps ensure images look great and load efficiently, no matter the device.
5. Check Your Design on Multiple Devices
Testing your fluid grids on actual devices is crucial. Simulators are helpful, but they can miss subtle issues like touch interactions or rendering quirks. Regularly checking your design on a variety of devices ensures it works seamlessly across all screen sizes.
Device Testing Tools
Chrome DevTools is a great way to start. It allows you to simulate different screen sizes and viewports, such as mobile (375×667) and tablet (768×1024), before moving to real device testing. Here’s an example setup:
const viewports = {
    mobile: {
        width: 375,
        height: 667,
        deviceScaleFactor: 2,
        isMobile: true
    },
    tablet: {
        width: 768,
        height: 1024,
        deviceScaleFactor: 2,
        isMobile: true
    }
};
Once you’ve tested in simulation, move on to actual devices and refine your design to address any inconsistencies.
Fixing Common Grid Problems
Here are some CSS tweaks to resolve frequent grid layout issues:
/* Avoid overflow and ensure proper alignment */
.grid-container {
    overflow-x: hidden;
    max-width: 100vw;
    margin: 0 auto;
}

/* Set up a responsive grid */
.responsive-grid {
    display: grid;
    grid-template-columns: 1fr;
    gap: clamp(1rem, 2vw, 2rem);
    grid-template-columns: repeat(auto-fit, minmax(min(100%, 300px), 1fr));
}

/* Adjust grid for different breakpoints */
@media (min-width: 768px) {
    .responsive-grid {
        grid-template-columns: repeat(2, 1fr);
        gap: 2rem;
    }
}

@media (min-width: 1200px) {
    .responsive-grid {
        grid-template-columns: repeat(3, 1fr);
        gap: 3rem;
    }
}

/* Make grid items touch-friendly */
.grid-item {
    min-height: 44px; /* iOS minimum touch target */
    padding: clamp(0.5rem, 2vw, 1rem);
    align-self: start;
    min-width: 0;
}
These adjustments help ensure your grid remains functional and visually appealing, no matter the device or screen size.
Conclusion
Review of Best Practices
Creating effective fluid grids involves using relative units, adopting mobile-first design principles, leveraging CSS Flexbox or Grid, optimizing images, and thoroughly testing on various devices. These steps help ensure responsive layouts that work well across all screen sizes. For businesses seeking expert implementation, professional services can provide a noticeable edge.
OneNine Website Services
OneNine applies these strategies to deliver real business results through tailored web solutions. Jake Loeffler shared his experience:
"OneNine has done a fabulous job re-creating and designing our out of date website. It is now performing great on mobile, while generating and converting leads".
Their results speak for themselves. Ernest Chapman highlighted their impact:
"After OneNine took over one of my client’s website portfolios, we’ve seen each site’s speed increase by over 700%. Load times are now around a second. They are very affordable, with exceptional communication, and it always feels like we’re getting MORE than what we’re paying for."
OneNine’s approach includes:
- Dedicated account managers with an average response time of 10 minutes
- Mobile optimization to ensure smooth performance on smartphones and tablets
- Performance monitoring to keep websites running efficiently
- Cross-platform testing to maintain consistency across devices
- A commitment to 100% uptime, backed by reliable service agreements


